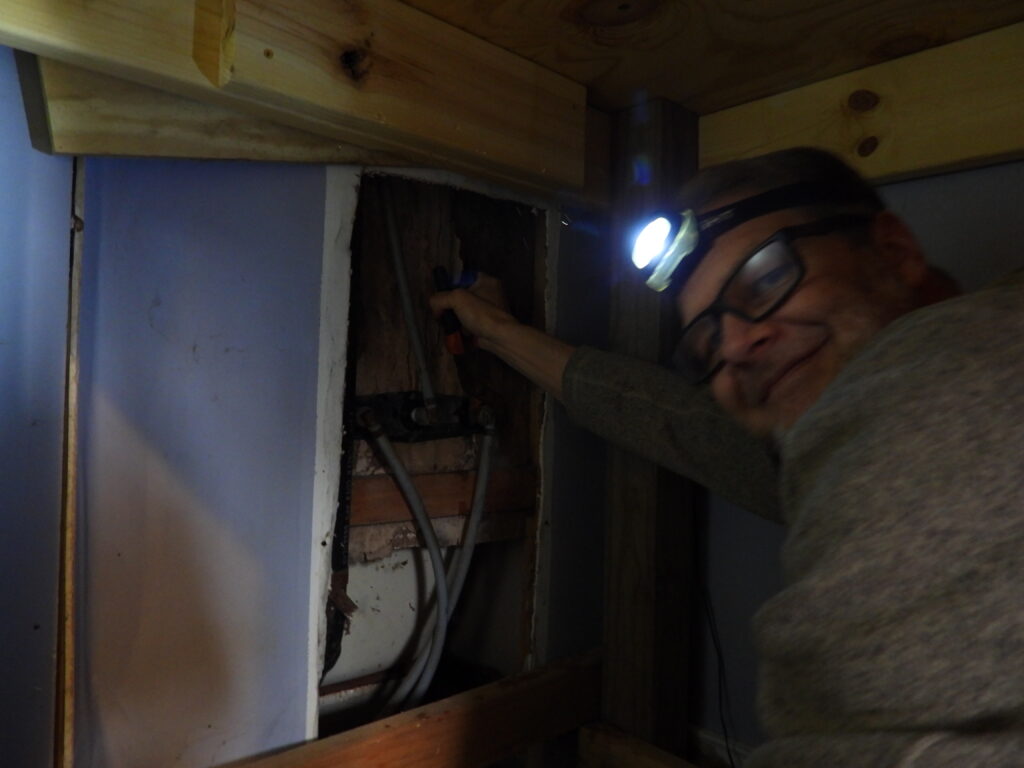
Replacing a bathtub faucet turned out to be much easier than either of us anticipated. Turn off all water to the trailer, unscrew both hot and cold water hoses along with the hose leading up to the shower, then slip the old faucet out and the new one in. There’s nothing complicated going on with the shower — water pressure is what makes water flow uphill.

The only real roadblock came when Mark noticed that an old leak (long since fixed) had weakened the wall the faucet was going to be screwed onto. How could we strengthen that area in a quick-and-dirty manner that would also hold up over the long term?

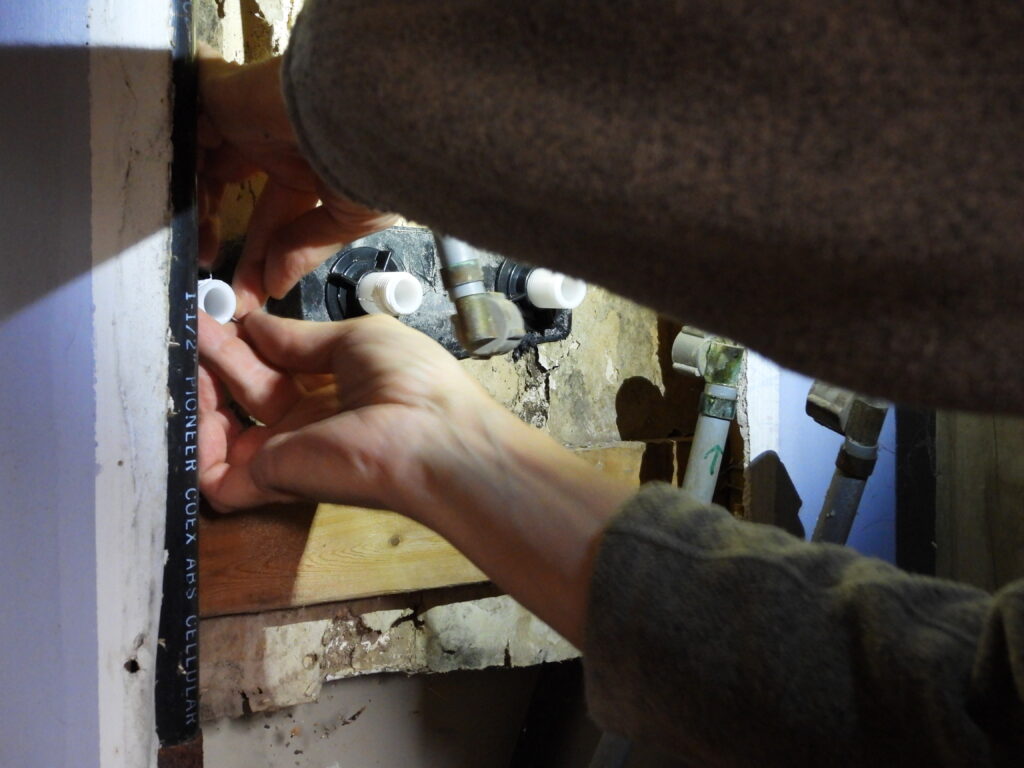
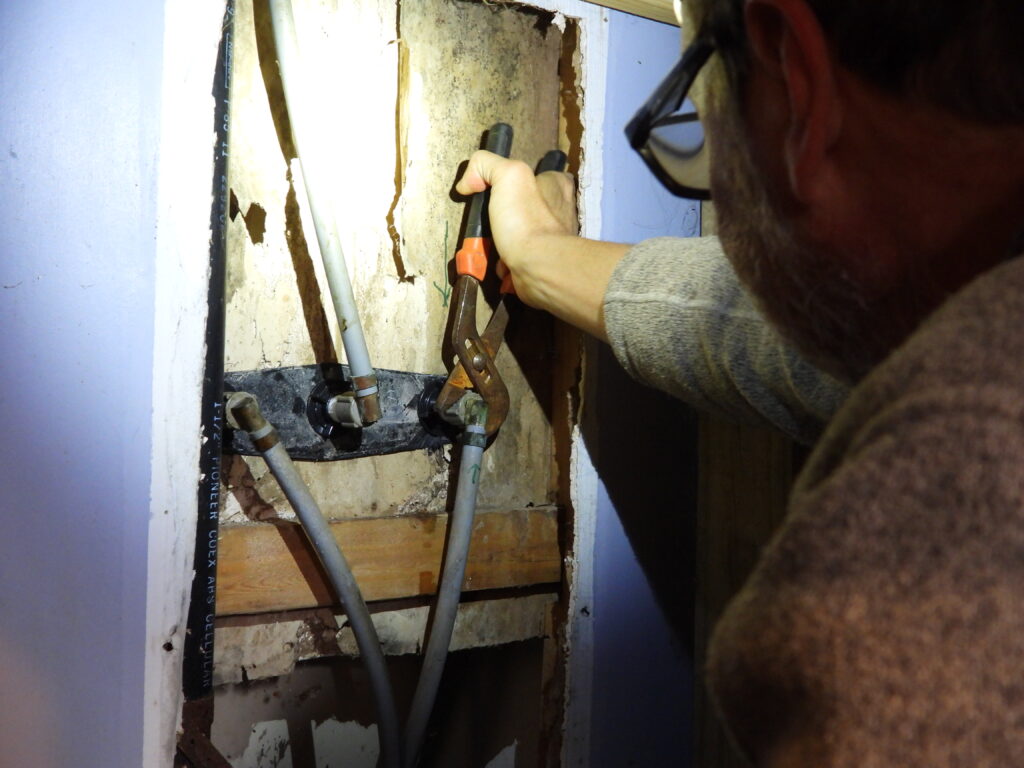
 The back plate from the old faucet turned into a perfect solution. Applying it to the screw side of the wall while the new faucet’s back plate stayed on the faucet side of the wall resulted in a much stronger sandwich. Ta da — running water with no leaks!
***
On a semi-related note, Mark has been busy turning Trailersteading into an AI-narrated audiobook. You can enjoy a sneak preview above, then if you enjoy what you hear you can buy the full shebang on Kobo or Google. Enjoy!
While comments were wonky, Natalia emailed me to ask her question since she couldn’t get it to post here:
“How did you attach the old backplate to the back of the wall? And can you add a photo of that? ”
We actually didn’t attach the backplate to the wall. We just slid it over the threaded hose inlets then screwed the provided tightener thingummybobs over top. I’m adding an extra photo to the post to illustrate what I mean since I’m clearly failing at words! 🙂
Thank you so much for such a quick response!
Ah! That is so clever!! So it’s that flat black piece? I did see that before but I hadn’t seen a black backing before, and it looked like it had been part of the original setup forever, so I didn’t realize that was it. Thank you so much. 🙂
Thanks for the nudge to fix commenting and for reading along! Yep, it’s the flat black piece. 🙂