What if the plastic-milk-jug method of winter sowing isn’t the only way—or even the best way—to get a jump start on the garden year? While other gardeners were cutting up containers and buying potting soil, I tried out a simpler, cheaper approach that might actually work better….
Container winter sowing: Why I was skeptical
 If you’ve been hanging out in gardening spaces online in the last few years, you’ve probably seen people glowing about winter sowing. Basically, the principle is that you start seeds outside far earlier than the soil temperature suggests is smart, counting on sprouting happening at the best time for the plants in question.
Most folks winter sow in plastic containers like milk jugs, cut in half so you can use the bottom as a pot filled with store-bought potting soil and the top as a mini greenhouse. I wasn’t interested in that method because of the cost of the soil and the fiddly-ness of the plastic containers. Plus, anything set on top of the earth is going to be chillier than the ground itself for most of the winter, which is a major downside when cold-weather gardening.
On the other hand…
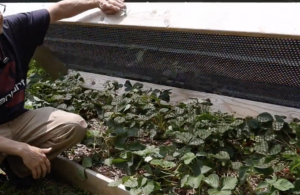
Direct ground winter sowing: My experiment
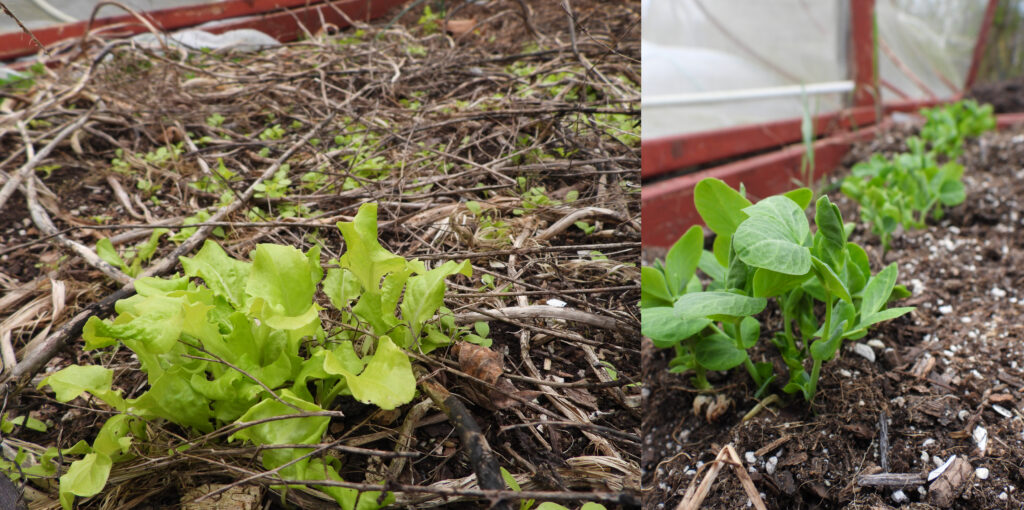
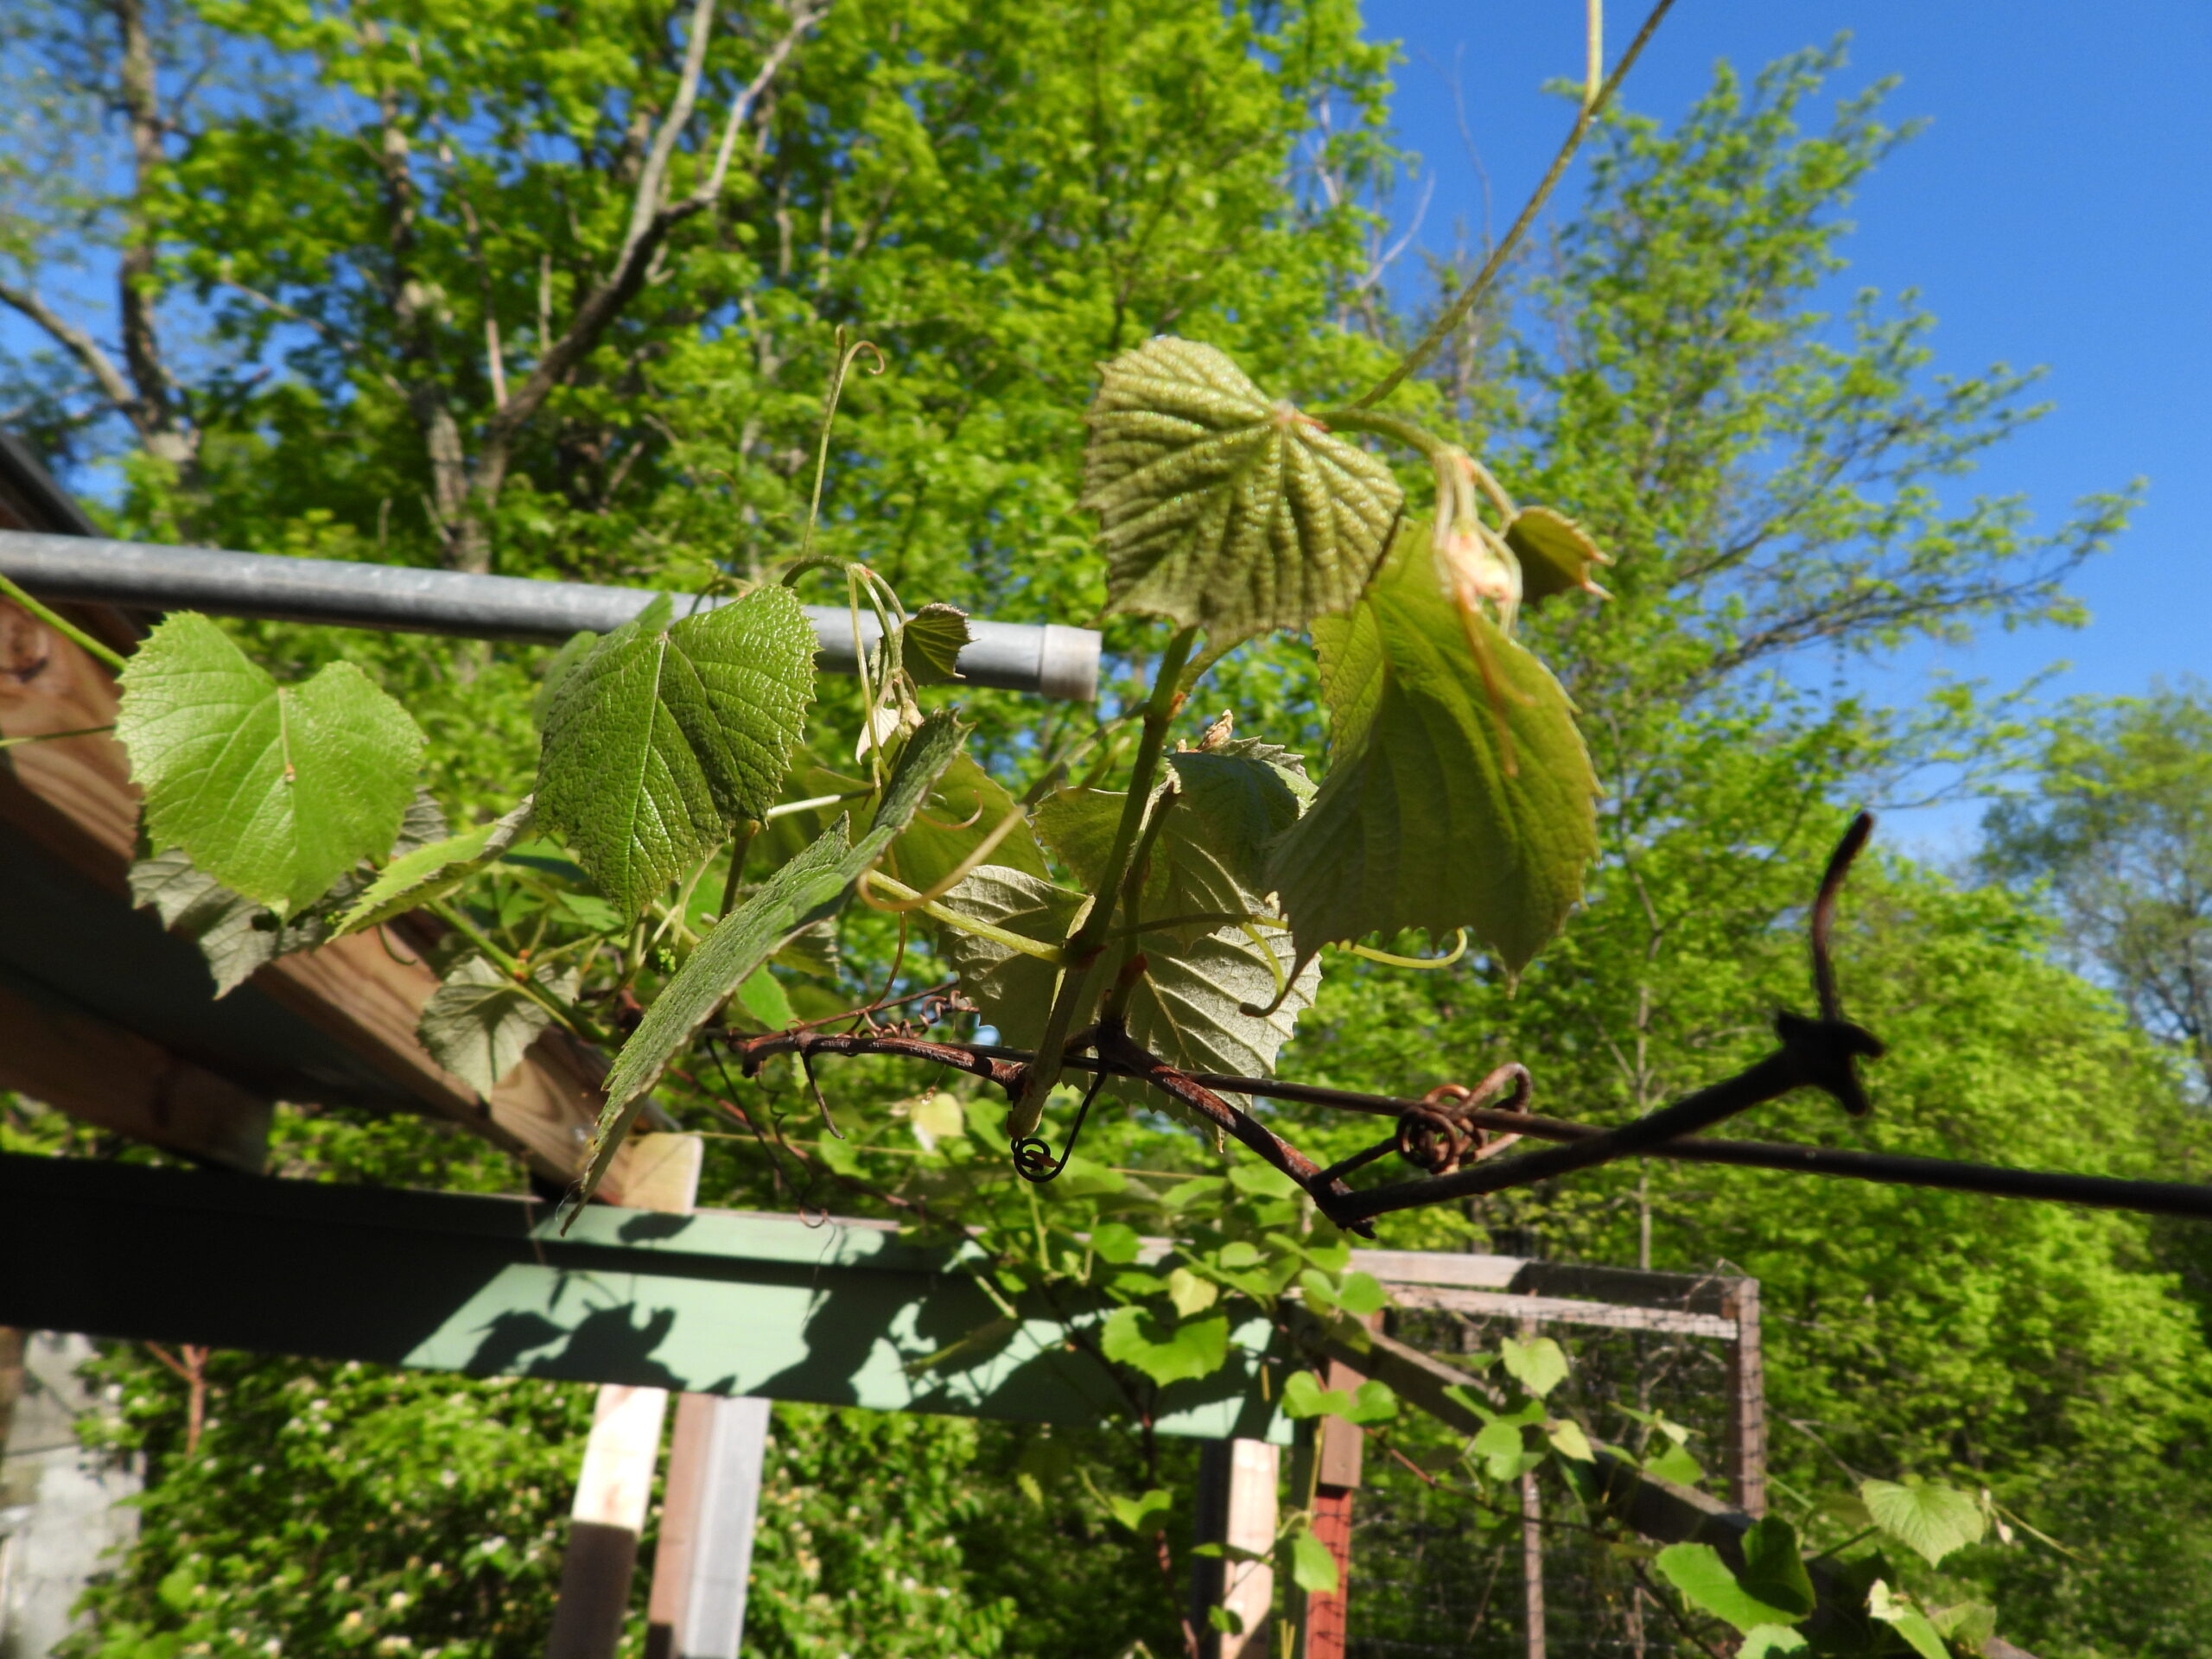
…I’ve been noticing how both kale and lettuce seeds that fall into my wood-chip-mulched aisles due to seed-saving efforts often come up better and faster in early spring than those I start in garden beds after the ground reaches each vegetable’s minimum germination temperature. What if, I wondered, I experimented with my own version of winter sowing by planting lettuce and kale seeds in my usual row-cover-fabric-protected caterpillar tunnels, tweaking my seed starting approach by sowing far earlier than I previously would have risked?
To cut a long story short, I did exactly that on January 30 in our zone 6b garden. We were enjoying a short break from a very cold winter in which multiple weeks have stayed below freezing in the afternoons then dropped into the teens through single-digit negatives (Fahrenheit) at night. The ground was still frozen solid below the top quarter inch, but I scratched seeds into that small thawed area. After a four-day break with more normal temperatures (high of 40!), the cold returned and I forgot all about my experiment.
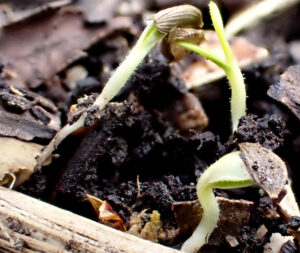
Early seed starting success!
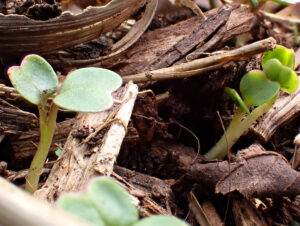 Another thaw hit us at the beginning of this week and I opened up the caterpillar tunnels…to find both kale and lettuce seedlings pushing up through the soil!
The seedlings did seem to be doing better where there was more debris on the ground, suggesting that a very light mulch might improve winter-sowing success. But I’m highly impressed to see anything at all after three and a half weeks with such cold temperatures.
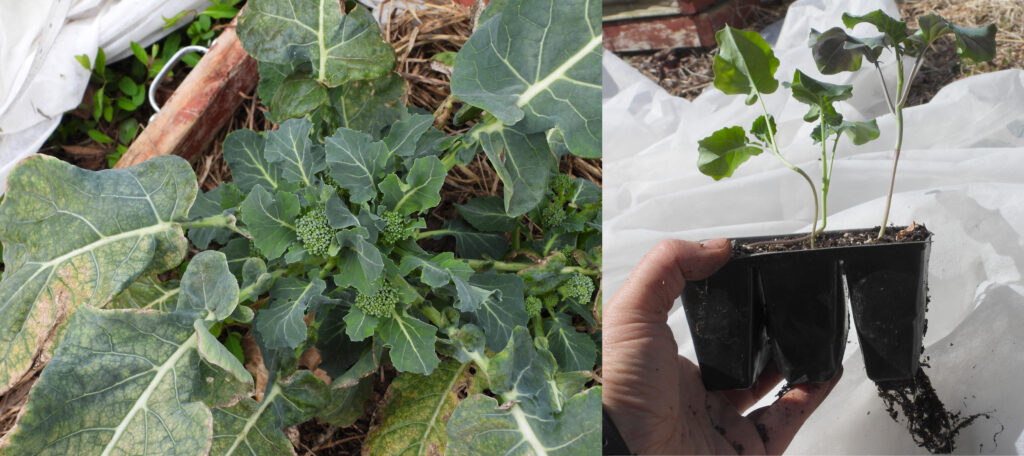
What other crops would I recommend winter sowing in this manner? Not peas — they tend to rot in the ground (or get eaten by hungry critters) if you don’t get them up and running fast. And not plants like broccoli, tomatoes, and peppers that need to be raised as inside sets if you want to time the season correctly. But maybe parsley and carrots? I wonder if even fickle spinach and swiss chard might sprout better using this technique?
No-cost winter seed starting
This method of winter sowing has a couple of benefits over the more mainstream version. Namely, I didn’t have to buy potting soil or transplant the seedlings after they sprouted.
Meanwhile, my version maintains the winter-sowing advantages of getting a jump on the growing season without requiring the use of grow lights. That’s a definite plus when I have other types of seedlings using up all of my indoor space.
I’ll be expanding my winter sowing experiments next season and updating with more results. Until then, happy growing!

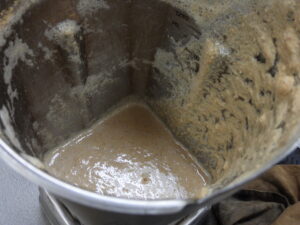

 Once your acorn flour is no longer bitter, it’s time to strain more of the water out by pouring the acorn mush into a cloth bag and squeezing. Then you can either use the mush right away, freeze it wet, or spread it on a cookie sheet to dry before storing at room temperature. (This last method is best for baking that requires good measurements.)

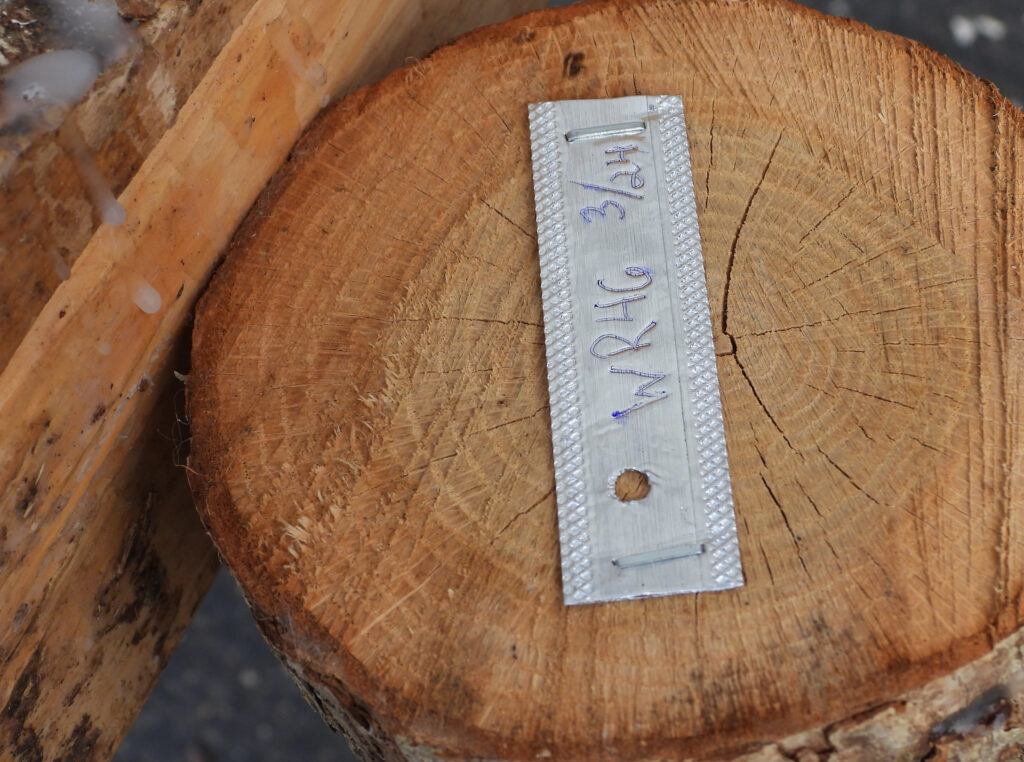
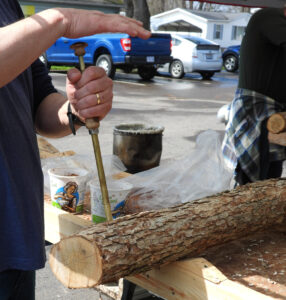
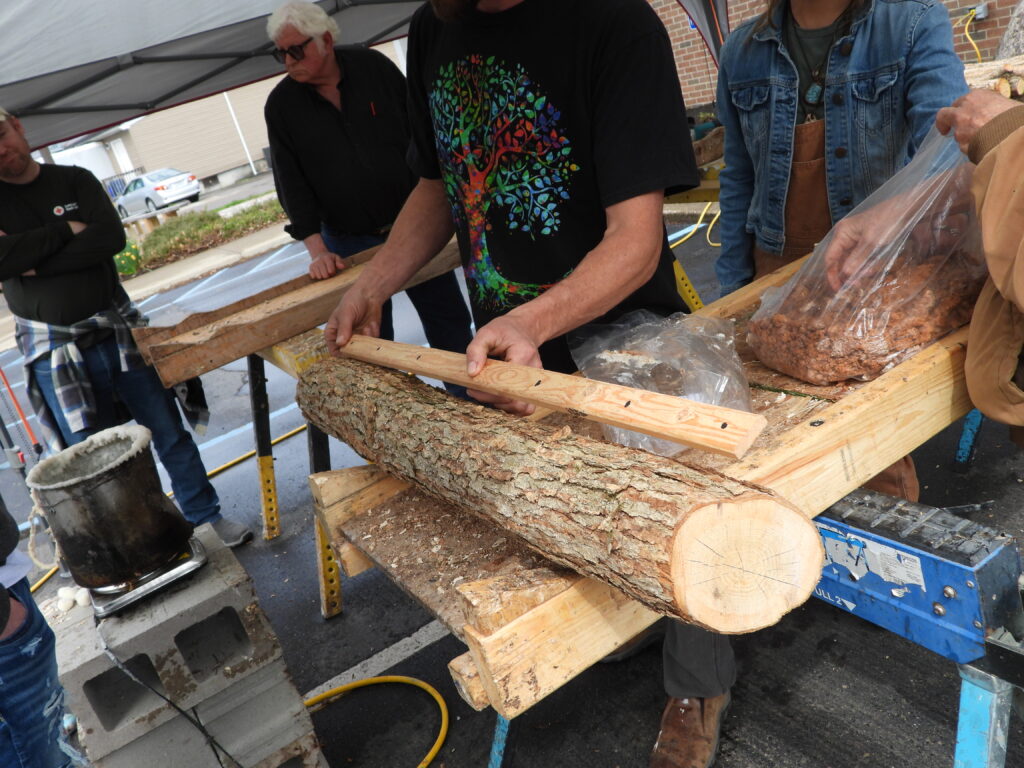
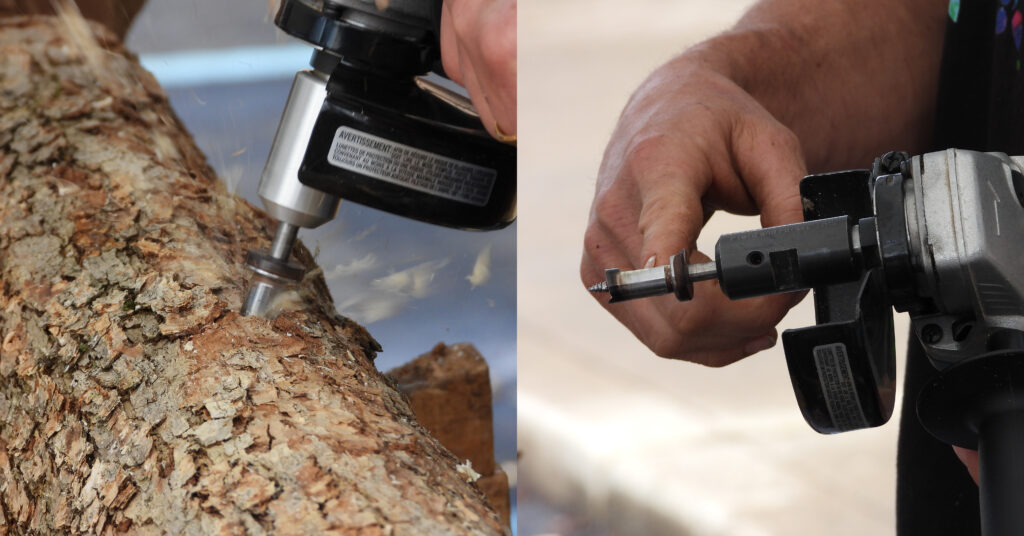
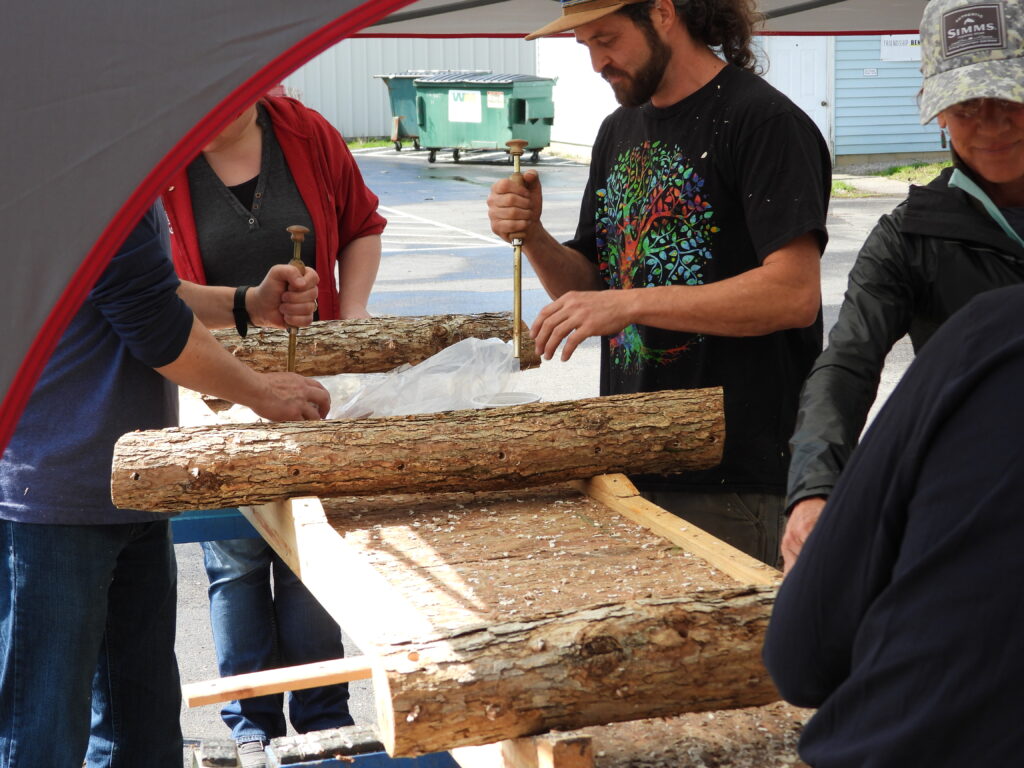
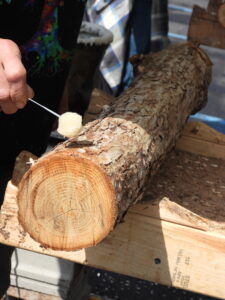 Next, bang the inoculation tool into the container a few times to fill it with spawn. Place the tool over the hole and depress the button at the top to insert spawn. The goal is for the spawn to fill the hole up to about the bark level.