Posted on

March in the garden

Back in Virginia, March was a prime spring-planting month. Since moving to Ohio, it’s usually been an impatient-waiting month instead.

Not this year!

Early spring vegetable seedlings

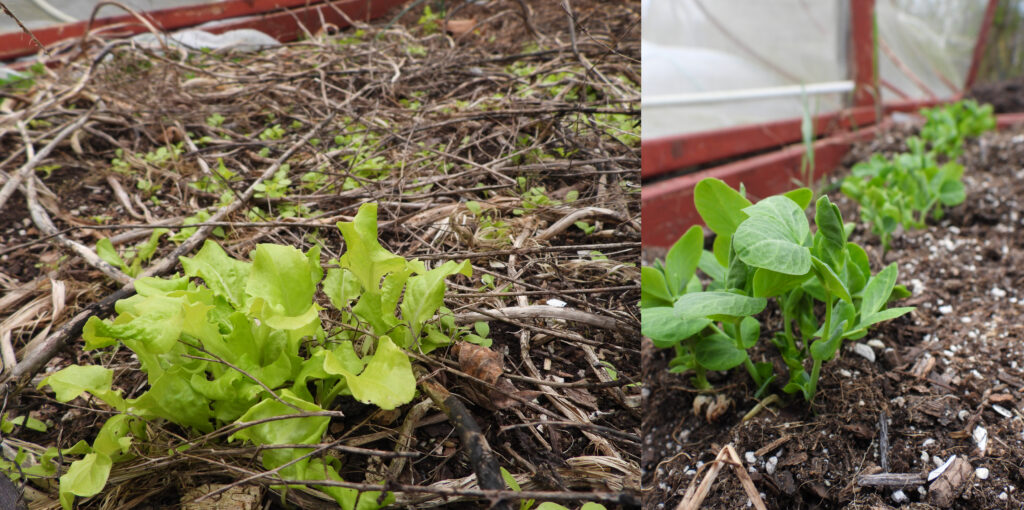
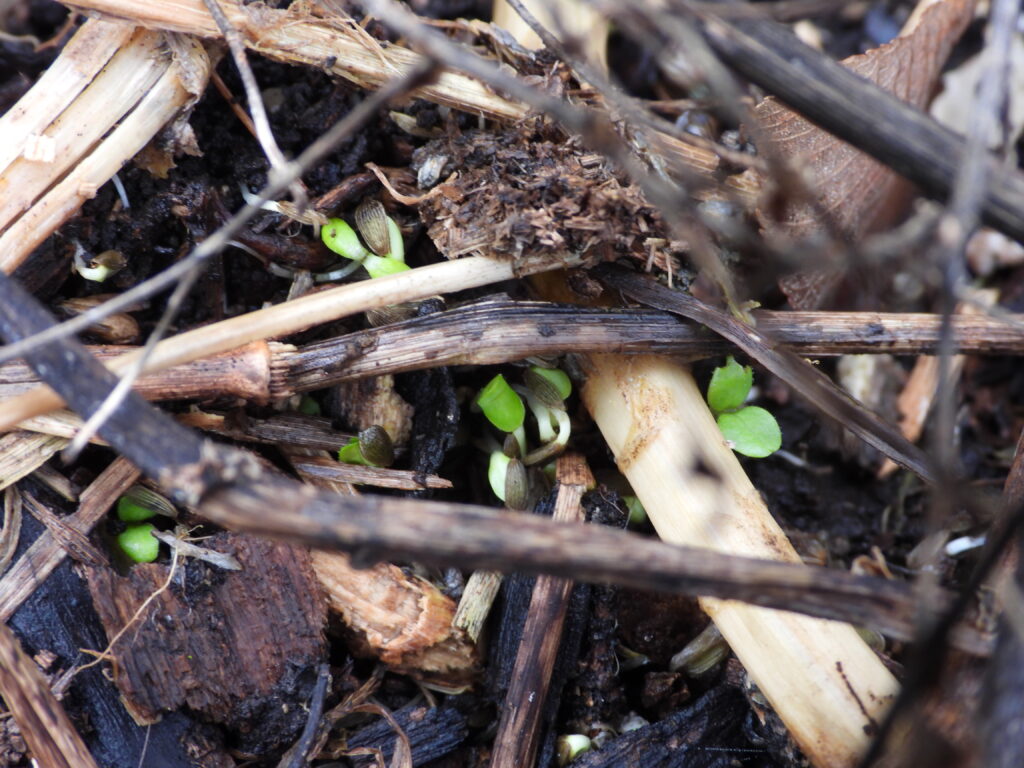
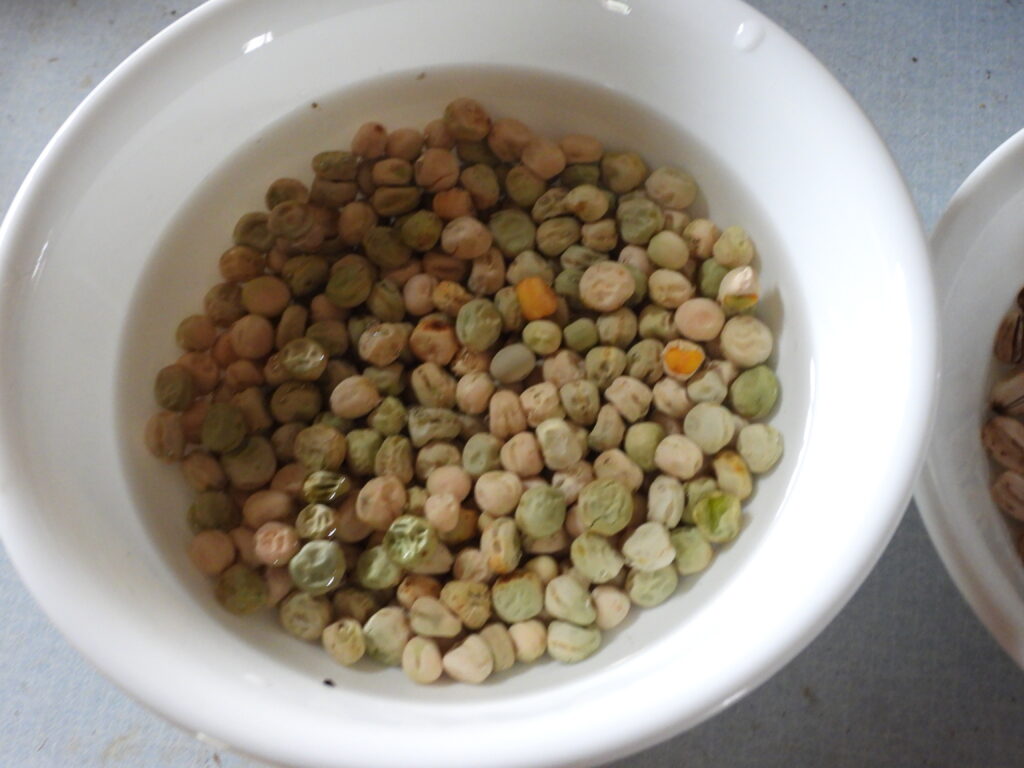
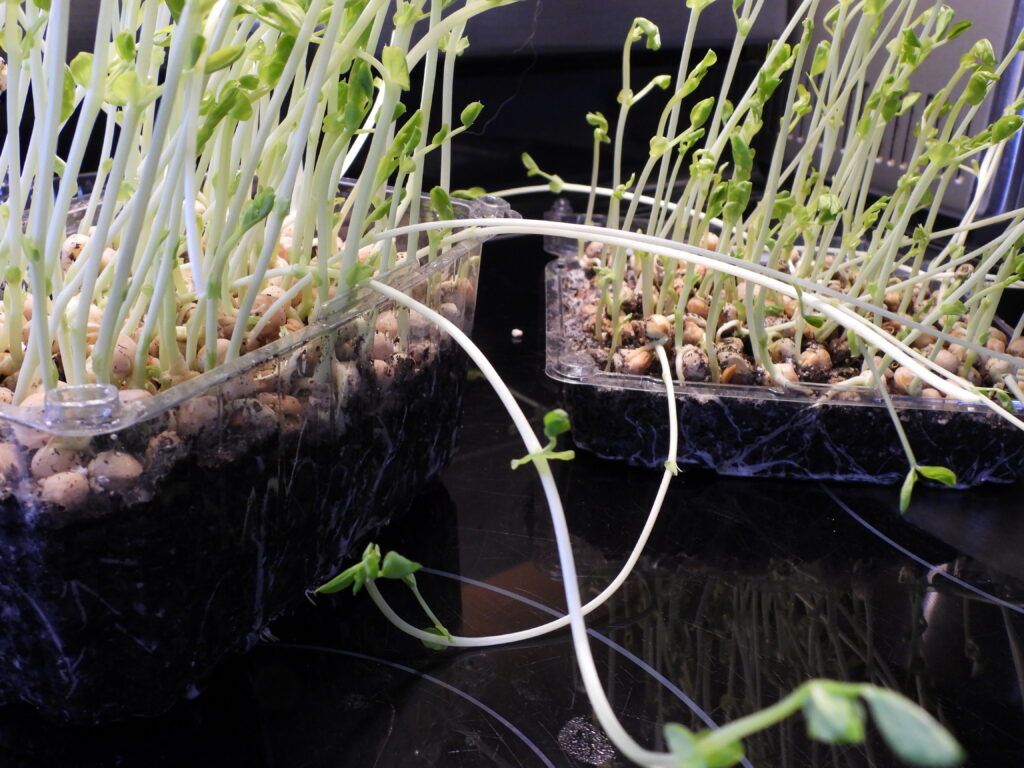
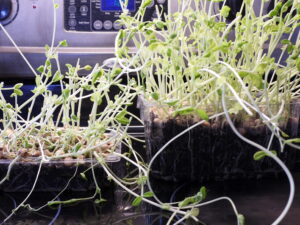
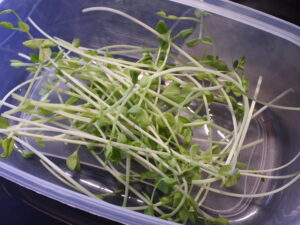
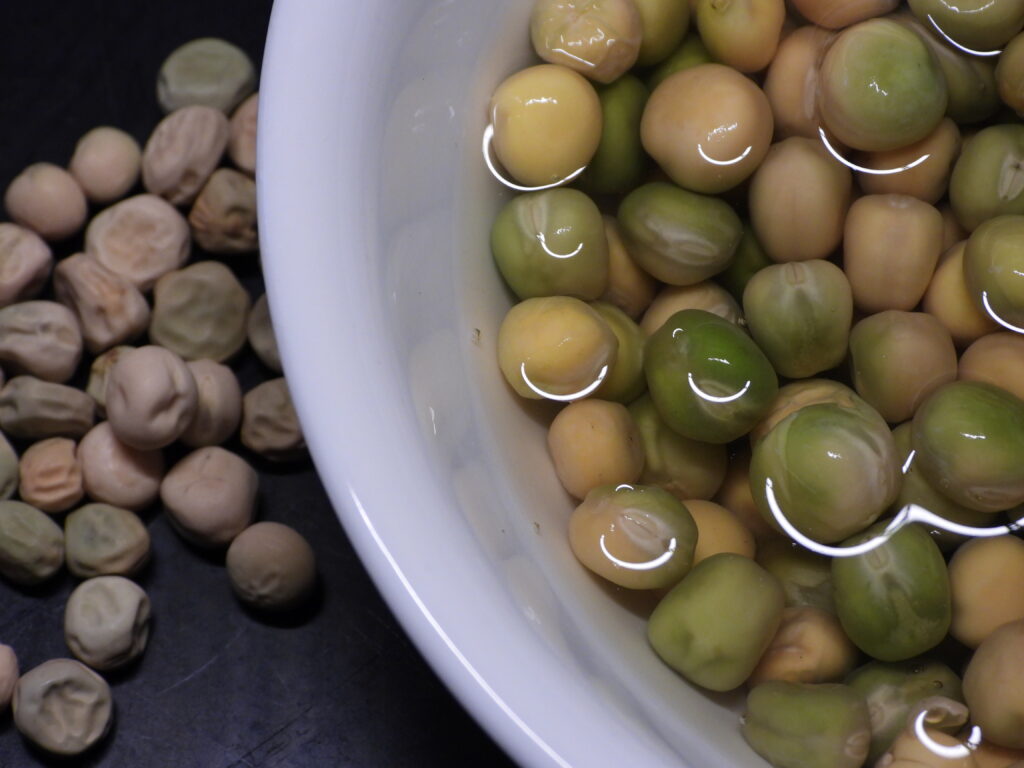
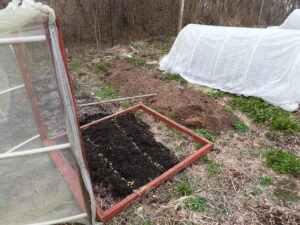
A warm winter means my test beds of early lettuce and peas germinated well, so I soon seeded more.

Last year and this year's broccoli

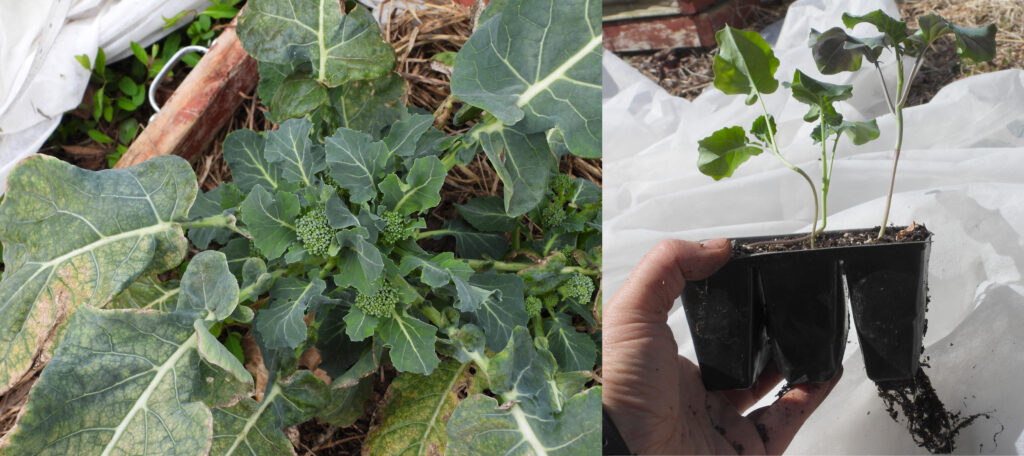
Meanwhile, in proof of the winter’s extreme mildness, we’re starting to get tiny side heads on overwintering broccoli (protected by row-cover fabric over caterpillar tunnels).

To celebrate, rather than potting up this year’s broccoli seedlings (who are already slightly stunted from outgrowing their soil), I set out half on Monday. That’s a couple of weeks earlier than is recommended for our area, but the ten-day forecast looks good.

Arugula flower buds

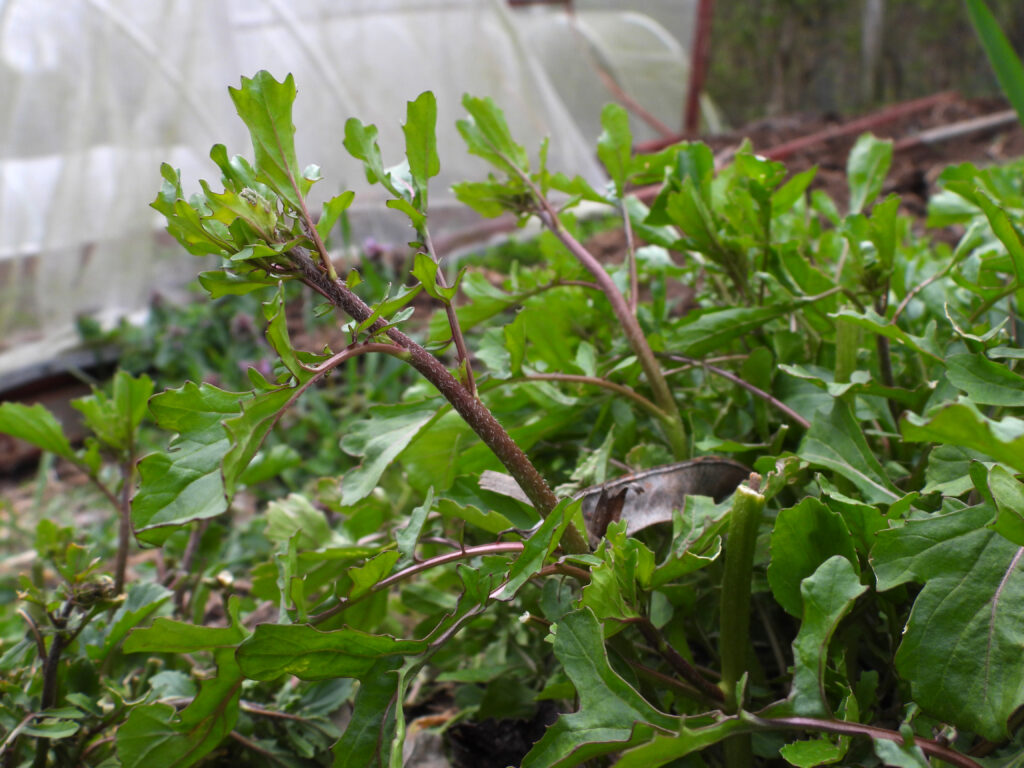
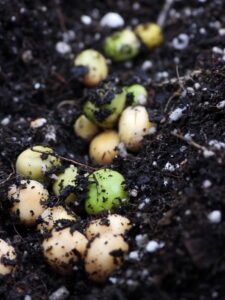
Overwintering vegetables from last year (if any survive) are always the first edibles coming out of the garden, and this year we don’t just have the broccoli pictured earlier. Arugula started feeding us even earlier despite a total lack of winter protection for the plants. They started bolting (sending up flower heads) weeks ago. I quickly snipped the bounty, steamed it slightly, then sauteed the steamed flower heads in olive oil and balsamic vinegar. Yum! Those have been good for a meal or two per week for most of March, although they’re starting to come to their end now.

Luckily, kale looks like it will fill the upcoming gap, even though a droughty summer last year meant my plants went into winter on the small side. Hopefully by the time the arugula gets away from me, we’ll have another dependable source of greens to carry us through until the spring lettuce comes in.

Kill mulching garden aisles

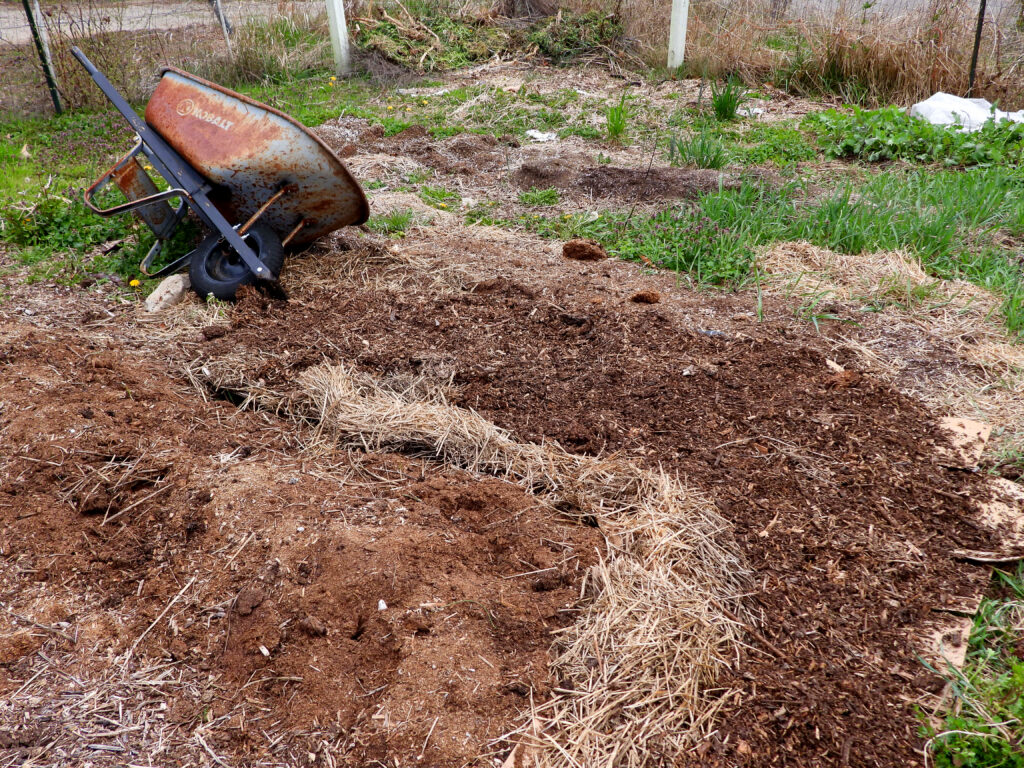
Of course, weeds start growing just as soon as vegetables do. The garden beds are usually pretty easy to manage at this time of year — half an hour of yanking fends off long-term problems in our entire plot.

Aisles can be more tricky, but I’ve saved up cardboard all winter to hit the problematic areas. Purple dead nettle and chickweed are easy to yank, while grasses or ground ivy are better off kill mulched. I tend to hit the areas right around the beds I’m using just before planting so weeds can’t encroach on my seedlings. (I’m bound to run out of cardboard before I solve all my problems, which is why they keep coming back.)

Nectarine flowers

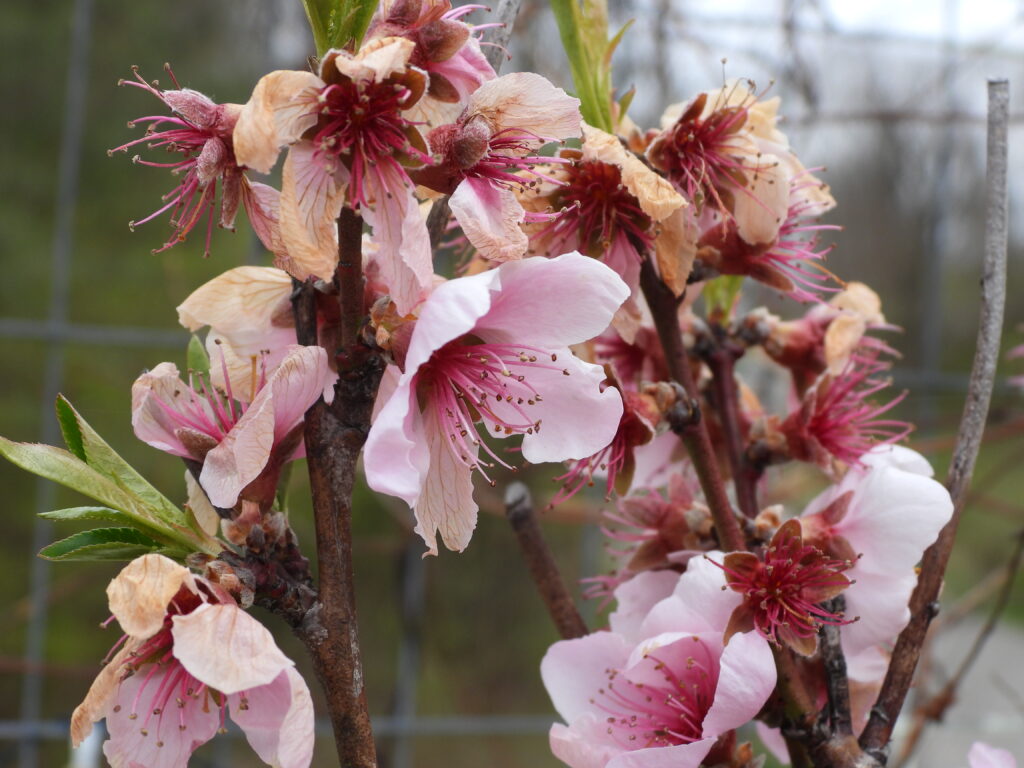
March is also the time to count your tree fruits before they hatch. We’re finally back in that mind game, having set out a nectarine a year ago. My produce count for that tree is simple: zero. Not because it bloomed too early (although it likely did) but because I’ll be picking off any young fruits to ensure the tree puts more energy into establishing its roots.

And that’s it for our late March garden. How does yours look?

Posted on

Tips for early spring peas

Soaking pea seeds

Planting pea seeds thick

Peas don’t like heat, so it’s a good idea to plant them as early as possible. But if you plant too early, you’ll end up with only a couple of survivors spread across a large trellis, wasting precious garden space. What’s the solution?

Early-planted peasĀ can do well, but you need to stack the deck for success. First, soak your pea seeds inside for at least four hours, during which time they’ll plump up and wake up. You can actually keep them inside until they sprout, but you’ll want to pour off the water after twelve hours or so and cover the seeds with a humidity dome if you go that route. Sprouted peas also need to be handled more carefully to prevent the tender new roots from breaking, so I usually just do the four-hour-plumping-up soak.

Next, out in the garden, ignore the instructions that pea seeds should be spaced one to three inches apart. Instead, drop them into a furrow in dense clumps before covering them up.

Protecting pea seedlings from critters(Of course, it goes without saying that you waited until the soil was at least 35 degrees Fahrenheit, planned for rain to keep the seedlings growing fast, and didn’t plant just before an extended cold snap.)

Finally, find some way to protect your pea seedlings from critters. The same sprouts that are delicious on our table are also a favorite of rabbits and other garden invaders. We use caterpillar tunnels over our spring pea beds, keeping the enclosure in place until the plants are tall enough to need a trellis.

After all that, it’s time to wait and hope. Fingers crossed for a copious, early crop!

Posted on

Should I plant peas on Valentine’s Day?

(Short answer — probably not.)

But who wants a short answer when you can read an Appalachian anecdote?

Where I grew up, the rule of thumb was to plant lettuce on Groundhog’s Day and peas on Valentine’s Day. Which makes very little scientific sense (even if you ignore the fact that I now live in a different USDA hardiness zone).

After all, what early spring crops are looking for is moist soil that’s not too cold. And February weather is so variable that a date perfect on some years is bound to be terrible on others.

So, yes, I definitely recommend you pull out a soil thermometer rather than planting by the calendar. But there’s also a fun alternative (at least for lettuce).

Wintersowing lettuce

Last year, I meant to collect seeds from my lettuce bed, so I let the plants bolt and bloom. Unfortunately, it rained then stayed wet while the seeds were maturing. Rather than fighting the damp, I shrugged and figured I’d order my lettuce seeds next time around.

But when I went out to take a look at the spot at the end of January, there were already tiny lettuce seedlings poking up out of the earth! A soil thermometer would have given me data on whether the soil was warm enough right at that moment, but those overwintering seeds assure me that the average had been at least 35 degrees Fahrenheit for long enough to tempt overwintering lettuce to sprout.

Peas need about five more degrees of warmth than lettuce, so while I could plant some now I’m going to wait a little longer. (Pea seeds are also very tasty to critters, so unlike lettuce they’re not a good choice for wintersowing.) To soothe my itchy green thumb and commemorate Valentine’s Day, I’ll start a flat of broccoli inside instead.

Posted on

Turning old pea seeds into yummy winter sprouts

Are you itching for homegrown vegetables, but your garden soil temperature is still far too cold to start any new crops? Did you buy too many pea seeds last year and aren’t sure whether the holdovers have enough vitality to germinate in chilly soil?

Why not solve two problems at once by sprouting some pea seeds indoors?

Choosing seeds to sprout

Soaking pea seeds

First a note on choosing seeds — I always buy untreated pea seeds and those are the only type I’d use to grow pea sprouts for the table. If you’re not sure whether your peas are treated, shake some out of the packet. Are they pink? Treated! Are they tan or pale green? Untreated!

The next step is related. Treated seeds are engineered to be less likely to rot while they slowly soak up enough water to germinate. The way to bypass this issue when using untreated seeds is to soak the seeds overnight or until they plump up and lose their wrinkles. Even though you’ll be sprouting your seeds inside where rotting is less likely, you might as well soak your seeds.

Setting up your sprouting trays

Growing pea sprouts

The next question is — what should you plant your pea seeds into?

I was experimenting and didn’t want to commit to an entire flat to pea seedlings, so I dug into the recycling bin for potting containers. Clamshells from the grocery store are great since they have drainage holes in the bottom and a lid you can close to keep the soil surface damp during germination.

I tried out two depths of clamshells and highly recommend you choose the deepest tray possible. A 1.5-inch tray barely gave us two cuttings of sprouts while a 3.5-inch tray gave us at least three. (More on that later.)

Once you’ve chosen your planting container, fill it up with potting soil, then spread the soaked seeds in a layer along the top. I packed them in so the seeds were touching, which maximized the planting space.

Harvesting pea sprouts

Cut pea sprouts above the bottom leaf.

Now it’s a waiting game. Once your peas send up shoots that are multiple inches long, cut each sprout just above the bottom leaf.

The photo above shows a pea plant at its second cutting. Notice how it resprouted from the same point (which it will do again and again). Don’t cut below all the leaves, though, or you’ll only get a single harvest!

How many harvests to expect

Harvesting pea sprouts

Our first harvest was small (but tasty!). The photo above shows the total yield from both planting containers.

Growing pea sprouts indoors Homegrown pea sprouts

The second and third cuttings were larger. The images here show the plants and their yield after the third cutting.

After that, I realized I’d made a bit of a mistake. Our pea plants kept sending out new shoots even though I hadn’t put them in a window or under artificial lighting, so I figured they were fine in low light. But after the third cutting, it became clear that the seeds had used up all of their stored energy.

Which is a long way of saying, harvest four from the deep pot was scanty. Harvest four from the shallow pot was nonexistent and a lot of the plants died all the way back.

I put the deeper pot on a windowsill after that and am hoping we’ll see enough growth to get a fifth harvest. But even if this is the end, sprouting leftover pea seeds was definitely a low-work and nearly free way to add something fresh to our winter diet. (Plus, greenery inside in January makes me smile.)