Posted on

Tips for early spring peas

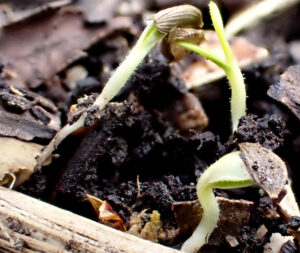
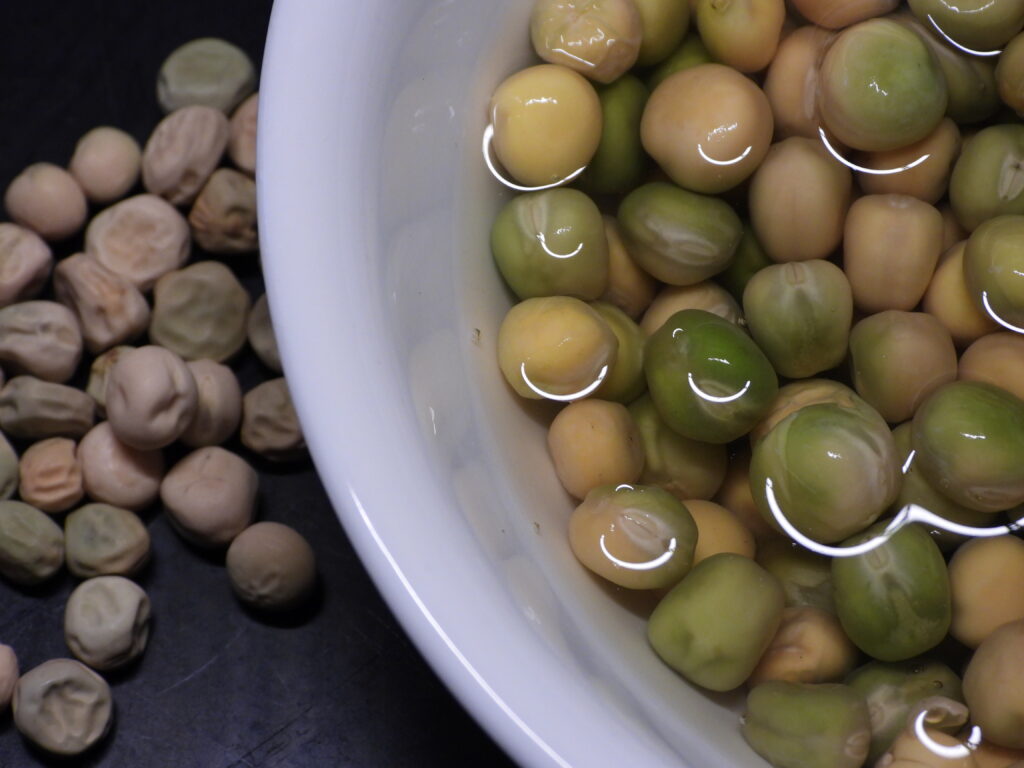
Soaking pea seeds

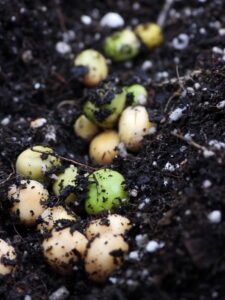
Planting pea seeds thick

Peas don’t like heat, so it’s a good idea to plant them as early as possible. But if you plant too early, you’ll end up with only a couple of survivors spread across a large trellis, wasting precious garden space. What’s the solution?

Early-planted peas can do well, but you need to stack the deck for success. First, soak your pea seeds inside for at least four hours, during which time they’ll plump up and wake up. You can actually keep them inside until they sprout, but you’ll want to pour off the water after twelve hours or so and cover the seeds with a humidity dome if you go that route. Sprouted peas also need to be handled more carefully to prevent the tender new roots from breaking, so I usually just do the four-hour-plumping-up soak.

Next, out in the garden, ignore the instructions that pea seeds should be spaced one to three inches apart. Instead, drop them into a furrow in dense clumps before covering them up.

Protecting pea seedlings from critters(Of course, it goes without saying that you waited until the soil was at least 35 degrees Fahrenheit, planned for rain to keep the seedlings growing fast, and didn’t plant just before an extended cold snap.)

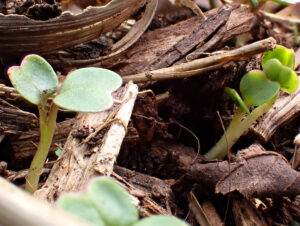
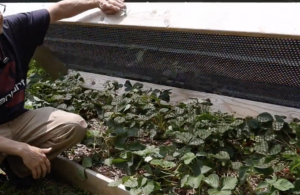
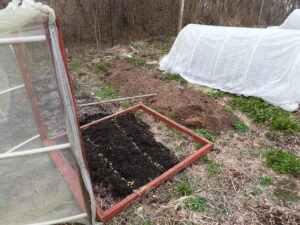
Finally, find some way to protect your pea seedlings from critters. The same sprouts that are delicious on our table are also a favorite of rabbits and other garden invaders. We use caterpillar tunnels over our spring pea beds, keeping the enclosure in place until the plants are tall enough to need a trellis.

After all that, it’s time to wait and hope. Fingers crossed for a copious, early crop!

Posted on

A brand new gardening course for you!

Garden Course Sale

Porch planter boxAs long-time readers are aware, Mark’s a big believer in building your way out of repetitive or unpleasant homesteading tasks. So I get to enjoy his amazing caterpillar tunnels, porch-top planter boxes, anti-chipmunk strawberry beds, anti-bird raspberry area, and deer-proof garden fence.
Now, after a year of making me talk in front of a camera then plunking Mark down in front of editing software, you can enjoy a deep dive into each of those projects. For another day or two, you can even nab your copy at 50% off!

This is our second video course and I hope it comes across as tighter, more informative, and more entertaining than the first one. (It certainly felt that way to me, but maybe I’m just getting over my annoyance at seeing myself in moving pictures.)

Caterpillar tunneslAs a bonus, Udemy courses come with a lifetime subscription to updates. For example, folks in our Soil-First Gardening Course paid up front for an hour-long course just like this one, then got a bonus half hour of cover-crop information a few months later totally free even though the course increased in price by $10 at the same time.
Which is a long way of saying — I hope you’ll grab a copy now while DIY Gardening Projects is brand new and the cheapest it will ever be!  if you really want to make our day, please consider leaving a review after you watch. Reviews not only help strangers decide to take a chance on our courses, they also give us ideas of what to add and how to do better next time.

Happy learning!

Posted on

Propping up anti-bird netting

Propping up anti-bird netting

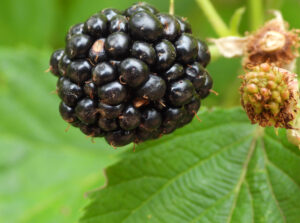
Blackberry

Our berry enclosure has been unsuccessful at keeping out chipmunks but successful at keeping out birds. So we moved our strawberries (aka chipmunk magnets) to a different setup and are using the space left behind for blackberries, raspberries, and gooseberries.

This year, we’ve had great harvests from all of our berries, which means I visit the berry enclosure a lot. And that also means bird netting rubbing against my head every time I take a step turned into a drag. Time to solve that problem once and for all!

My first step was to look back through old Walden Effect posts, where I found this great solution in another gardener’s berry area. Now, how to recreate it to mesh with our existing setup?

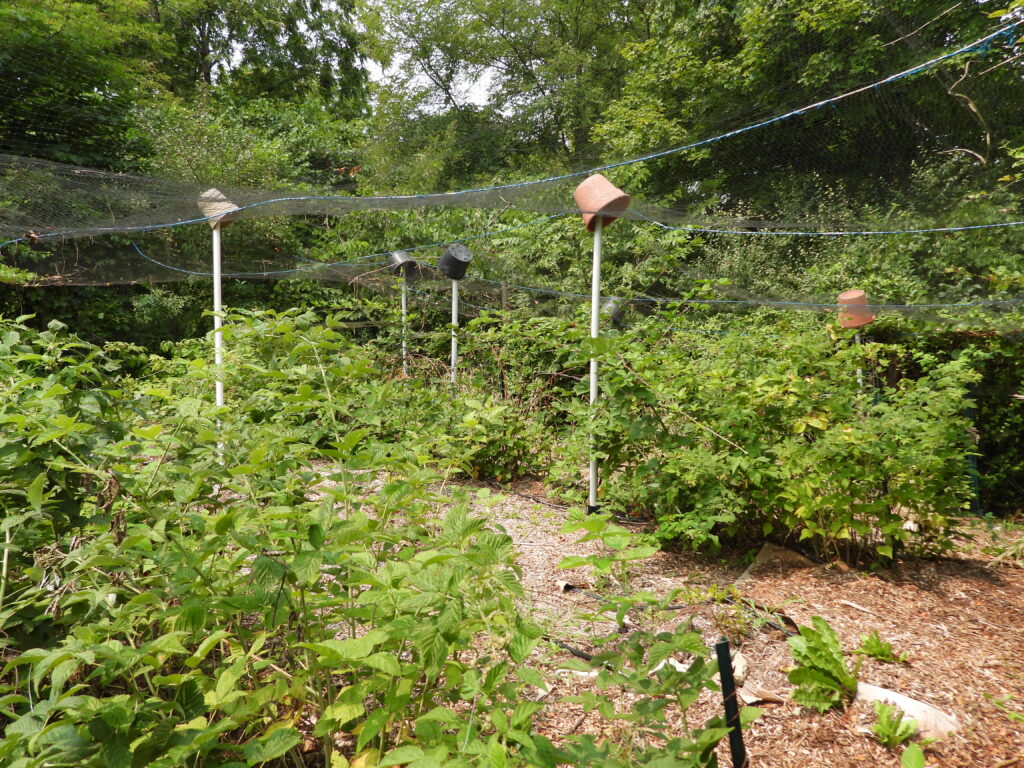
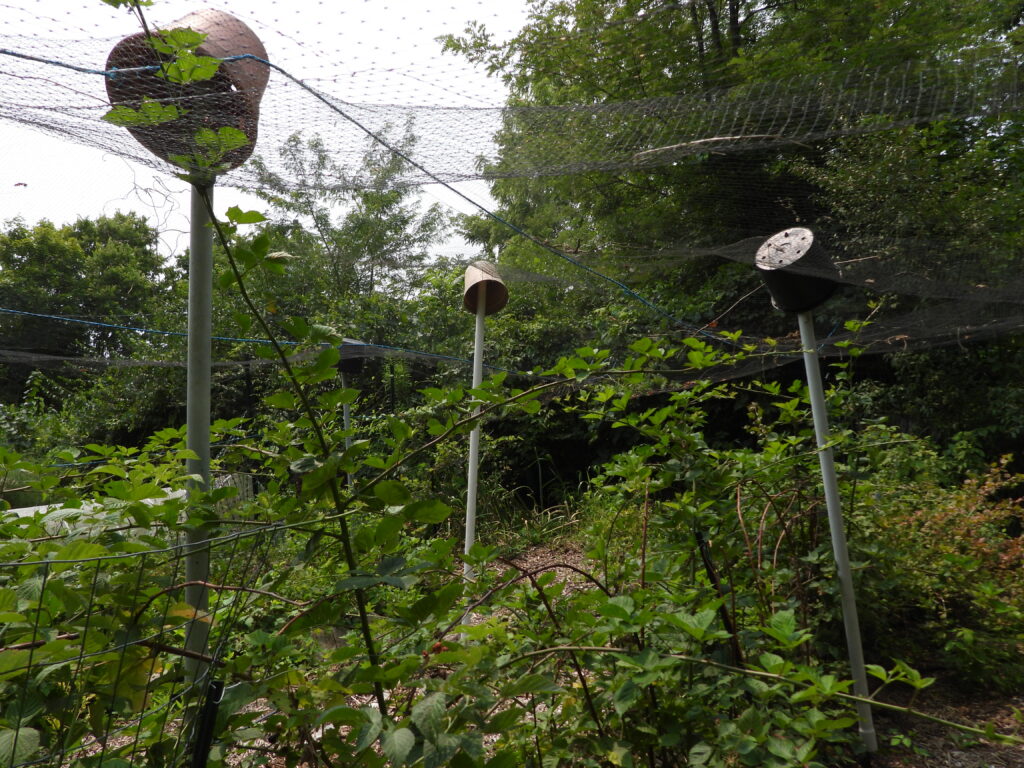
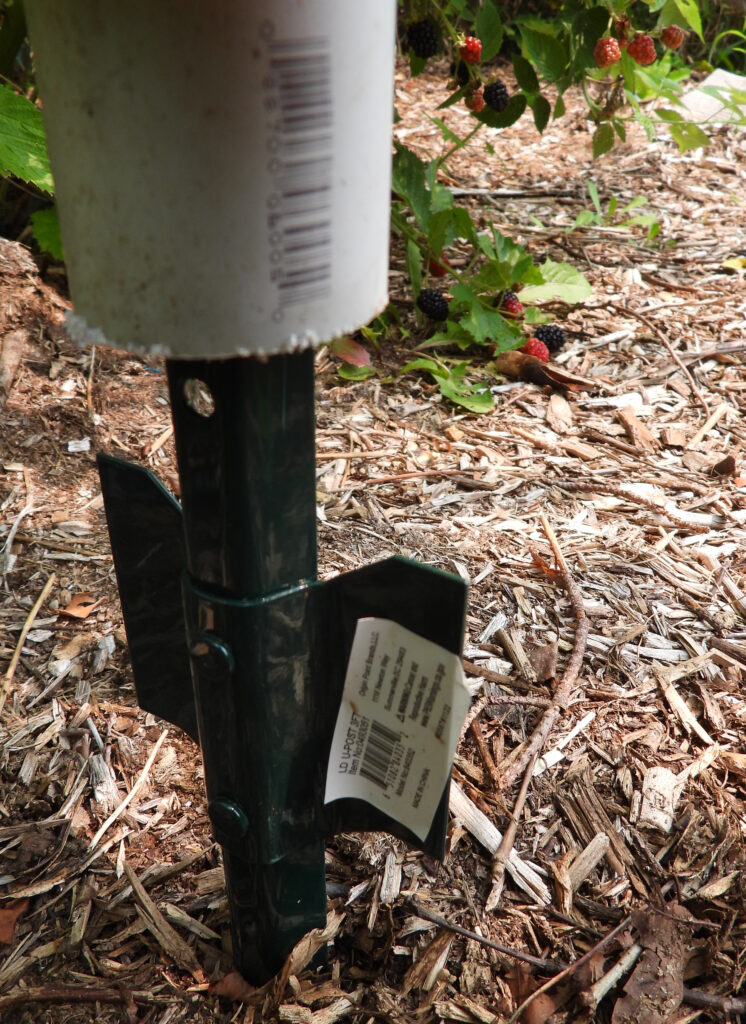
A PVC pipe on top of a fencepost

We had a lot of 10-foot PVC pipes lying around, purchased when we thought we’d need to extend our garden fence to 10 feet to keep out deer. That turned out to be unnecessary, so I decided to repurpose the pipes into berry-netting supports.

Next, we need to find a U-post that would slide easily inside the pipes. The cheapest, shortest ones were a fit!

Berry enclosure

I ended up cutting a couple of feet off each PVC pipe before sliding it onto the post since there was only so much wiggle room in our existing system. If you’re starting from scratch, you can probably use the full height.

Last step was to plop old plastic flower pots on top of each pipe to spread out that pressure point and prevent pipes from poking through netting if leaves fall before we take our setup down. If you repeat this, be smarter than I was — don’t stare up at the flower pot as you raise the pole into place or you’ll end up with an almost black eye!

We’re thrilled with the result, although the enclosure still has one big flaw. Honeysuckle has taken over the fence edges and each season it expands to twine into our berry netting. We’re still working out solutions on that front. In the meantime, eating lots of berries is a great reward for not-so-hard work.

Posted on

Garden experiment updates

I’m sure you’ve been waiting with baited breath to hear how various experiments panned out. Wait no longer! Results are in.

Quirk cucumbers

Quirk cucumber

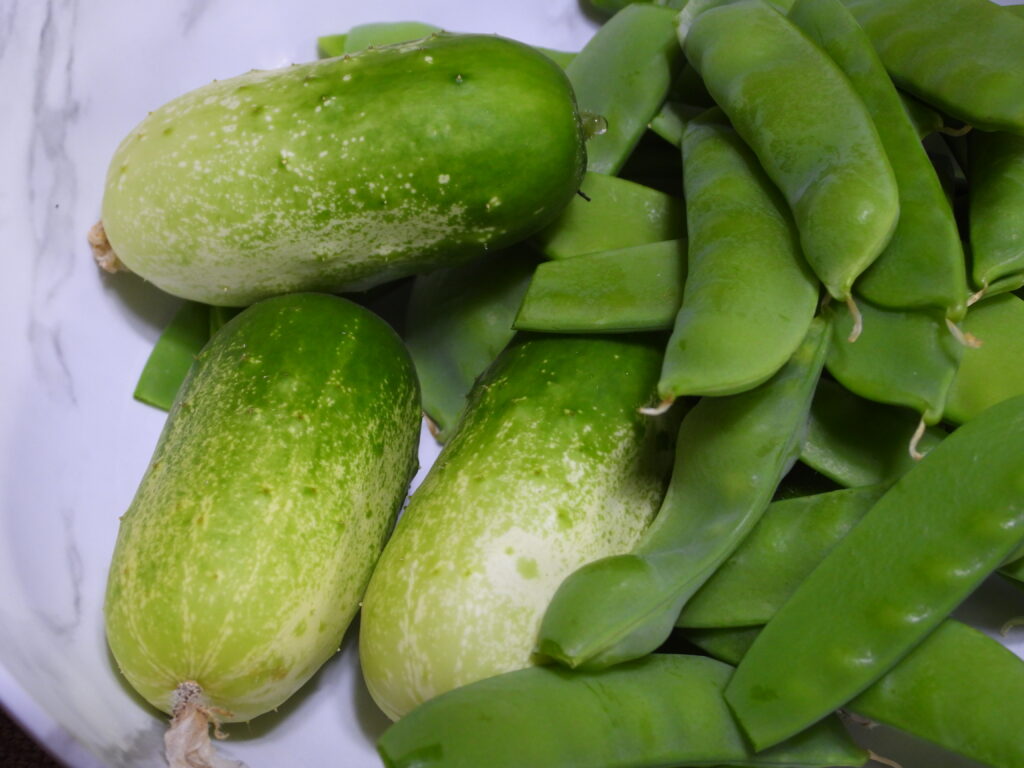
Of the new vegetable varieties we’re trying this year, the Quirk cucumber, has already proven itself a winner. They’re sweet and tender and at least as productive as our other cucumber types. Just keep in mind that they mature quite small, so pick when you can still see the dried-up blossoms on the end.

Highly recommended! We’ll definitely be growing these again next year.

Overwintering a garden under a pool cover

Weed-free spring garden

Remember how my mothers-in-law laid down an old solar pool cover over their garden beds last fall? They didn’t plant until around the frost-free date this spring and left the pool cover on until just before planting.

By the time they took it off, nearly all of the maple leaves they’d topdressed the beds with had melted into the soil and the entire area was completely weed-free. Even weeks later, they’re only seeing very mild weed pressure, suggesting that seedlings sprouted under the pool cover then died. (My mind is blanking on which garden writer recommends a similar technique, but using black plastic. Maybe you can refresh my memory in the comments?)


Planting spring vegetables early vs. late

Planting spring broccoli early vs. late

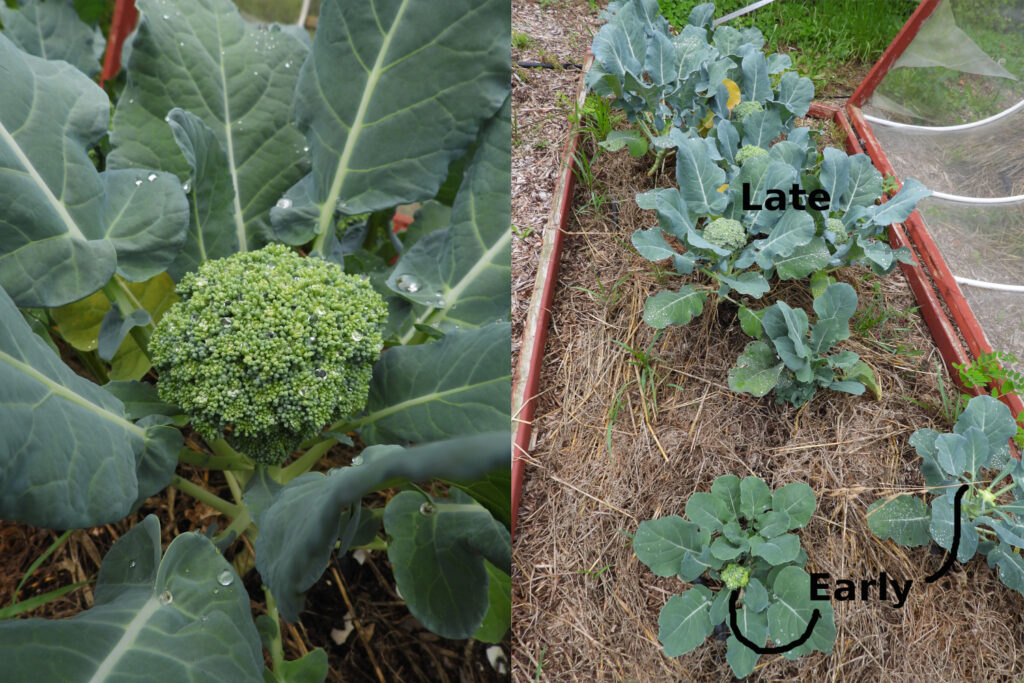
This experiment involved planting some broccoli seedlings early enough that their tops got a little nipped then setting out seedlings started inside at the same time considerably later. The expected tradeoff was that the early planted broccoli would grow more roots at the expense of their tops while the later planted broccoli would grow more tops at the expense of their roots.

The results are a little more mixed on this one. The early planted broccoli gave me the results I always get (because I usually plant at the first possible moment). They headed up at various sizes — some huge, some tiny, many medium. In contrast, the late-planted broccoli were more regular in size — all on the small side of medium — and they headed up one to two weeks later than the early planted broccoli.

When thinking of this in terms of overall yield, it’s important to note that we keep picking side shoots for a long time from our spring broccoli. That’s a data point in favor of the early planting, even though some of the early broccoli made teensy little initial heads.

That said, it’s nice not to have all of my excess broccoli needing to be frozen at once. Which is an argument for hedging my bets by planting both ways in future.


How about you?

Any garden experiments you’d like to share results of with the with the world at large?

Posted on

Growing and cooking homegrown asparagus

It’s asparagus season and high time for an asparagus post! I’m not going to regurgitate the information you can find in any book or website about giving your plants a few years to get their feet under them before starting to harvest, keeping the weeds at bay, etc., though. Instead, I thought I’d share a few observations I’ve made over the last decade plus of growing our own asparagus then gorging on the harvest.

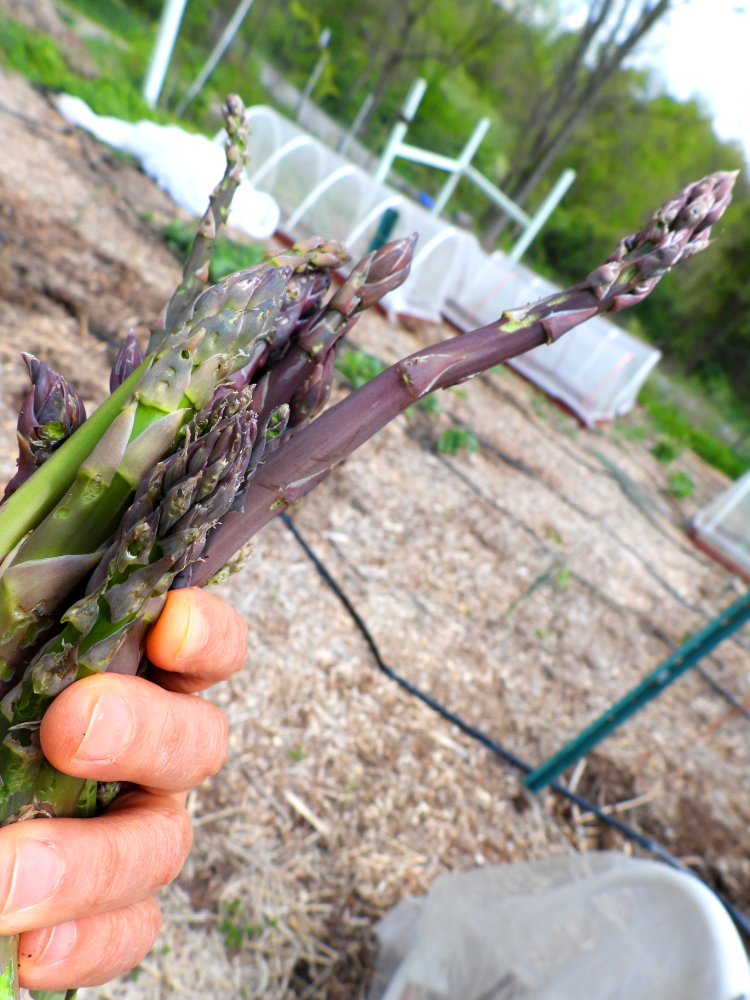
Handful of asparagus

Our favorite variety

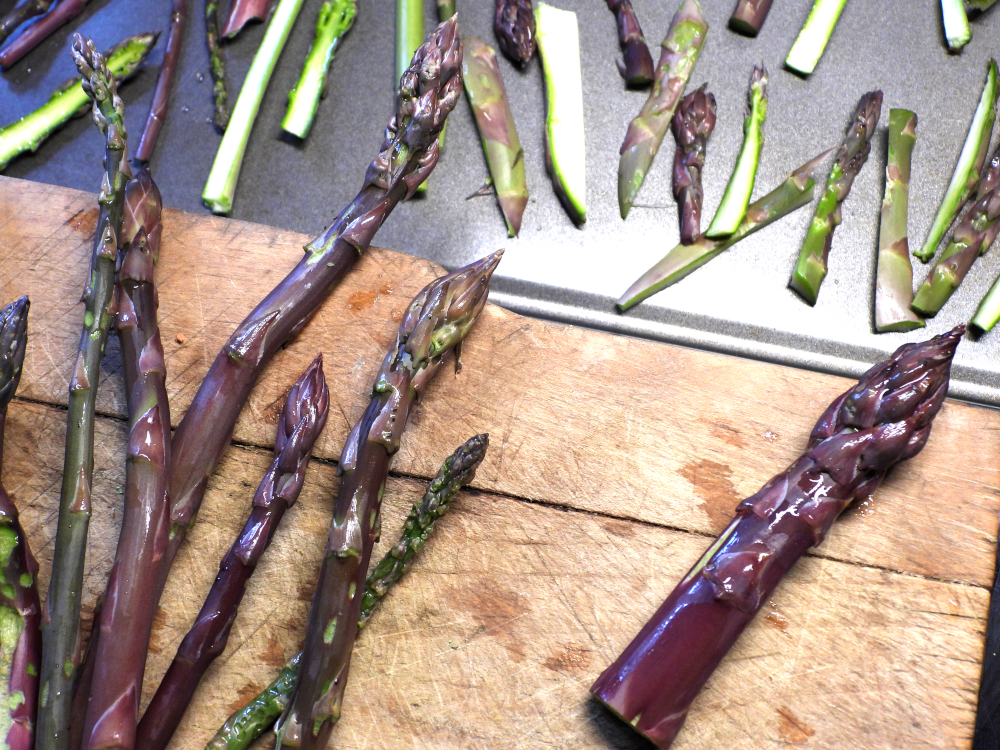
Don’t buy purple asparagus expecting it to look pretty on your plate. As soon as you cook them, purple spears turn green.

But do plant Purple Passion! Mark’s mom gave us five plants the same year we planted our main patch and they’ve turned out to be the earliest producers and the heaviest producers in our garden.


Early harvests

For the earliest harvests, rake back the mulch and any top-dressed compost a couple of weeks before you expect to see spears. This will let the ground warm faster and will buy you perhaps a week over your non-raking neighbors’ plots.

Of course, that opens you up to freeze damage which will melt your delicious veggies into goo. So, when you expect a freeze, head out and pick every spear in sight. Well, almost every spear. If an asparagus plant is less than three inches tall, I’ll instead take a leaf from my mom’s book and drop a handful of that raked-off mulch back over top for freeze protection. No need to remove it after freeze danger passes either. Pointy asparagus will push right on through.


Cutting up asparagus

Delectable roast asparagus

Unlike grocery-store asparagus, ours tends to come out of the garden with some tiny spears and some huge spears. If they go into the oven all different sizes, the smallest spears will burn before the bigger ones turn sweet. So if you’re like us and crave the caramelized sweetness of asparagus roasted in olive oil until the edges go brown, be sure to cut up your spears to make them evenly sized.

That’s all there is to years of delicious harvests. Enjoy what we consider one of the easiest and most dependable crops!

Posted on

Should you plant your spring garden early?

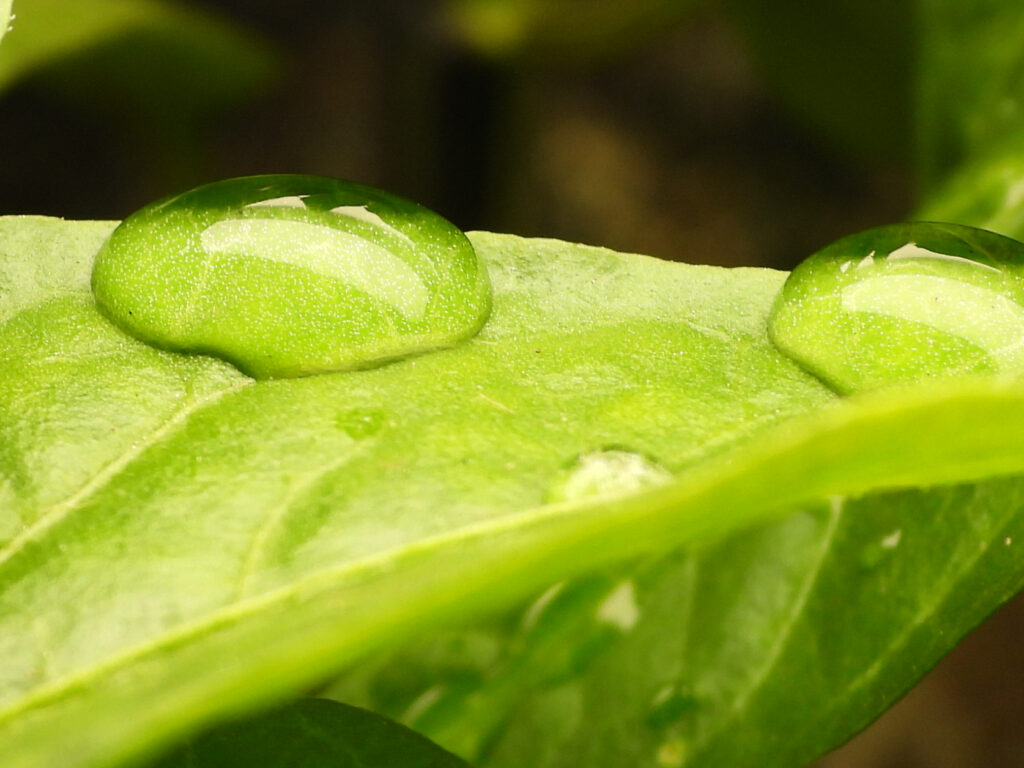
Water droplets on a pepper leaf

I don’t have a plant problem…yet.

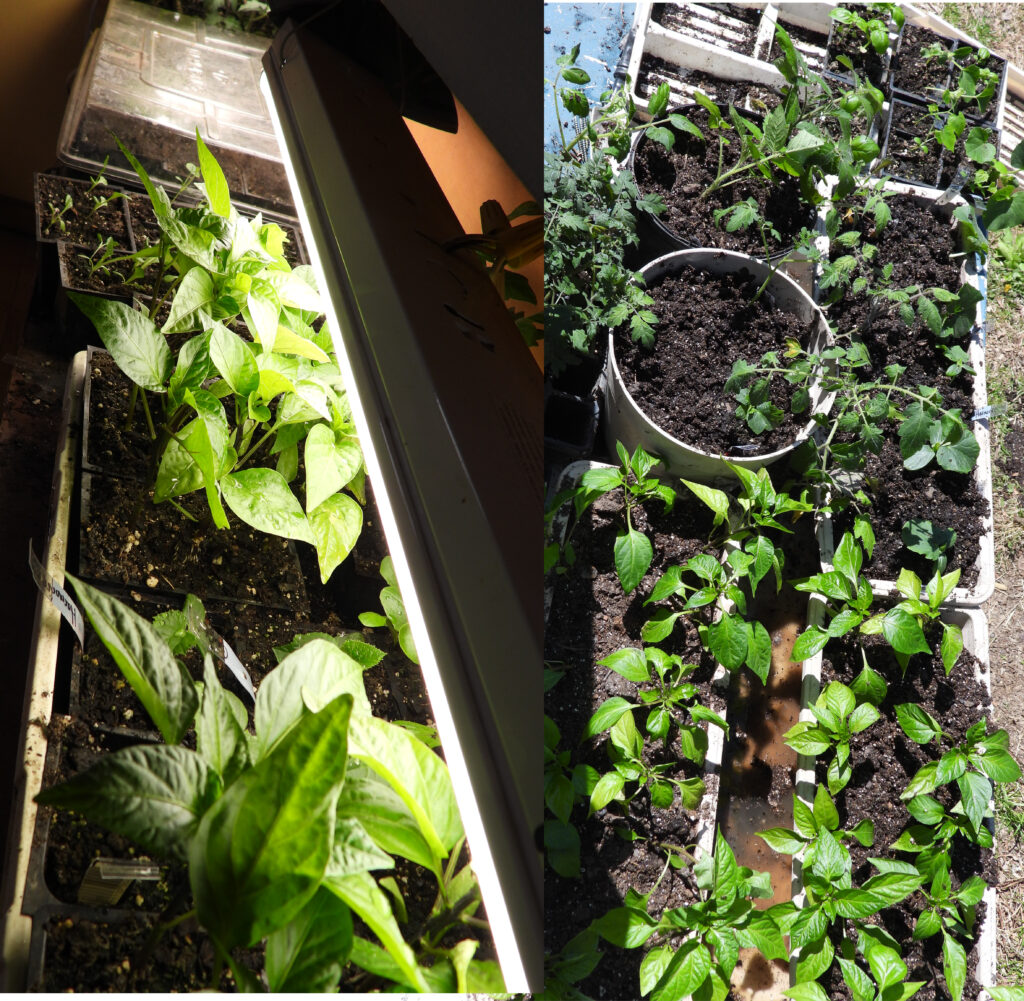
Potting up spring seedlings

But I did pot up my indoor seedling shelf (left photo) into an outdoor seedling table (right photo) this afternoon. Which will be great…until the next low in the 30s, forecast to show up in six short days.

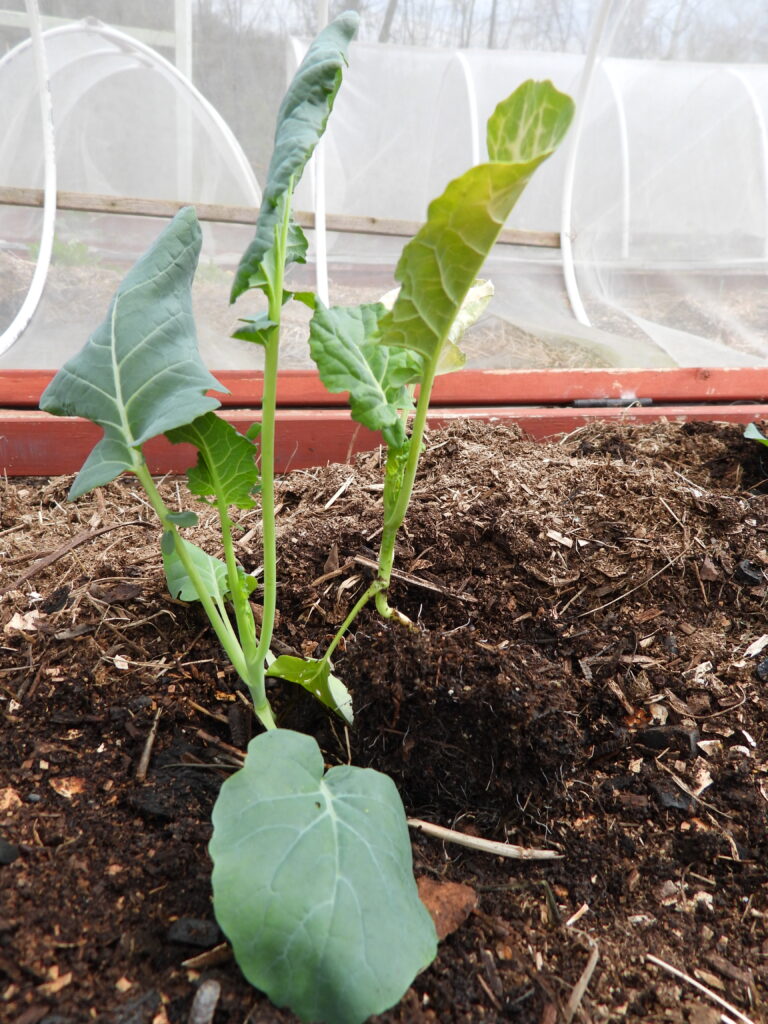
Broccoli seedlings

The reason for all this potting up is that I started some of my seedlings — peppers, tomatoes, and the first round of cucumbers — earlier than usual this year. That means they need to be potted up and/or put into the ground earlier than usual. I’m on the fence about how smart it is to really push the spring garden envelope this way, so I’m doing a side-by-side comparison in my broccoli beds.

The broccoli story began when I set out most of my broccoli seedlings on March 21, covered them up during a cold spell that dropped into the high 20s, and watched what always happens happen again. The broccoli plants got a little nipped but not so bad that they won’t produce.

Meanwhile, I had another eight plants that I wasn’t able to fit into the designated space, which I kept inside for an extra two weeks. The indoor plants quickly outpaced the outdoor plants in size and I thought to myself, “Why not rip out some of the outdoor plants and replace them with bigger indoor plants to see whether I would have been better off not jumping the gun?” On April 3, the second round of plants went into the ground.

In the photo above, one of the indoor-longer plants is on the left. On the right is the outdoor-longer plant I’d just pulled out. I’ll try to remember to make another post in a month or two once it becomes clear which set of plants is doing best.

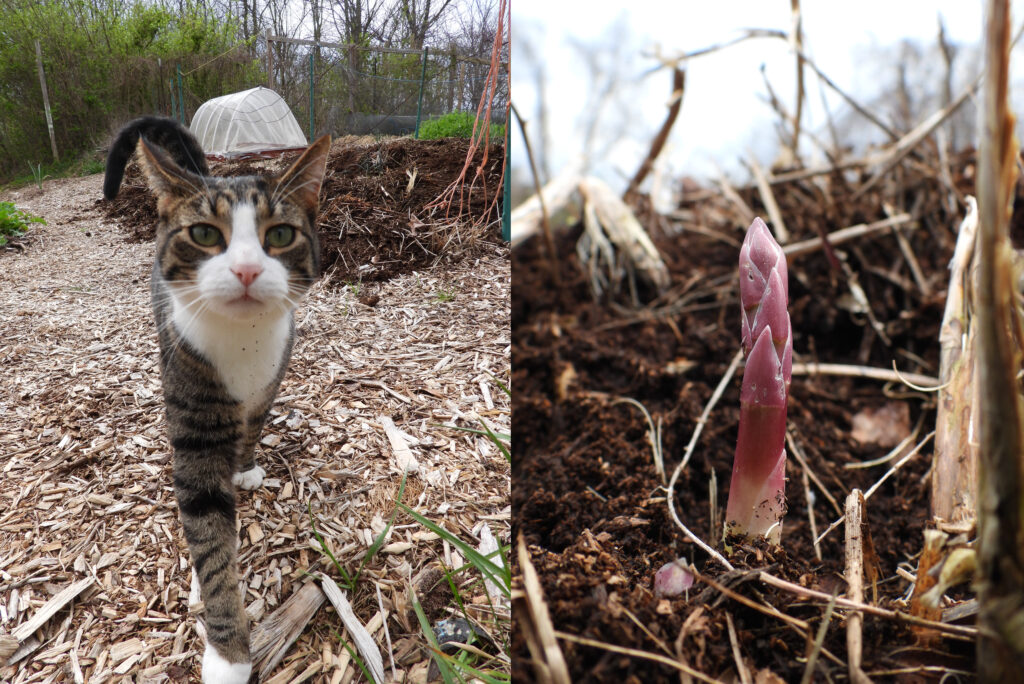
First asparagus and garden cat

In other garden news, we picked our first three asparagus spears Sunday! Dandelion, our garden guardian, predicts many more will head into our bellies soon.

How’s your garden growing?

Posted on

The best time to prune raspberries and blackberries

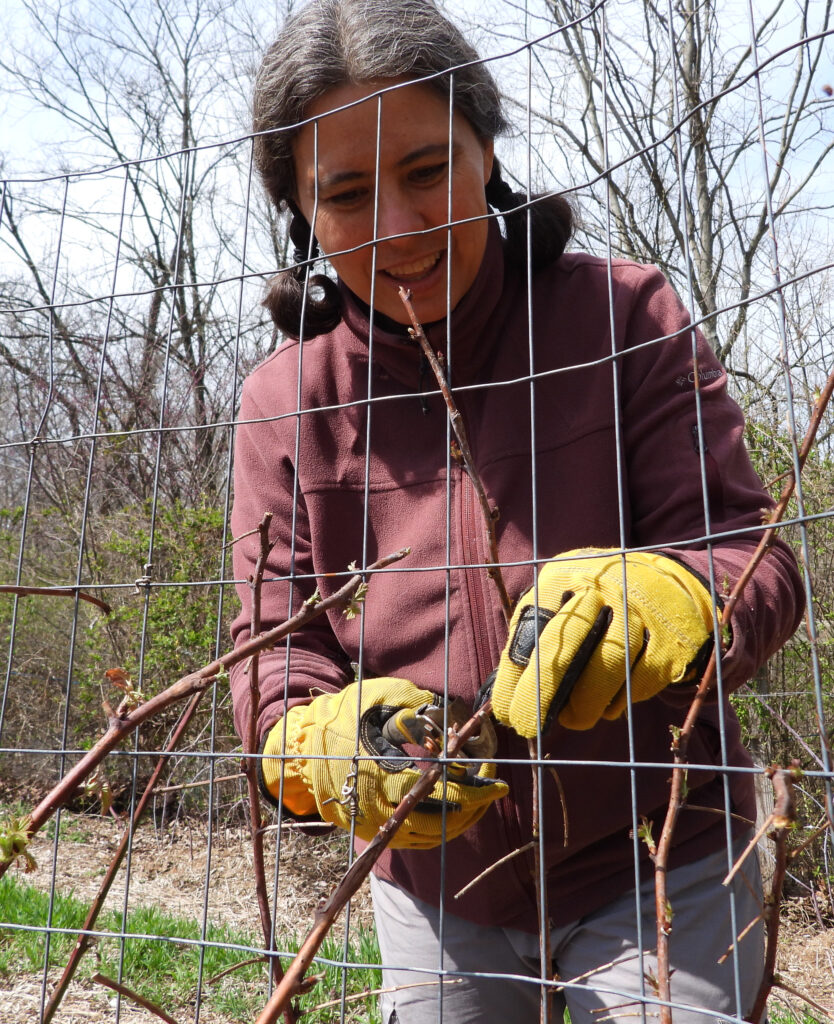
Pruning raspberries

I’ve pruned our black raspberries, everbearing red raspberries, and blackberries in spring, summer, and winter and the plants really don’t seem to care what the calendar said. So nowadays I prune at a time that works for me.

In my opinion, the toughest part of pruning brambles that have primocanes and floricanes is figuring out which canes have gone through their two-year cycle and are dead. Second toughest is figuring out where the dead tops of everbearing raspberries start.

The solution to both of these puzzles is to wait and prune once the leaf buds have started expanding. At that point, it’s obvious at a glance which canes (or parts of canes) are alive or dead.

The bonus of pruning at this time of year is that it gives you an excuse to be out in the garden on stunning days without encouraging you to plant annual crops too early. (This is a case of do as I say, not as I do — we already have lettuce and peas and parsley and broccoli in the ground. Most of it is sitting there giving me the stinkeye for planting too soon!)


Soil-first gardeningOn an unrelated note, Mark and I just added half an hour of cover-crop content to our Soil-First Gardening course. If you already own a copy, you can simply log in and enjoy the new videos. If you haven’t grabbed your copy yet, now’s a great time since you can use this coupon link to get 67% off through April 1. Enjoy!


Posted on

Time to plant broccoli


If you have some broccoli seedlings maturing inside today is the day to set them free.

Broccoli is one of our biggest producers thanks to Anna’s careful planning and our new caterpillar protection method which blocks that seemingly harmless moth from making you nourish her young at the expense of beautiful broccoli plants.

Posted on

New chicken books

Proof copies of chicken books

Do you have friends jumping on the chicken bandwagon this spring? Then I hope you’ll point them toward my Getting Started With Your Working Chicken, entirely free in ebook form and dirt cheap even as a (brand new!) paperback. I think of this title as a bit like the bare-basics books at pet stores intended for folks impulse buying a new type of animal. The goal is to bring new chicken keepers up to speed in half an hour so they don’t get overwhelmed by the deluge of options right off the bat.

Want to help me out by spreading the word about the paperback release (and possibly win a copy)? You can enter our rafflecopter giveaway here.

Building a DIY Chicken Waterer

Adding a clear roof over a planter boxMeanwhile, we’ve been hard at work coming up with a new ebook in the Permaculture Chicken series. Building a DIY Chicken Waterer will launch next month, and you can preorder the ebook for a buck off. (There will be a paperback too, but I’m still working on it. As you can likely tell, the font size needs increased. Stay tuned for a preorder announcement soon!)

And, finally, the third chicken book on my plate this year is an update to Thrifty Chicken Breeds. Want to share your wisdom and win a free copy of the ebook? Just comment below with your favorite breed(s), a photo (which can be emailed to anna@kitenet.net if it’s hard to leave in the comment), and a short writeup of why you prefer the one(s) you prefer. If I use your info, you’ll get a free copy of the revised ebook once it’s ready to go.

(Oh, and in case you’re curious what Mark’s up to this photo, it has nothing to do with chickens. He’s adding a clear roof to his newest porch planter box to prevent roof runoff from swamping our crops. I’m hoping this will also make for an even lower-blight situation for tomatoes this summer. Stay tuned to find out if it works!)

DIY chicken waterers

Update: Building a DIY Chicken Waterer is now live in print and available to preorder as an ebook!

Posted on

Agribon fabric protection

Another advantage to using a planter box is how easy it is to cover delicate plants in hopes of surviving a dip down to 20 degrees.

I made a rectangle the size we needed and attached just one layer of Agribon fabric. The literature says only use one layer for optimum results.

We are hoping this new method in the planter box will help the Snow Peas make it to our table a little faster than last year.