When Mark and I moved to Ohio, I was excited to continue the strawberry plants I’d started growing in Virginia. Everything was going great until the chipmunks came along and ate my entire crop. After trying everything, I was ready to throw in the towel. Then Mark came along and said, “Anna. No. We’re not giving up on strawberries. I can fix this!”.
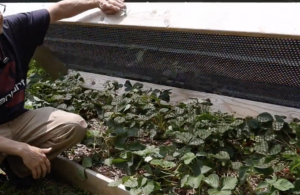
His solution was an ingenious critter-proof strawberry bed, outlined in full detail in my new book, Building a Better Garden: DIY Gardening Projects. Essentially a raised bed with a hinged cover, it works great not only for strawberries but also for melons and any other short plants critters like to nibble on. To build your own:
 Construct two rectangular frames out of treated decking boards, which will serve as the base and the cover for your bed.
- Under your bottom frame, attach a layer of hardware cloth. This prevents chipmunks from digging into your plants from underneath.
- Fill up your bottom frame with soil.
- Use two door hinges to attach your rectangular frames together.
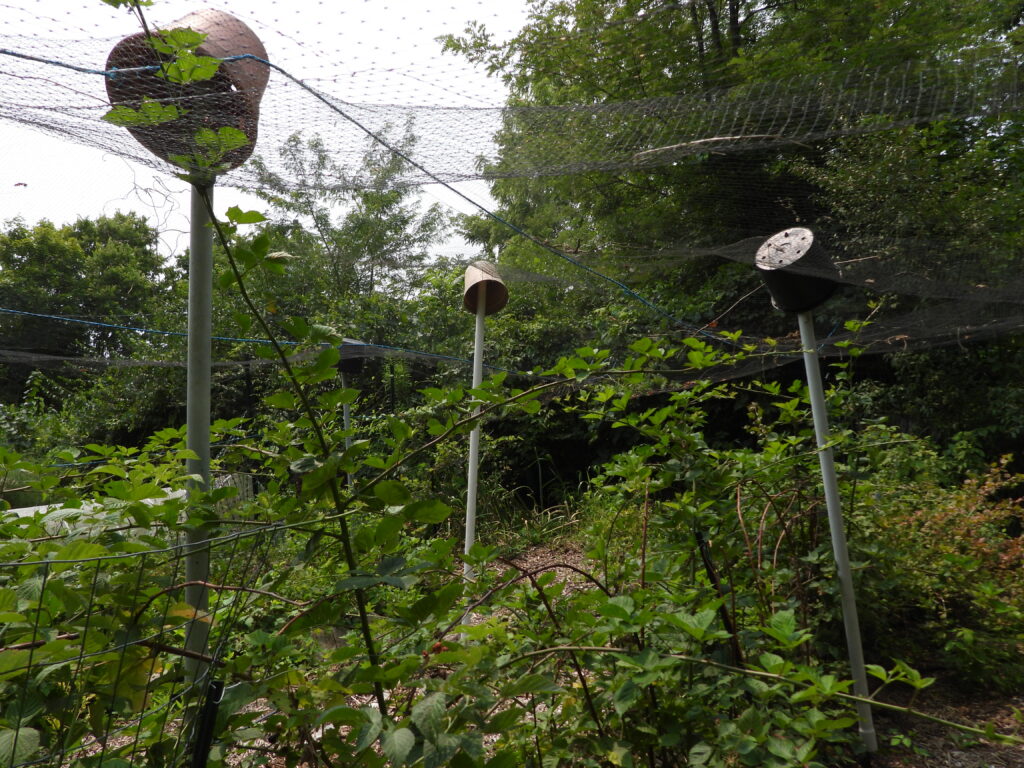
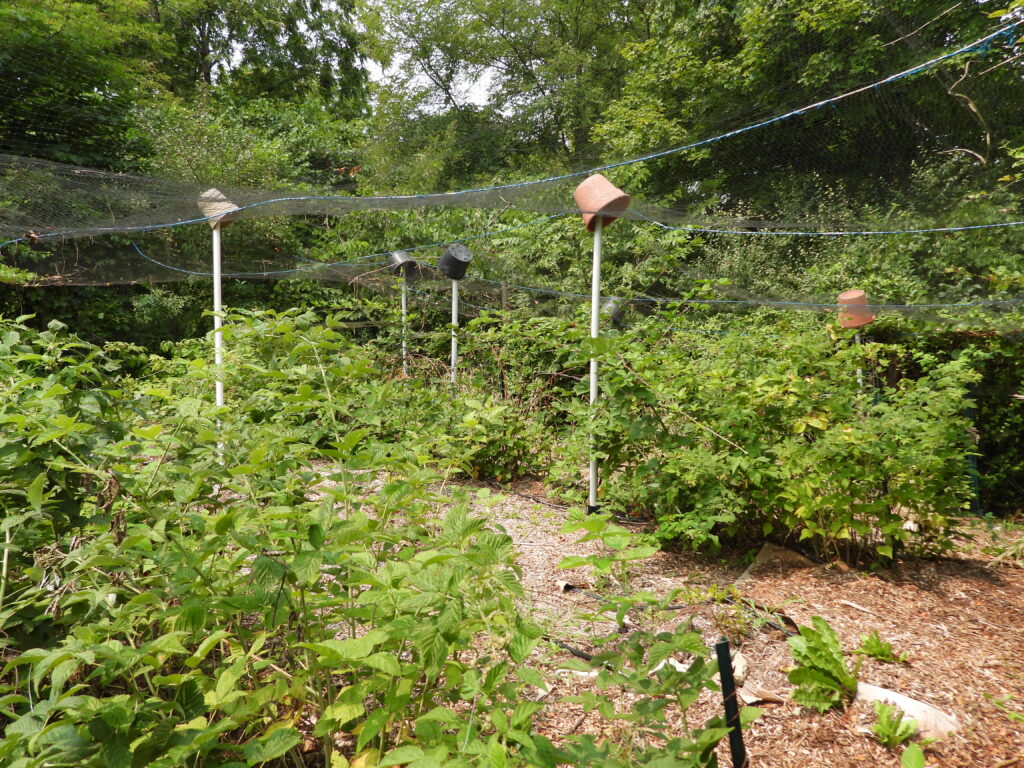
- Attach a plastic mesh to the top of your upper frame using exterior screws and small washers. The mesh should have holes large enough to let in water, light, and pollinators but small enough to keep critters out.
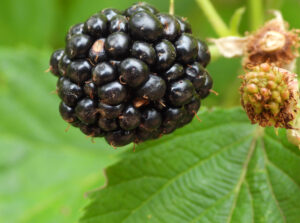
- Plant your strawberries and enjoy your delicious, chipmunk-free harvests!
For more information on the critter-proof strawberry bed, as well as five other great projects to keep out pests and grow a bountiful organic garden, check out Building a Better Garden: DIY Gardening Projects, available as an ebook and in print. Plus, you can check out the video course for more hands-on construction details if you prefer that format over reading. Enjoy!