Have you ever walked through a forest in autumn and wondered if those acorns crunching underfoot could be turned into something delicious? With a bit of know-how, these wild treasures can be transformed into versatile acorn flour for pancakes, tortes, and more!
I attended an excellent workshop yesterday at our local library on that very topic and could tell that Austin Cannon was speaking from personal experience. I thought you might enjoy seeing and reading the highlights.
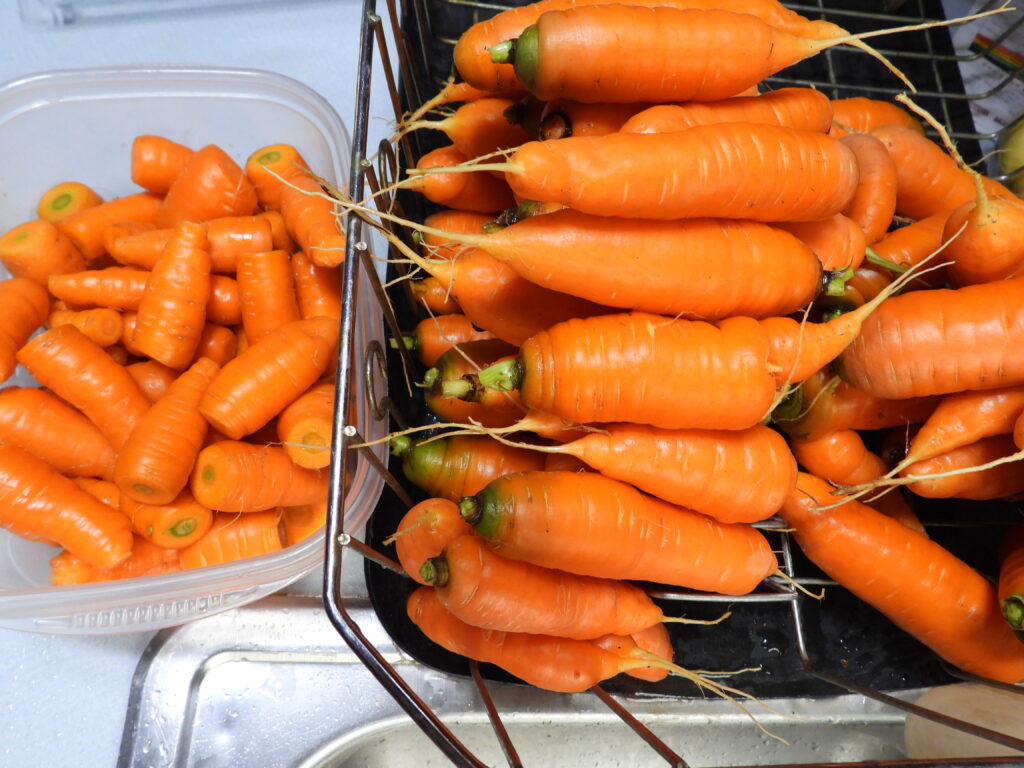
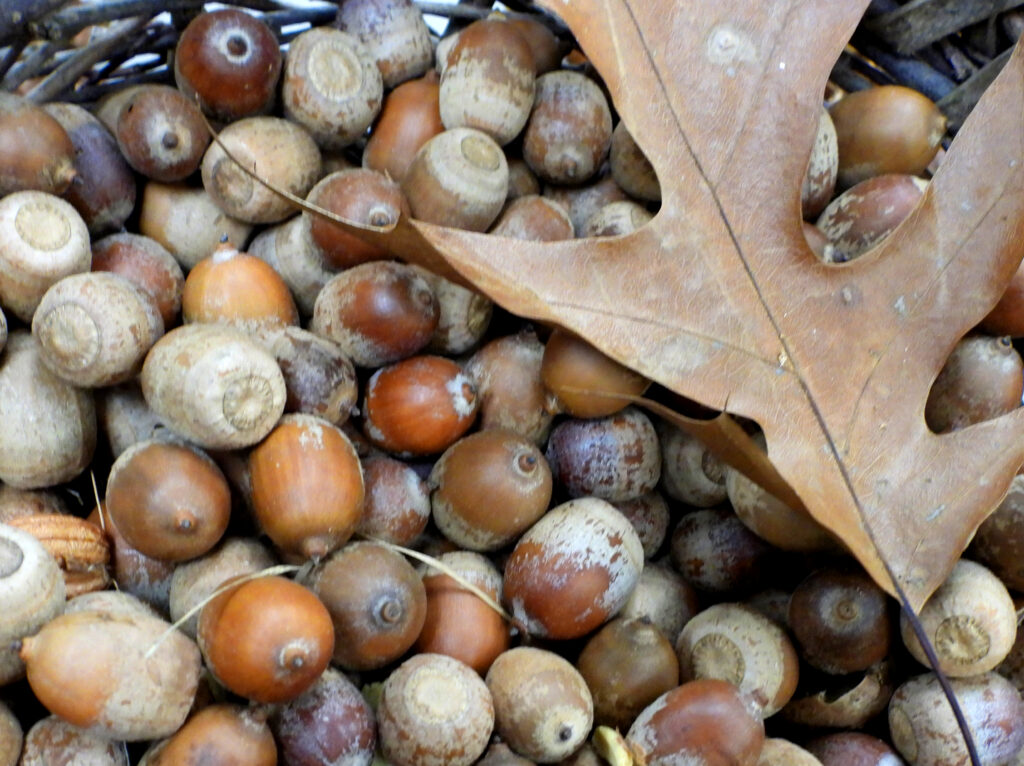
Step 1: Gather acorns
While you can pick up acorns in the woods, Austin instead recommended looking for park situations where lawns are maintained below the trees. That makes it easy to gather the nuts (and also helps you compete with squirrels).
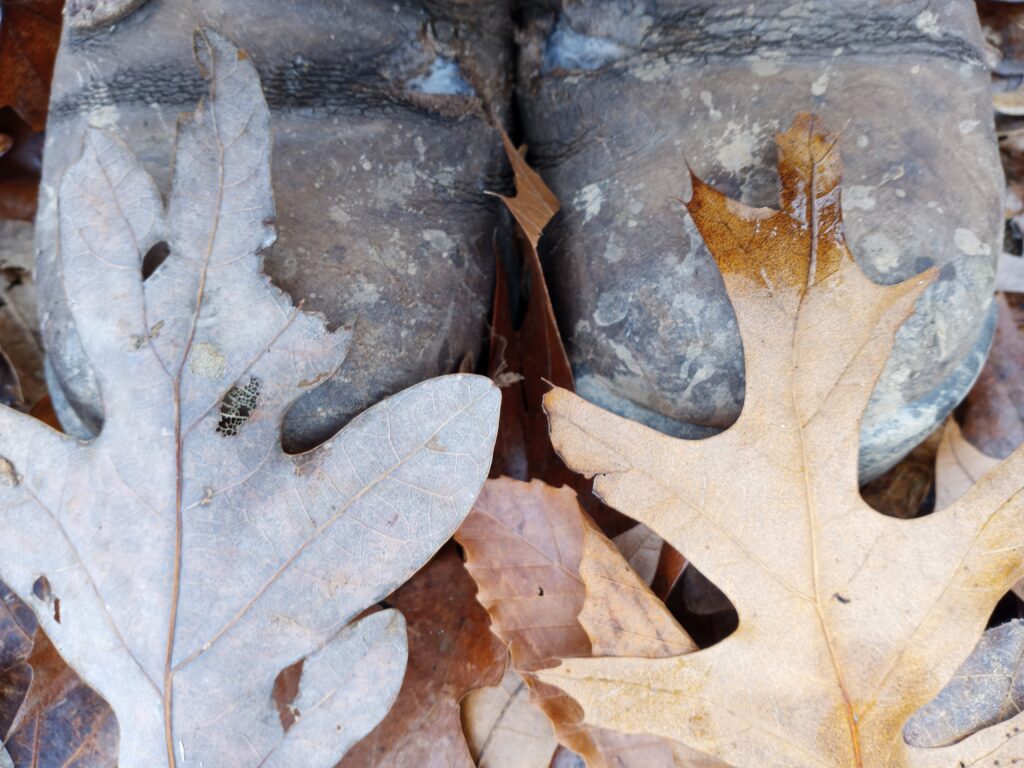
You’ll want to identify what type(s) of oaks you’re gathering so you can separate your haul. Species in the white oak group have rounded lobes — Chestnut Oaks are a great example with big acorns. Species in the red oak group have pointy-tipped lobes and include Red, Black, Scarlet, and Pin Oaks, among others.
White-oak-group acorns need to be processed or frozen immediately since they’ll begin to sprout in a matter of days. Red-oak-group acorns can be checked over (see the next section), dried, then stored in a rodent-proof location like a metal trashcan at room temperature for up to four years.
Step 2: Assess the quality of your acorns
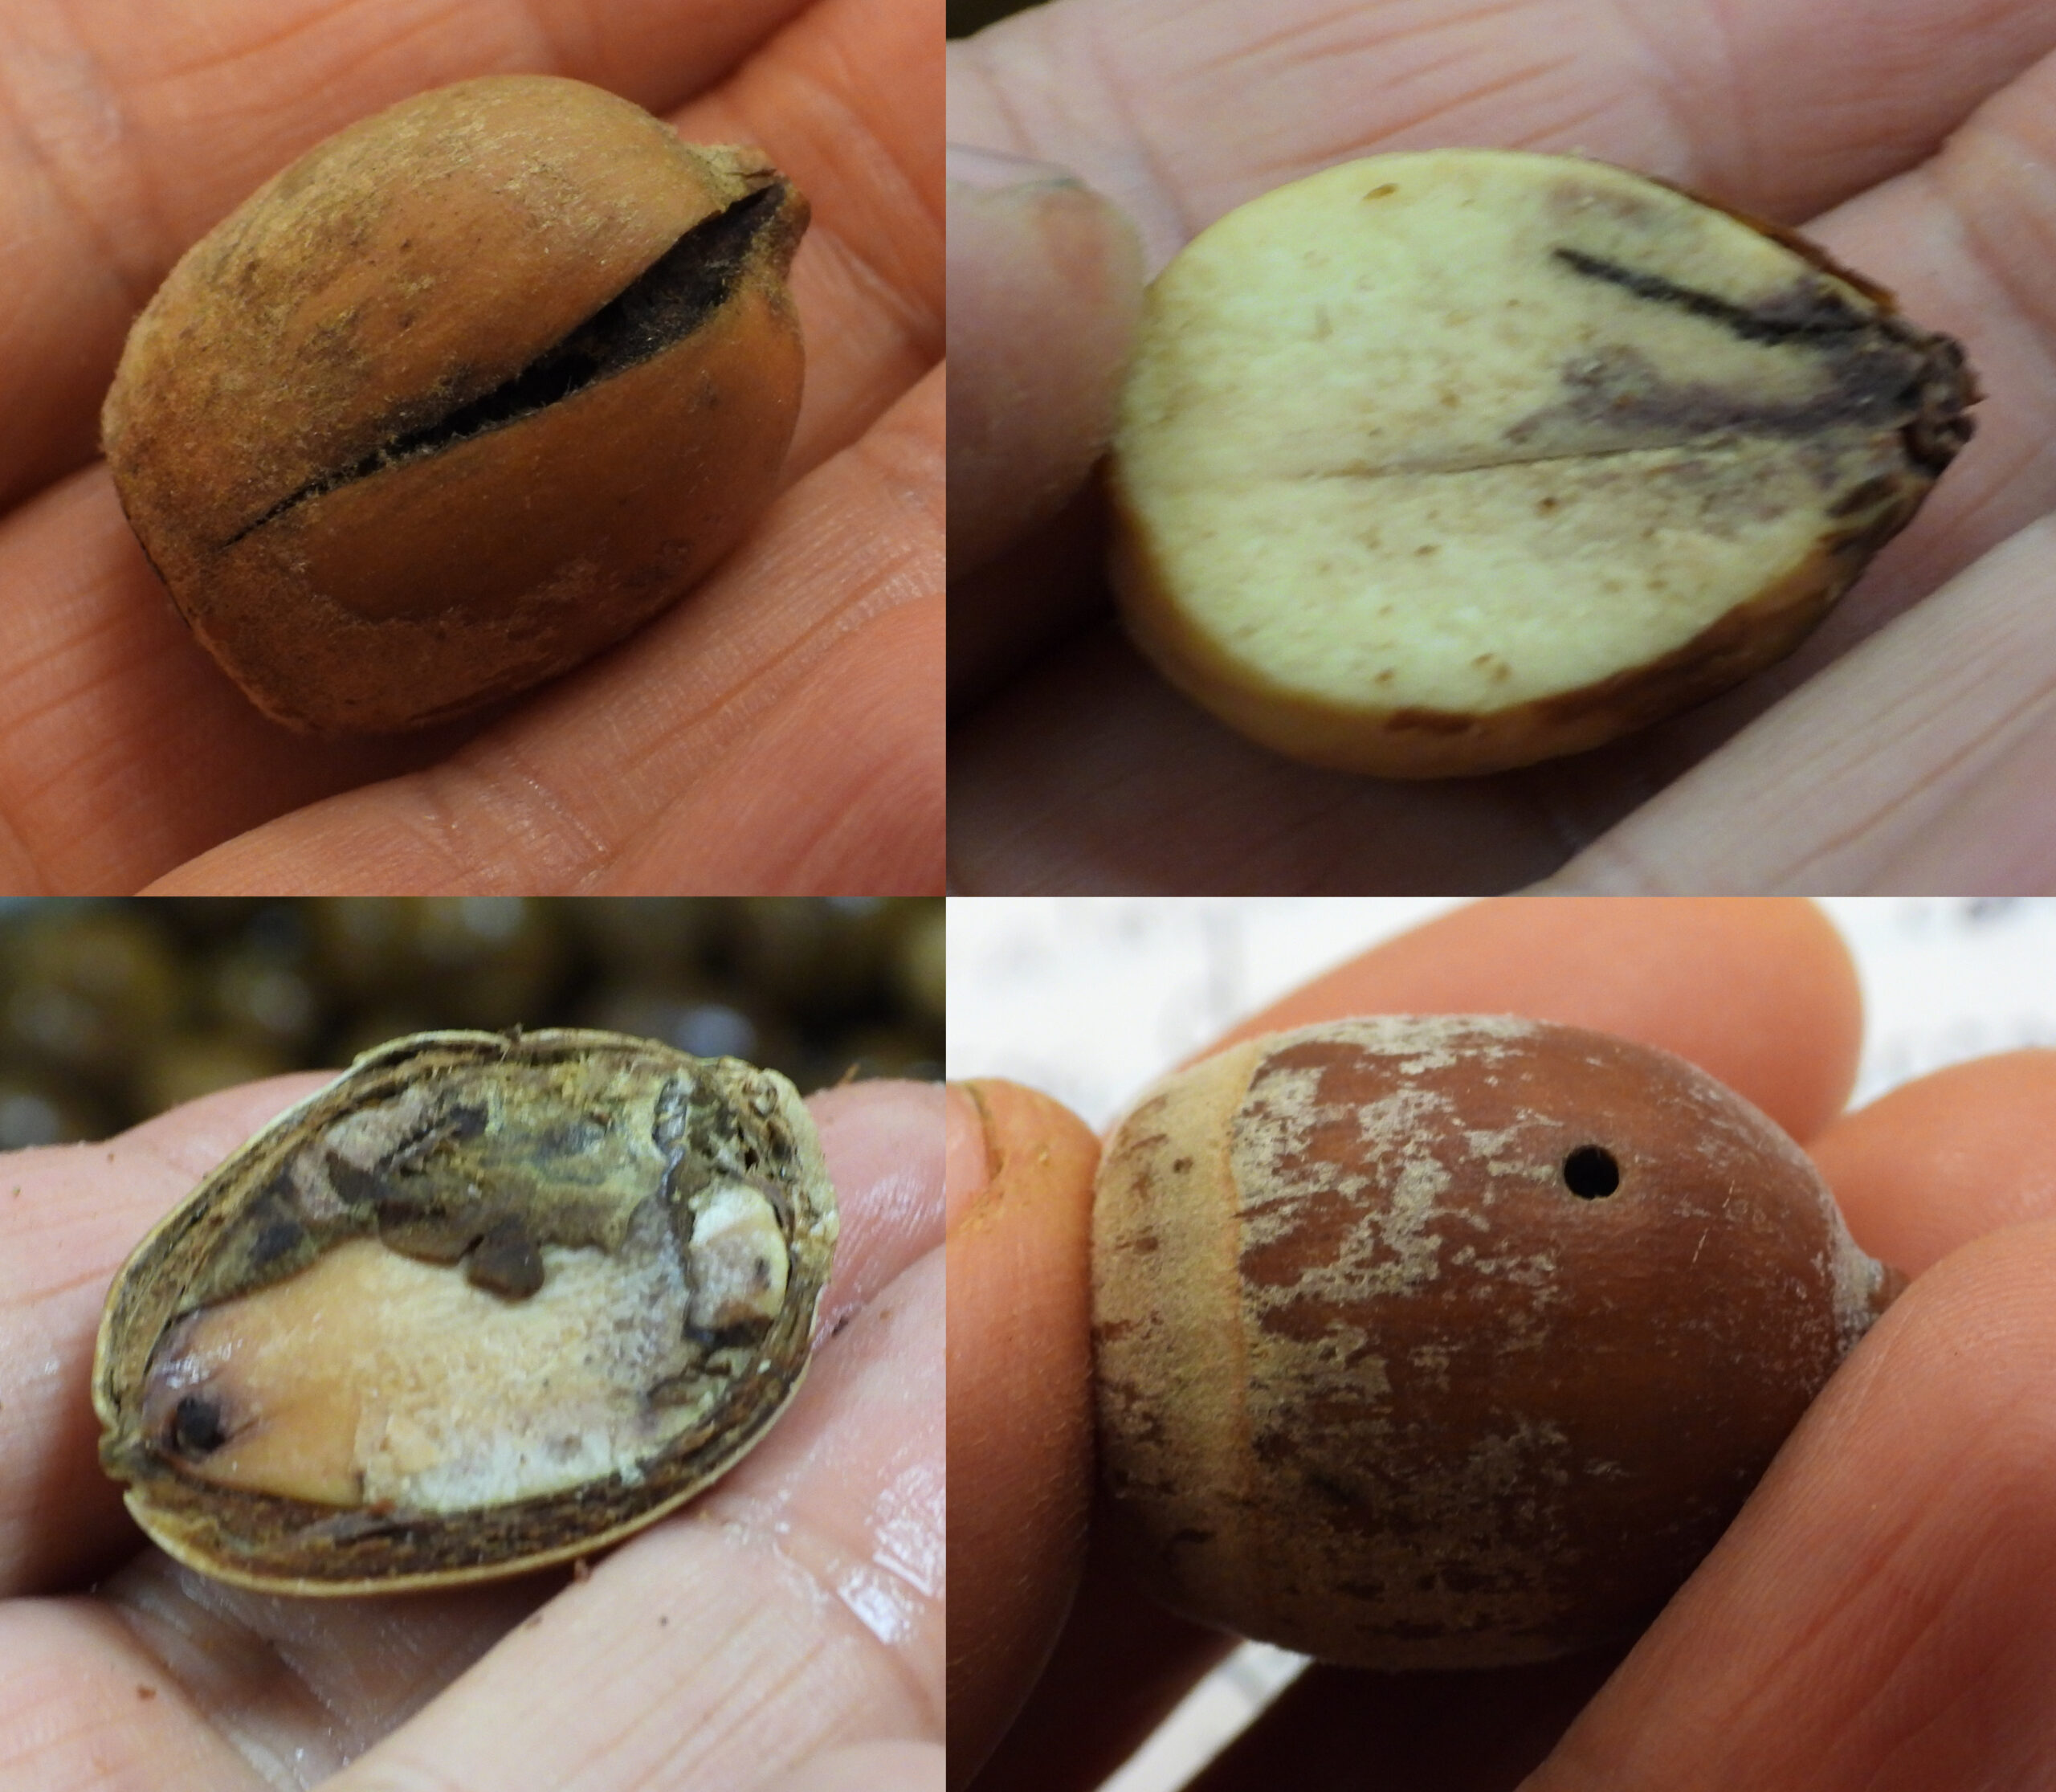
The next step is to take a look at your acorns and toss any that are no good. Start with a float test — dump your harvest into a bucket of water, then discard any acorns that float to the top immediately since they have likely been infested by insects. One caveat, though: droughts can make perfectly good acorns float. So if most of your harvest rises to the top, it’s worth cutting a few open (see the next section) to make sure you’re not throwing out perfectly good nuts.
Another test is the cap test. If the cute little acorn cap is still affixed to the top of your nut, toss that acorn out. These are generally nuts that have been aborted by the tree and are not fully formed.
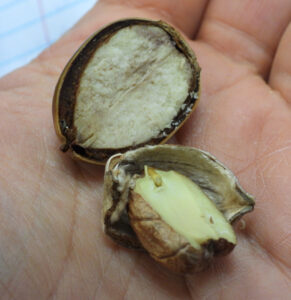
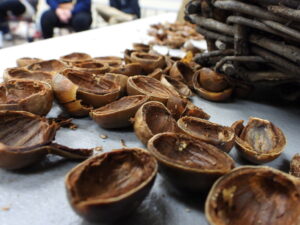
Once you start shelling the acorns (next step!) you might want to refer back to the collage above since I’ve labelled a fw other problematic signs to look out for.
Step 3: Shelling acorns safely
When you’re ready to start the multi-week process of turning acorns into flour, take some of your red-oak-group acorns out of storage or partially defrost your white-oak-group acorns by letting them sit on the counter for a few hours. Then you can decide how you’ll get the shell off.
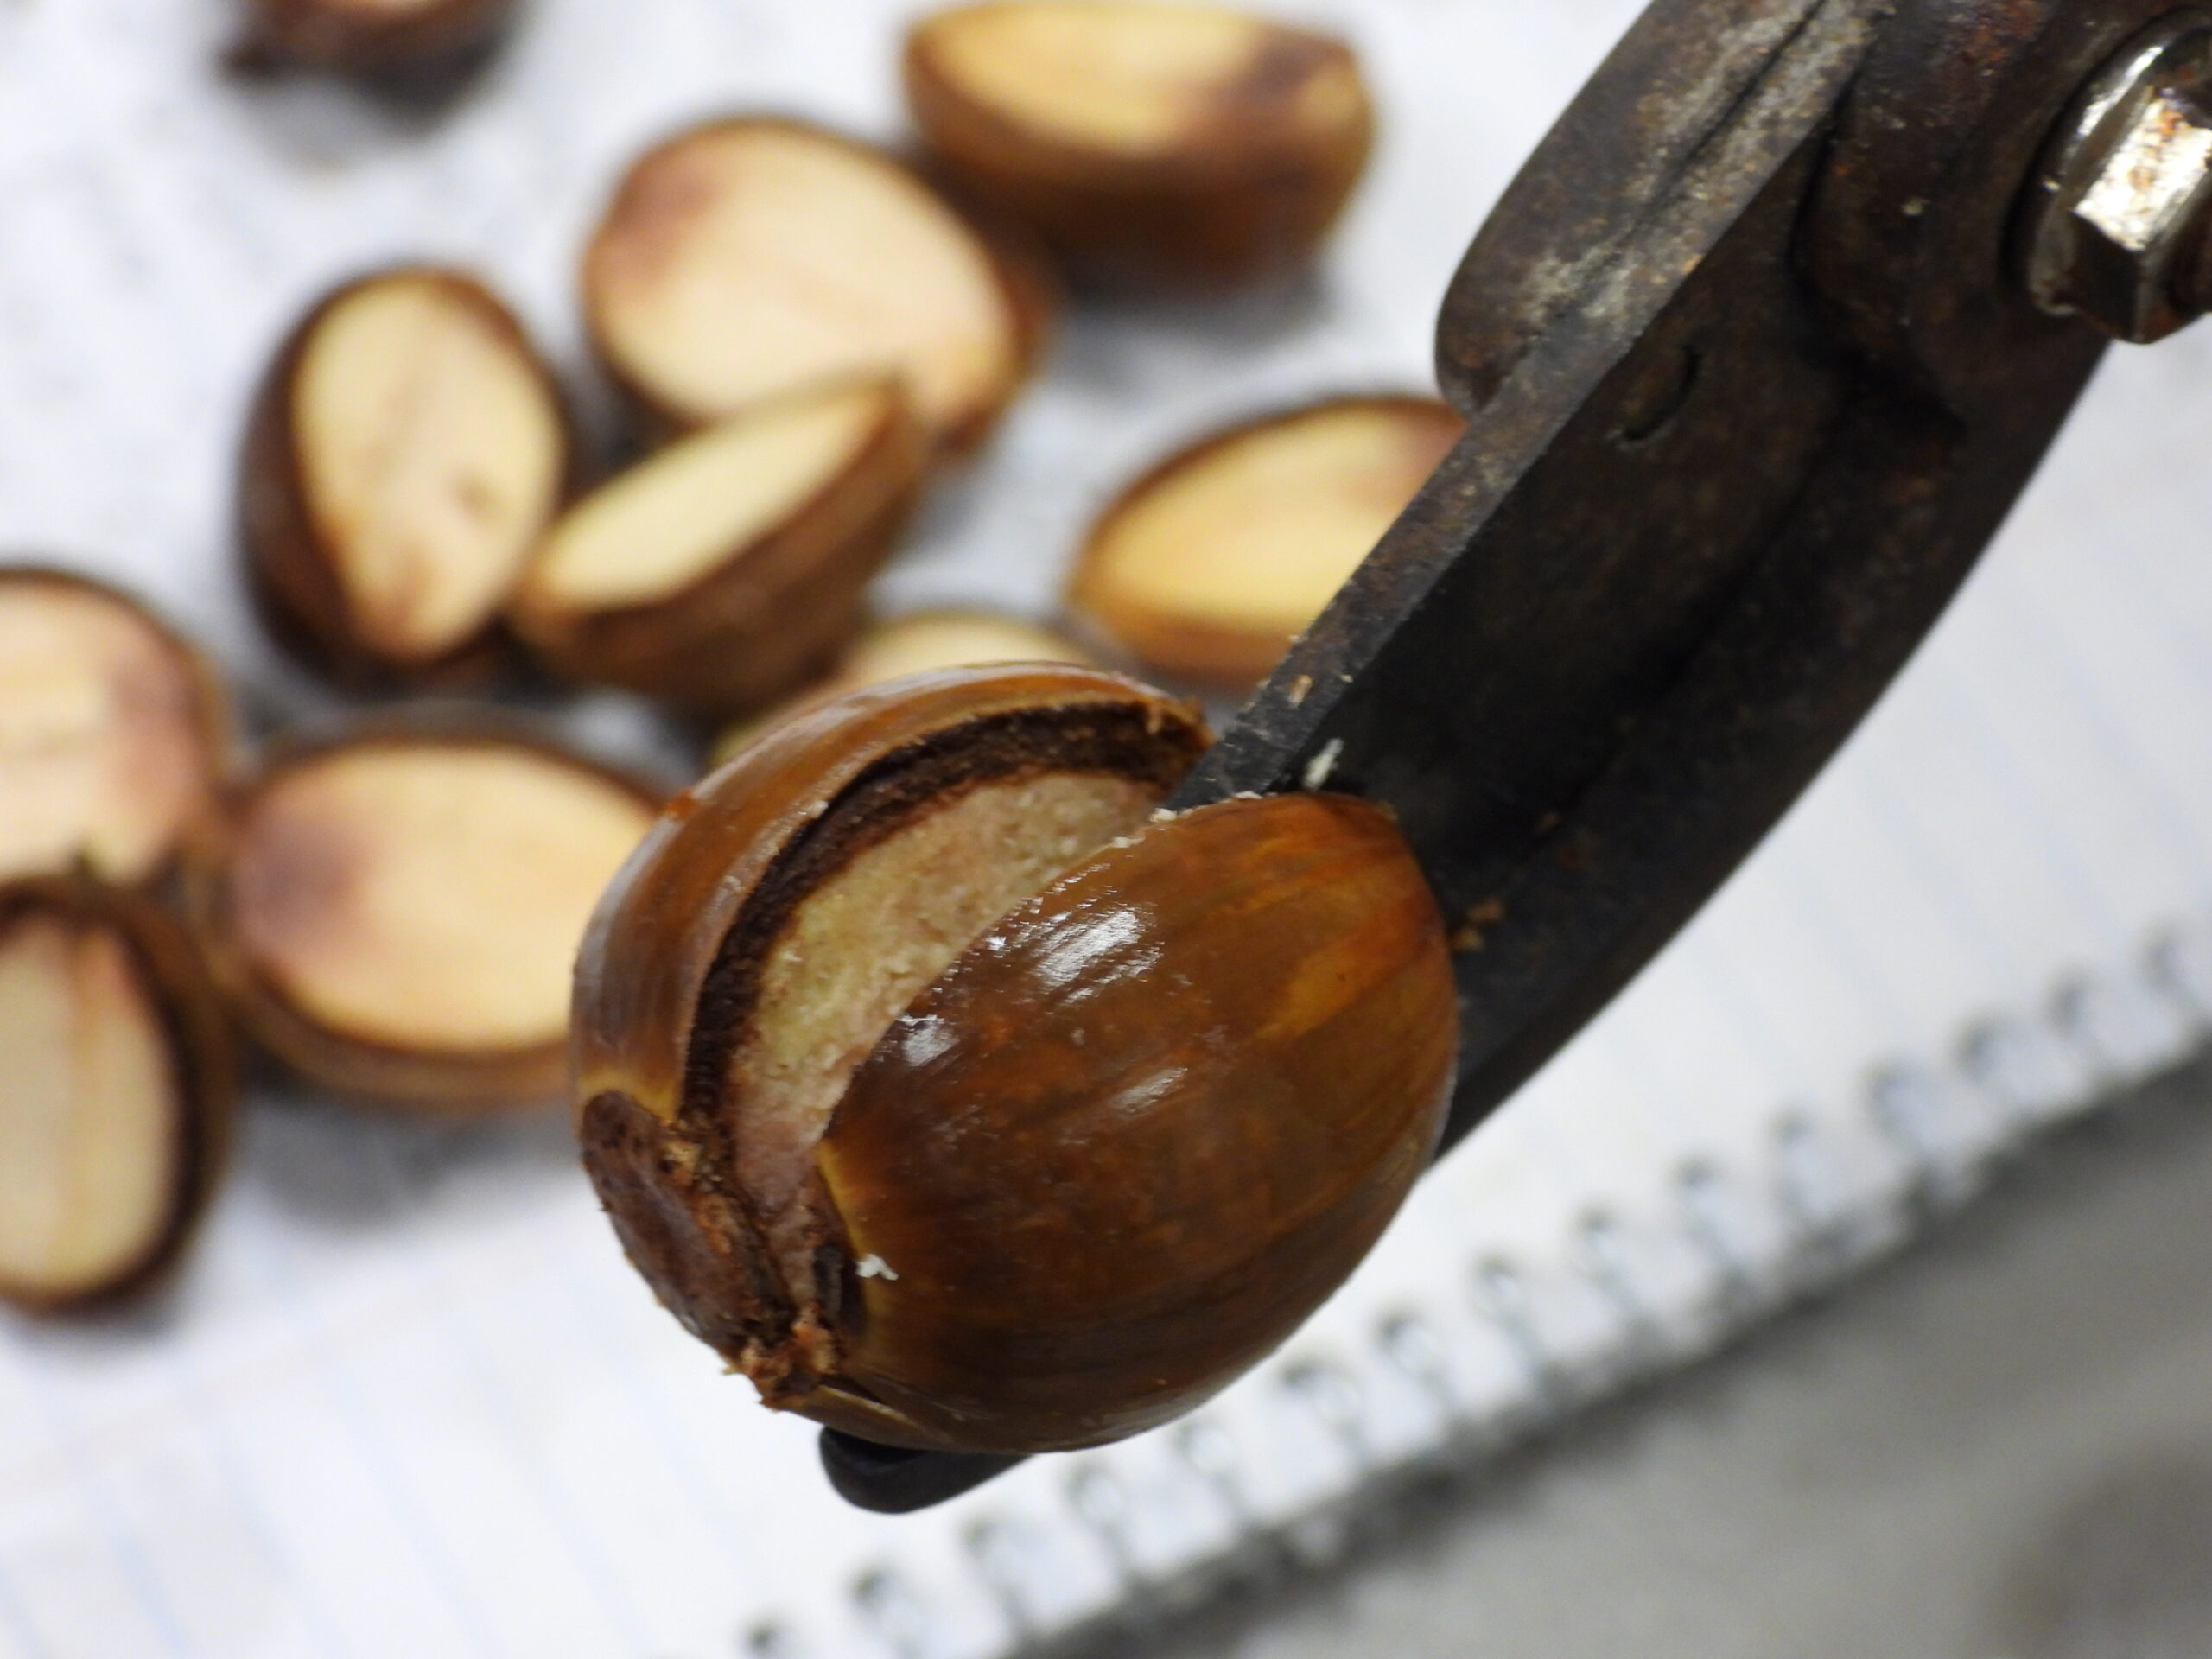
A hammer works on acorns just like it does on walnuts. However, Austin prefers a quieter method: cutting each acorn in half longwise with pruning shears.
Caution: this can be dangerous! To save your fingers, put the acorn into the shears then remove your fingers before squeezing the handle.
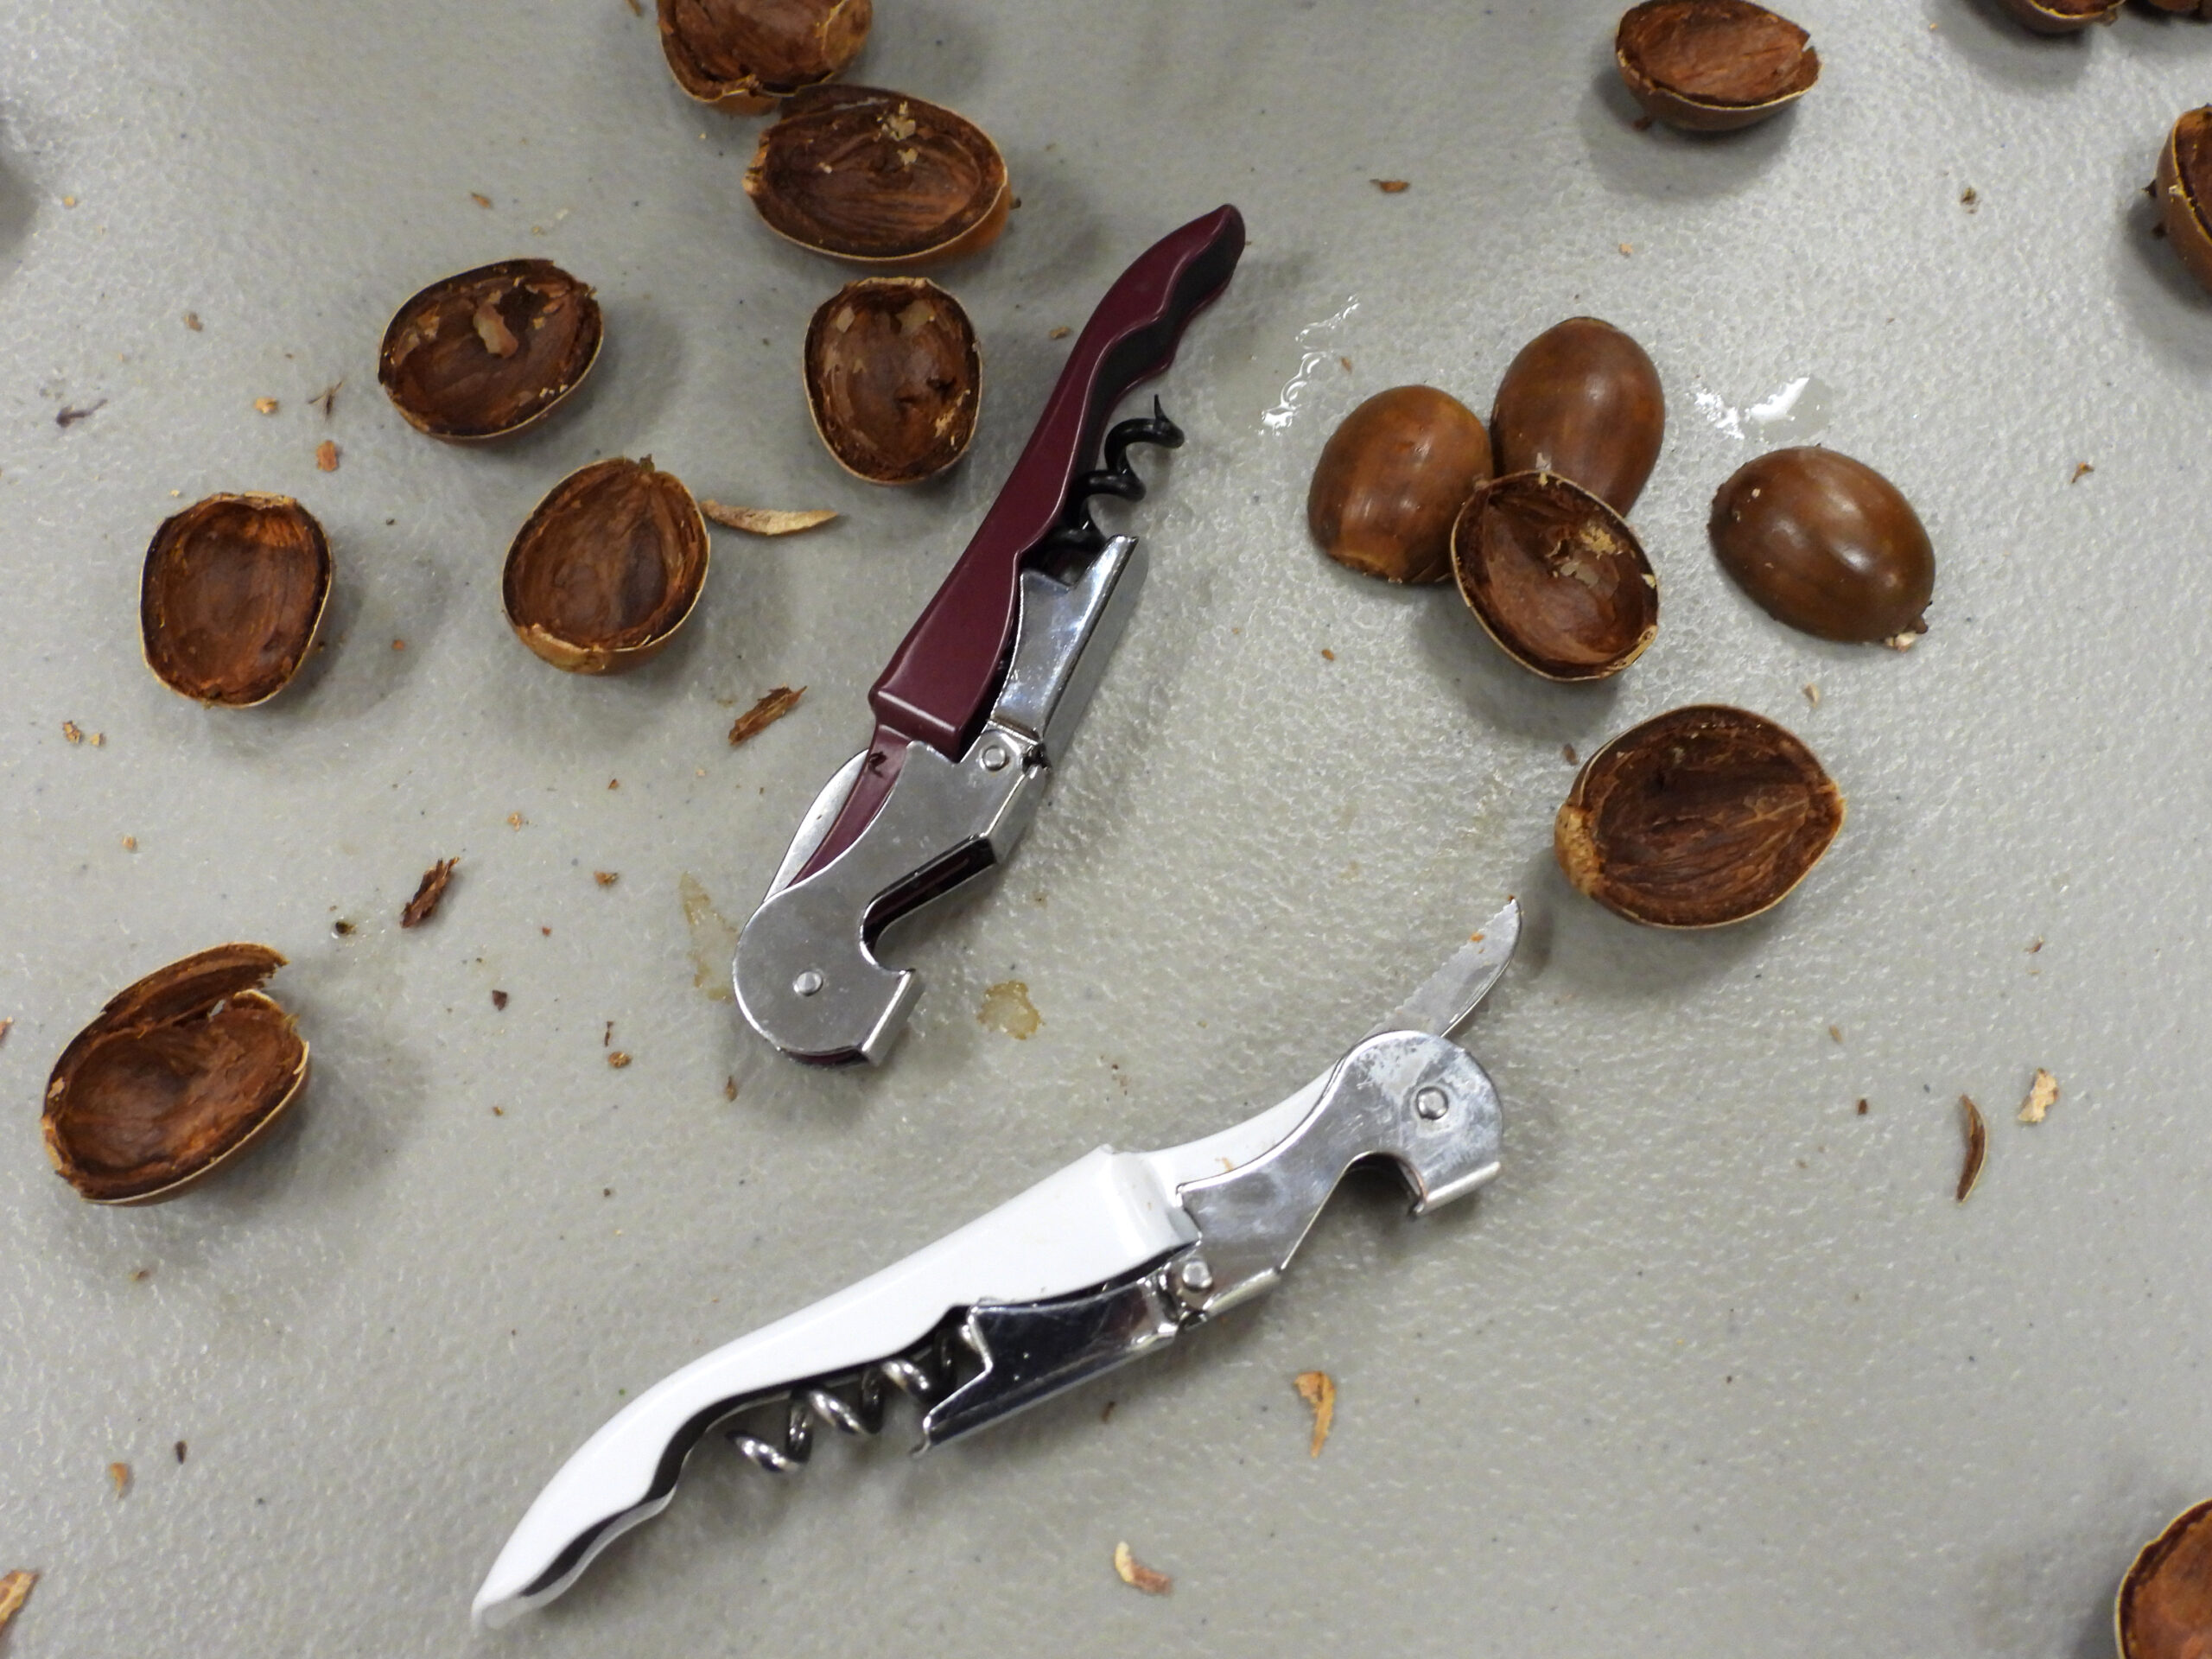
Either way, you’ll have to peel off the shell next. This is really simple with red-oak-group acorns since they’ve been dried for storage and often fall right out. With white-oak-group acorns, you can use a nut pick, a corkscrew, a knife, or even your fingers to separate the meat from the husk.
One of our workshop participants bought his kindergarten-age daughter and she did a pretty good job prying out nut meats. So apparently child labor works too.
Step 4: Grinding acorns into meal
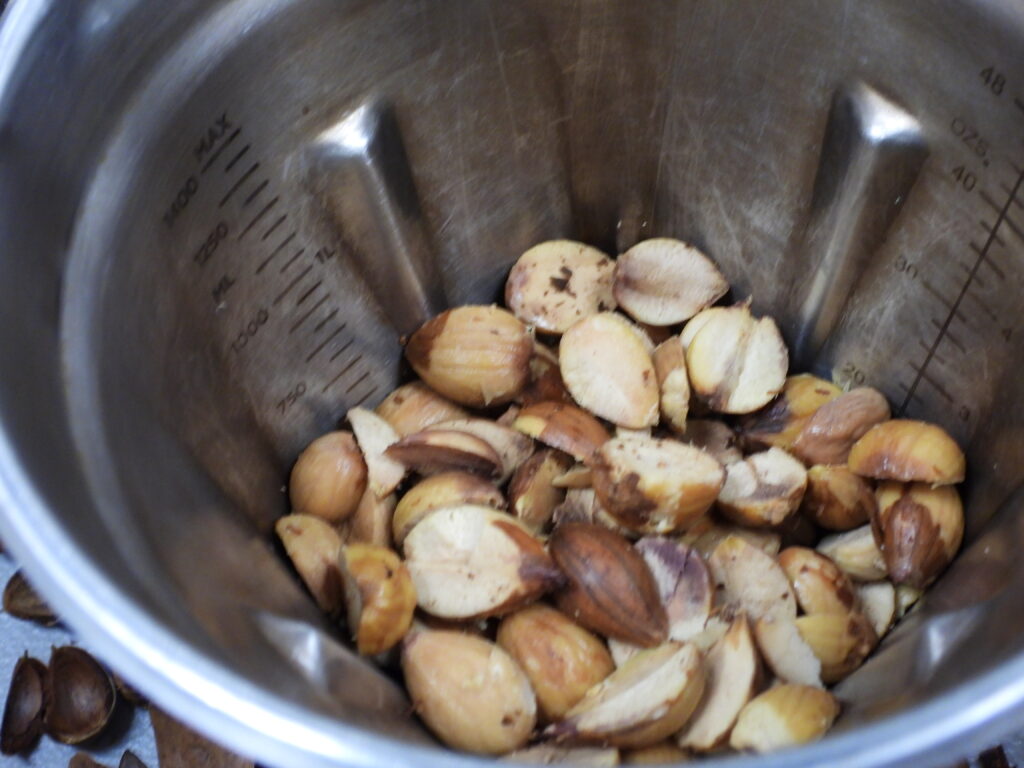
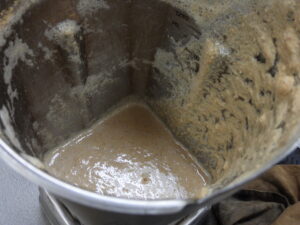
The next step is the easiest (as long as you own a blender). Put your shelled acorn halves into the blender, add water to a bit above them, then blend.
The goal is to create something with a smoothie consistency. Don’t blend too fine or leaching (the next step) will be problematic. You’re going for a fine meal rather than a flour. This step should only take a minute or so.
Now pour your blended-up acorns into a canning jar or other container. Leave enough room to add about twice as much water as acorn slurry. You’ve already begun:
Step 5: Leaching out tannins

The reason we’re not all nibbling on acorn muffins daily is because the nuts are full of chemicals that really mess us up, notably tannic acids and phytic acids. Both taste bitter, which is our taste buds’ warning that we shouldn’t ingest them. Luckily, all it takes is water and time to take these problematic chemicals out.
The easiest (but also slowest) leaching method is to let the acorn slurry sit in water for roughly two weeks (white oak group) or three weeks (red oak group). You need to change the water at least twice daily during this period by carefully pouring off the liquid on top then refreshing it. During that time, tannic and phytic acids will naturally seep into the water and be discarded.
You’ll know your acorn mush is done when it no longer tastes bitter. As I mentioned, this takes a while! You can speed the process up by having a higher proportion of water to acorn or by changing the water more than twice a day. Alternatively, you can speed up the process using wood-ash lye or heat, but I’ll let you read up on those alternative methods elsewhere.
Step 6: Storing and cooking with acorn flour
 Once your acorn flour is no longer bitter, it’s time to strain more of the water out by pouring the acorn mush into a cloth bag and squeezing. Then you can either use the mush right away, freeze it wet, or spread it on a cookie sheet to dry before storing at room temperature. (This last method is best for baking that requires good measurements.)
We didn’t, unfortunately, get to taste any of the leached acorn goodness at the workshop I attended, so I can’t comment on that part of the process. Overall, though, turning acorns into food looked less active-time-consuming than I’d expected, although the two-to-three-week wait definitely means that if you start today you can’t have acorn pancakes for Thanksgiving!