Posted on

The best time to harvest ginger roots

Newly harvested ginger roots

Last year, I wrote that, when growing ginger in the home garden, you should wait to harvest until after the leaves die back in the autumn. Now I’m not so sure that’s true.

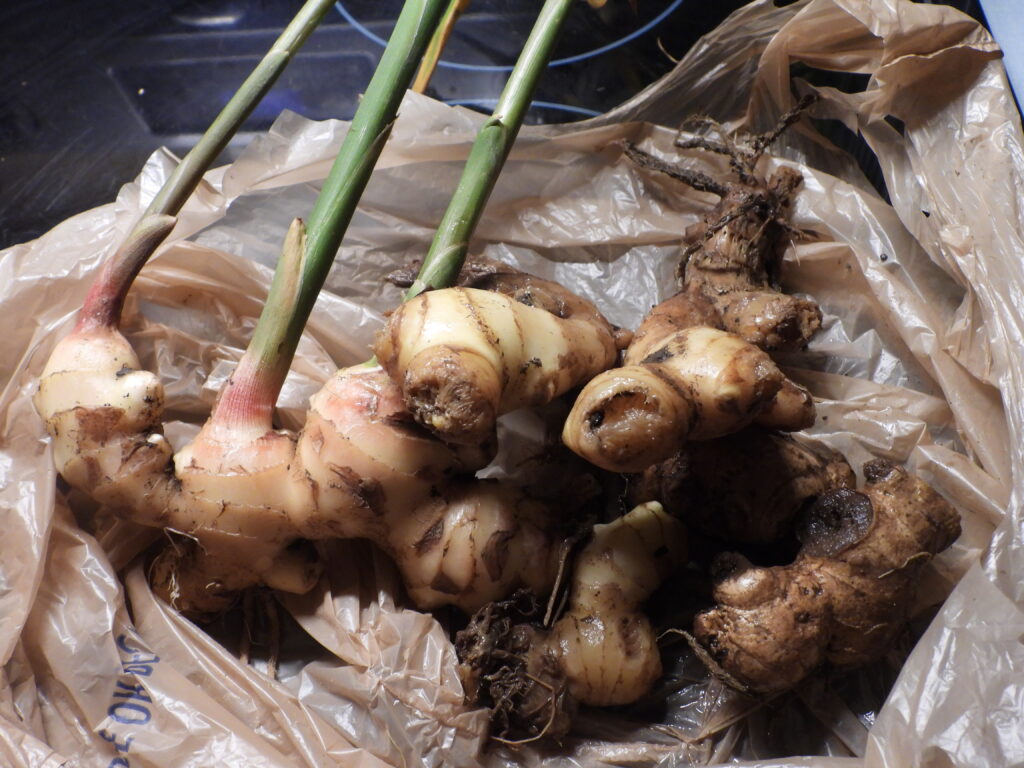
This data isn’t actually from my own garden (although I am eating the result!). It all started when Mark’s mom cut up one rhizome to grow in a corner of a garden bed for my sake. “Harvest whenever you want,” she said.

When Mark and I dropped by at the end of September, the ginger plants still seemed to be growing so I decided to wait. But between then and the end of October, a light frost killed back all of the plants except one.

Baby ginger roots and mature ginger roots

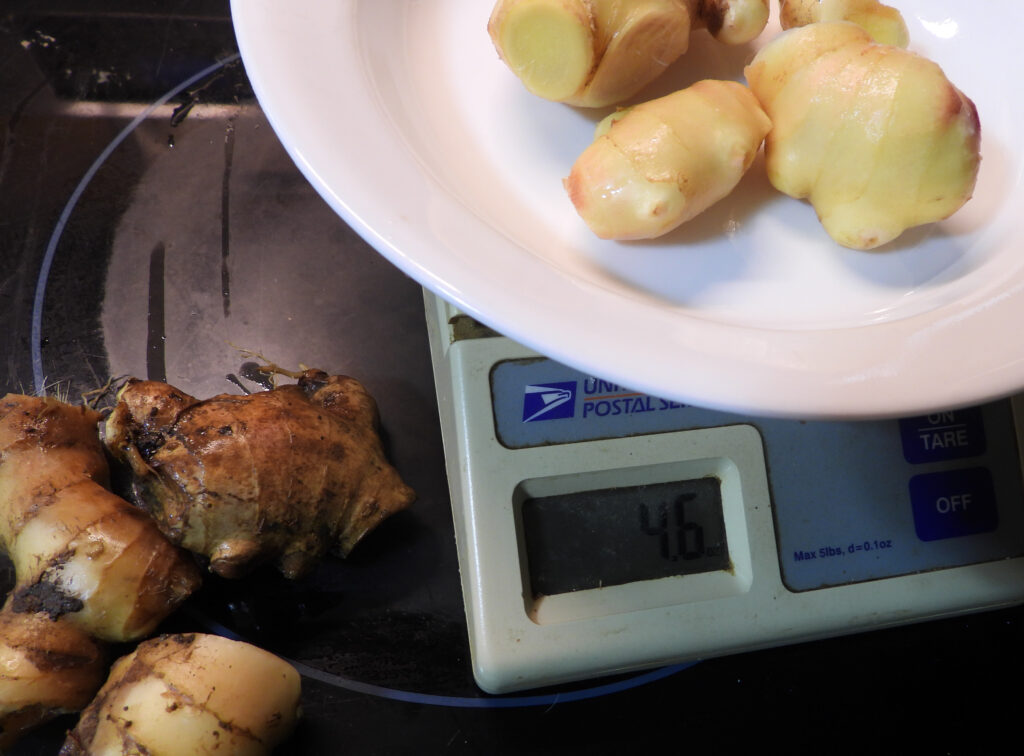
The ginger that kept its top turned out to be at its peak and made delectable pickled ginger. The plants that had died back came out of the ground with tougher skins (like what you’d find in the grocery store) and several were rotting.

Since pickled ginger is my favorite use for the rhizome and the recipe demands “baby” roots, I’ll aim to harvest before the first freeze next time. For folks who store their ginger on the shelf, you’ll definitely want to wait longer so the protective outer skin will form (although not so long you get the rotting I dealt with).

Not sure if that means harvesting immediately after the first freeze or before, although I suspect the trick is to start root pieces inside so the plants hit maturity before cold weather comes to call. I’d love to hear from folks who have experimented and figured the sweet spot out!

Fall harvest

As a side note, growing ginger in a garden bed instead of in a pot definitely resulted in higher yields. And it was less finicky! So much so I might actually grow ginger myself next year rather than begging my mother-in-law to do the hard work for me.

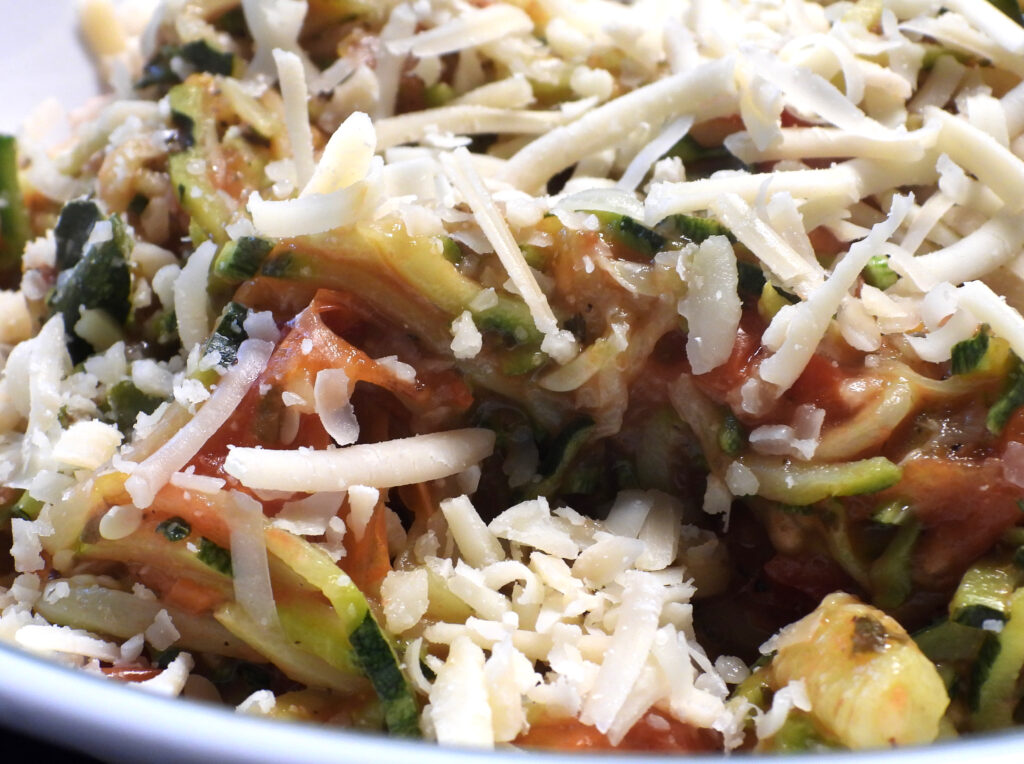
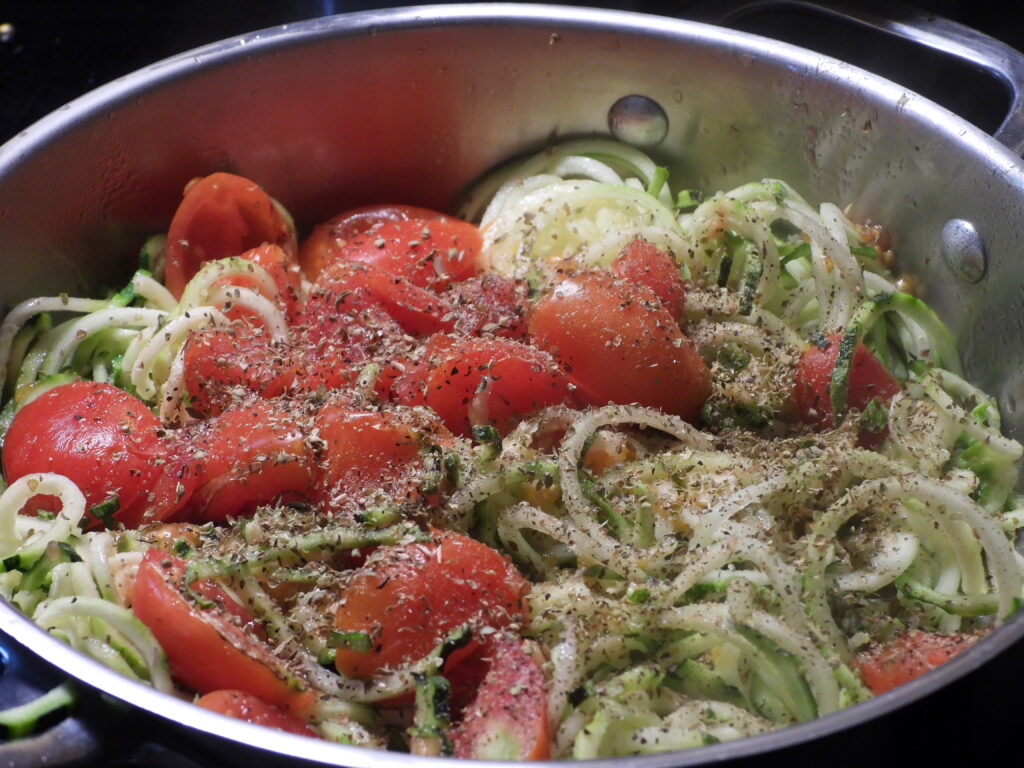
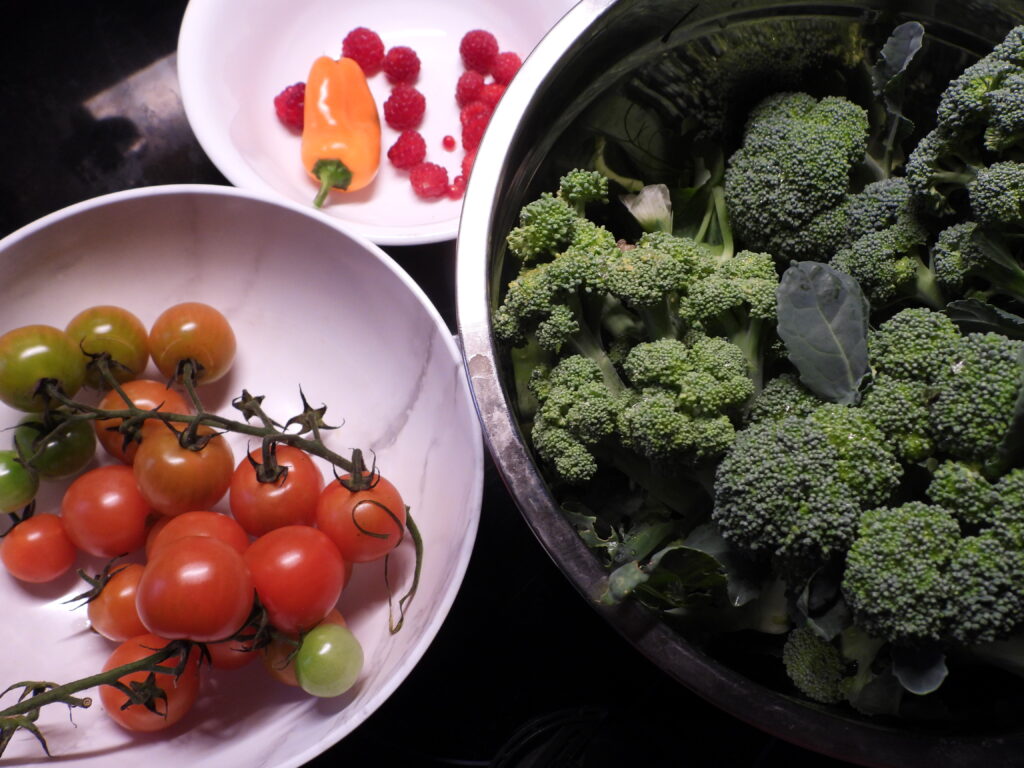
In the meantime, I’m just enjoying my pickled ginger mixed into steamed veggies. That and hoping for more rain to boost our parched fall garden’s yields.

Posted on

Spiralized squash marinara

Spiralized squash marinara

Are you swimming in summer squash like we are? While you can leave the excess on unsuspecting, non-gardeners’ porches, I’ve found the following one-pot recipe makes eating lots and lots of zucchini and other summer squashes so delicious the bounty ends up in your own belly instead.

Ingredients:

  • 1 medium summer squash of any type (as long as it’s straight enough to spiralize)
  • 7 or more roma tomatoes
  • salt, pepper, and oregano to taste
  • a pre-cooked protein (ground beef is the traditional choice, but use your imagination!)
  • parmesan cheese

One pot spiralized squash dinner

Cut the tomatoes in half and squeeze each one to release starter juices. Spiralize the squash and add it to a skillet along with the tomatoes. Cut through the mass of “noodles” a few times to shorten them. Add the salt, pepper, and oregano and cook on high heat, stirring occasionally, until the tomatoes have turned into a sauce and the squash noodles are al dente. Stir in the pre-cooked protein then garnish with parmesan and chow down!

How about you? Do you have favorite summer squash recipes that let you use up everything your garden produces?


Posted on

Summer harvest tips: Peppers, chanterelles, tomatoes, and beans

July harvest

It’s harvest season! Mostly, this post is just pretty pictures I couldn’t resist snapping while bringing goodies in out of the garden and woods. But here are a few tips to add redeeming value:

  • Go ahead and start those peppers early! Last year, our lunchbox peppers (started inside two months before our frost-free date) had only given us a bit of color before the fall frosts nipped them. So this year, I moved things back another three weeks. Sure enough, we’re already harvesting our first orange peppers in the middle of July. Success!
  • Assertively fling the dirt out of mushrooms. I thought it was really clever to outsource cleaning wild-harvested mushrooms to Mark, but since you all can’t do the same I asked him for his secret. He told me he assertively flings dirty chanterelles into a white bowl. Most dirt flecks will pop off (and be easy to see against the white). Then he scrapes any remaining dirt off with a knife.

Summer bounty

  • Save tomato seeds while making sauce, soup, or juice. Do you have enough tomatoes that you’re starting to cook them up? Set aside an extra minute to save seeds from your favorite varieties in the process.
  • Freeze a bit at a time as you cook dinner. Another thing that’s easy to put off is food preservation. But if you just steam a handful of extra beans every night then sock them away in the freezer, they add up fast!

How’s your garden and pantry growing?

Posted on

Harvesting the first hairy vetch for mulch

Hairy vetch starting to bloom

Remember my disappointment in summer-planted hairy vetch? Well, that patch kept growing slowly throughout the fall and winter, then took off like a rocket this spring. I needed some mulch this week and didn’t mind the vetch bed staying in cover crops for another year, so I actually cut when only the first few blooms had appeared. Harvest was extremely simple — a lot of stalks ripped out easily by hand then I used a toothed sickle to cut through the rest.

Rolling a ball of vetch

For the first bed that was entirely vetch, I rolled my cut cover crops up into a big snowball of greenery and pushed them down the hill to the broccoli, who have been treated with worm castings but still need more nitrogen (plus mulch). The vetch covered up an area about three times as large as the original spot it had been harvested from, although we’ll see how much the greenery melts down as the stems die and dry.


Co-planting rye and vetch

Vetch and rye cover crop coplanting experiment

Next up was taking a look at a rye-and-vetch co-planting. Like the other vetch bed, this patch of garden soil needs serious improvement (thus the focus on a nitrogen-fixer like vetch). Unlike that other bed, I planted in fall instead of summer.

In this area, I wanted to determine which did better — rye planted solo or rye interplanted with vetch. So I divided the bed up into stripes, the first one vetch and rye, the next one rye only, etc. The idea is to make sure any difference I saw between plantings wasn’t due to the part of bed they were planted in.

Conclusions? First of all, it’s clear that rye does much better in excellent soil than it does in poor soil. When we’d planted it in Virginia, our rye used to grow to my shoulder. These beds barely make it to my waist.

The vetch, in contrast, did quite well here (although only about 60% as well as the summer-planted vetch-only bed). The bands with vetch produced about twice as much total biomass as the rye-only bands did. Would a vetch-only band have produced yet more? Hard to say since my vetch-only bed was planted earlier in the season than the rye-and-vetch bands. Sounds like we’re due for another experiment this fall.


Moving hand-harvested mulch around

Homegrown garden mulch carrier

As a side note, the firewood tote carrier we no longer use turns out to be awesome for moving cover crop mulch around. If you’re hand harvesting, you can lay clumps into the carrier as you cut them, then the tote bundles them up nicely as you wander across the garden.

Homegrown garden mulch

And here’s about a third of the area I mulched with handcut cover crops over the course of a bit over an hour. Yes, I did yank up blooming arugula and cut some comfrey leaves also to round things out. I’m now tuckered out but very pleased with my free mulch.

Posted on

Growing and cooking homegrown asparagus

It’s asparagus season and high time for an asparagus post! I’m not going to regurgitate the information you can find in any book or website about giving your plants a few years to get their feet under them before starting to harvest, keeping the weeds at bay, etc., though. Instead, I thought I’d share a few observations I’ve made over the last decade plus of growing our own asparagus then gorging on the harvest.

Handful of asparagus

Our favorite variety

Don’t buy purple asparagus expecting it to look pretty on your plate. As soon as you cook them, purple spears turn green.

But do plant Purple Passion! Mark’s mom gave us five plants the same year we planted our main patch and they’ve turned out to be the earliest producers and the heaviest producers in our garden.


Early harvests

For the earliest harvests, rake back the mulch and any top-dressed compost a couple of weeks before you expect to see spears. This will let the ground warm faster and will buy you perhaps a week over your non-raking neighbors’ plots.

Of course, that opens you up to freeze damage which will melt your delicious veggies into goo. So, when you expect a freeze, head out and pick every spear in sight. Well, almost every spear. If an asparagus plant is less than three inches tall, I’ll instead take a leaf from my mom’s book and drop a handful of that raked-off mulch back over top for freeze protection. No need to remove it after freeze danger passes either. Pointy asparagus will push right on through.


Cutting up asparagus

Delectable roast asparagus

Unlike grocery-store asparagus, ours tends to come out of the garden with some tiny spears and some huge spears. If they go into the oven all different sizes, the smallest spears will burn before the bigger ones turn sweet. So if you’re like us and crave the caramelized sweetness of asparagus roasted in olive oil until the edges go brown, be sure to cut up your spears to make them evenly sized.

That’s all there is to years of delicious harvests. Enjoy what we consider one of the easiest and most dependable crops!

Posted on

Should you plant your spring garden early?

Water droplets on a pepper leaf

I don’t have a plant problem…yet.

Potting up spring seedlings

But I did pot up my indoor seedling shelf (left photo) into an outdoor seedling table (right photo) this afternoon. Which will be great…until the next low in the 30s, forecast to show up in six short days.

Broccoli seedlings

The reason for all this potting up is that I started some of my seedlings — peppers, tomatoes, and the first round of cucumbers — earlier than usual this year. That means they need to be potted up and/or put into the ground earlier than usual. I’m on the fence about how smart it is to really push the spring garden envelope this way, so I’m doing a side-by-side comparison in my broccoli beds.

The broccoli story began when I set out most of my broccoli seedlings on March 21, covered them up during a cold spell that dropped into the high 20s, and watched what always happens happen again. The broccoli plants got a little nipped but not so bad that they won’t produce.

Meanwhile, I had another eight plants that I wasn’t able to fit into the designated space, which I kept inside for an extra two weeks. The indoor plants quickly outpaced the outdoor plants in size and I thought to myself, “Why not rip out some of the outdoor plants and replace them with bigger indoor plants to see whether I would have been better off not jumping the gun?” On April 3, the second round of plants went into the ground.

In the photo above, one of the indoor-longer plants is on the left. On the right is the outdoor-longer plant I’d just pulled out. I’ll try to remember to make another post in a month or two once it becomes clear which set of plants is doing best.

First asparagus and garden cat

In other garden news, we picked our first three asparagus spears Sunday! Dandelion, our garden guardian, predicts many more will head into our bellies soon.

How’s your garden growing?

Posted on

Harvest End Soup

When your harvest looks like this:

Last big harvest

It’s time to cook this:

Harvest end soup

Ingredients:

  • 6 cups of cherry tomatoes (or 2.5 cups of stewed tomatoes)
  • 1 chicken breast with bone in (or 3 cups of chicken stock and one cooked chicken breast)
  • 1.25 cups of chopped sweet peppers
  • 2.5 cups of carrots (or some combination of carrots and sweet potatoes)
  • 1 tablespoon olive oil
  • 1/2 teaspoon black pepper
  • 1 tablespoon paprika (I used unspicy, but you might like it spicy)
  • 1 teaspoon turmeric
  • 1/8 teaspoon cinnamon
  • 1/4 teaspoon salt
  • 3 bay leaves
  • 1 clove of garlic, minced
  • 2 cups of green onion tops, chopped into small pieces
  • sugar (to taste, if your tomatoes are late season and sour)

Serves 4.

Optional serving suggestions:

  • Stirring in cheese is always yummy at the end. Parmesan works but an herbed goat cheese was amazing!
  • Mark likes bread on the side.

Adding spices to a soup

How to make it:

This is a basic soup recipe, so you don’t really need to read this part. Here’s what I did:

  • I cooked the chicken in the instapot with a bit of water for 10 minutes on the meat setting. Once this was done, I picked the meat off the bone and put the bones back in the instapot with three cups of water to cook for an hour to make broth. Cooking longer would have been better, but I was impatient.
  • Meanwhile, I cooked the cherry tomatoes in just a little water until they were soft (about ten minutes). Then I ran them through the foley mill to remove the skin and most of the seeds. If I was using roma tomatoes I wouldn’t have bothered with this processing, but cherry tomatoes are very seedy! I suspect foley mills are not the modern way to do this — please comment if you use a different gadget to get the same result…
  • Next, I mixed the processed tomatoes with everything except the chicken, the broth (because it wasn’t done yet), and the sugar. Cooking this mixture for about an hour on medium to low heat will soften the vegetables, at which point you can remove the bay leaves then use an immersion blender to create a relatively smooth texture. (If you prefer vegetable chunks, skip the blending step.)
  • By this point, the chicken broth was done, so I added it into the main pot along with the cooked chicken breast (broken up into bite-size pieces). The soup probably would have been even better if I’d simmered it for about an hour with all ingredients in the pot, but I was hungry and it was delicious just thrown together like this!

Carrot harvest

Side notes:

I used the littlest carrots from the harvest (on the left in the photo above), which wouldn’t keep long in storage. If you have sweet potatoes, I’d recommend using half carrots and half sweet potatoes, in which case you shouldn’t need any sugar.

If you prefer beans over meat, chickpeas are your best option in this soup.

Soup color depends on tomato color. I usually make it with red, but our tommy-toes were yellow this year. It tastes the same either way.

What did you turn your last big harvest of warm-season goodies into?

Posted on

Pros and cons of gardening on top of a hill

Last harvest before frost

Frost pockets are real (and so are anti-frost pockets)

Harvesting tomatoes and peppers

Mark and I picked the last tomatoes and peppers today in preparation for what might be this fall’s first frost. But will it be?

Back when we lived at the bottom of a hill in Virginia, we could count on cold temperatures dropping least as low as the forecast, sometimes five degrees colder. Up here on a hilltop, in contrast, the opposite is true. A week and a half ago, with a forecast low of 33 F, we only got down to 38. Driving out that morning, however, I saw frost a mile and a half away as soon as I reached the bottom of the hill.

So will this week’s forecast low of 28 freeze our crops? Only time will tell.

Water — the downside of hilltop gardening

Of course, hilltop gardening has its downsides too, the primary one being water. In the summer, I can feel the groundwater dropping out from under us. No matter how much water I add to our garden beds, the soil is always thirsty. The ground cracks. Plants are slow to grow.

I used to say that you can always add more water, but you can’t take water away. While that’s true, I’ve yet to figure out how to add enough water to keep our garden happy without spiking our monthly bill out of sight. I’m hopeful that continuing to boost our organic matter will increase the water-holding capacity, but there’s a lot of truth in the saying “high and dry.”

Bookkeeping note

This looks like our very first post, but it very much isn’t! We just hopped over from an old blog to a new blog to make our lives easier. If you’d like to enjoy old gardening posts, you can find hundreds (thousands?) here. If you’re an old faithful subscriber, be sure to update your RSS feed!