Posted on

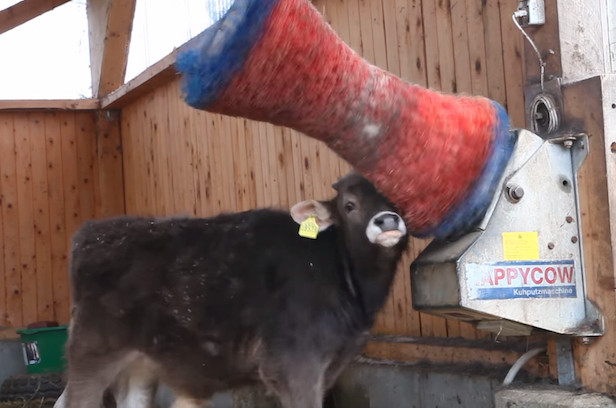
Spinning brush scratcher

Industrial, rotating brushes are the latest trend in ultra pampering your favorite cow.

It seems as if someone has re-purposed some drive thru car wash technology to scratch an itch.

Could this increased level of stimulation help to make more and better tasting milk?

Posted on

How and why to start a pit garden

On our first homestead, ground water was so high in certain areas that we had to build extra-tall mounds just to prevent plant roots from drowning. On our current ridge, the problem is the exact opposite and I hope the solution is the opposite too.


Pit gardenWhat’s a pit garden?

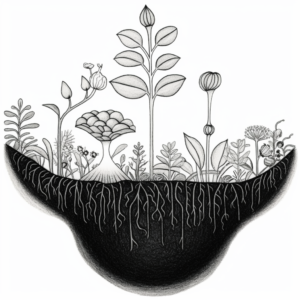
A pit garden is simply a garden bed located below the natural level of the surrounding earth. The idea is to concentrate and hold onto moisture, both groundwater and runoff from the surrounding terrain.

Alternatively, if you locate your pit garden where it gets runoff from your roof, you’ve created a rain garden. Whether a rain garden will rot roots depends on your climate and what you plant. But if you’re on a dry ridgetop like we are, it might be just the ticket!


How to know if you need a pit garden

Does your ground dry up and crack at least once a year? Do you irrigate and still lose shallow-rooted perennials like blueberries? Do volunteer vegetables come up in your mulched aisles more than in the good soil of your raised beds? Do broadcast-seeded plants germinate fitfully in the middle of your beds but better around the (lower-down) edges?

If any or all of these field marks sound familiar — try a pit garden (or rain garden, or both)!


Gardener digging a trenchHow to build a pit garden

Dig a trench then backfill it most of the way with excellent soil (putting the old subsoil somewhere else). Your goal is to have any mulch hit right at the natural elevation of the surrounding earth.

Next, plant and enjoy the result!

(By the way, the diagrams in this post are courtesy of Midjourney…who doesn’t seem to understand what either a shovel or a spade is. My correction: dig your trench with a spade, not whatever that gardener has in his hand…)


Pit gardenWhat we did

In our case, we’d dug the beginnings of a foundation for a wood-stove-room addition. Then (as usually happens with me), I lost interest in putting time and energy into house when I could put the same time and energy into outdoors and plants

So I moved acidified soil from our blueberry patch into our premade pit garden. Next, I transplanted a cranberry and a few blueberries that had barely been hanging on in the main garden into that good, low earth.

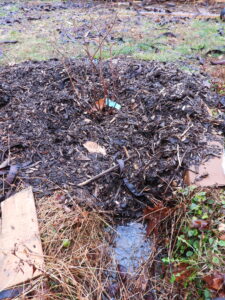
Our spot is definitely a rain garden in addition to a pit garden, and in some very wet years the trench used to hold enough water for tadpoles to mature. (You can see what it looks like after a sixth of an inch of rain in the photo.) I’ll report back and let you know if that’s too much water or just right for our ericaceous crops.


Anna Hess in a rock mazeWinter break

In other news, we’re taking a bit of a winter break while Mark heals up a back injury and I stick to the basics to keep the homestead running and myself sane. I’ll tell you about our edible-seed-sprouting experiments and more when life smooths out again.

If you miss hearing from us while you wait, why not check out our gardening video courses or deep-dive into gardening topics with our books?

Posted on

Plastic bottle bee keeping

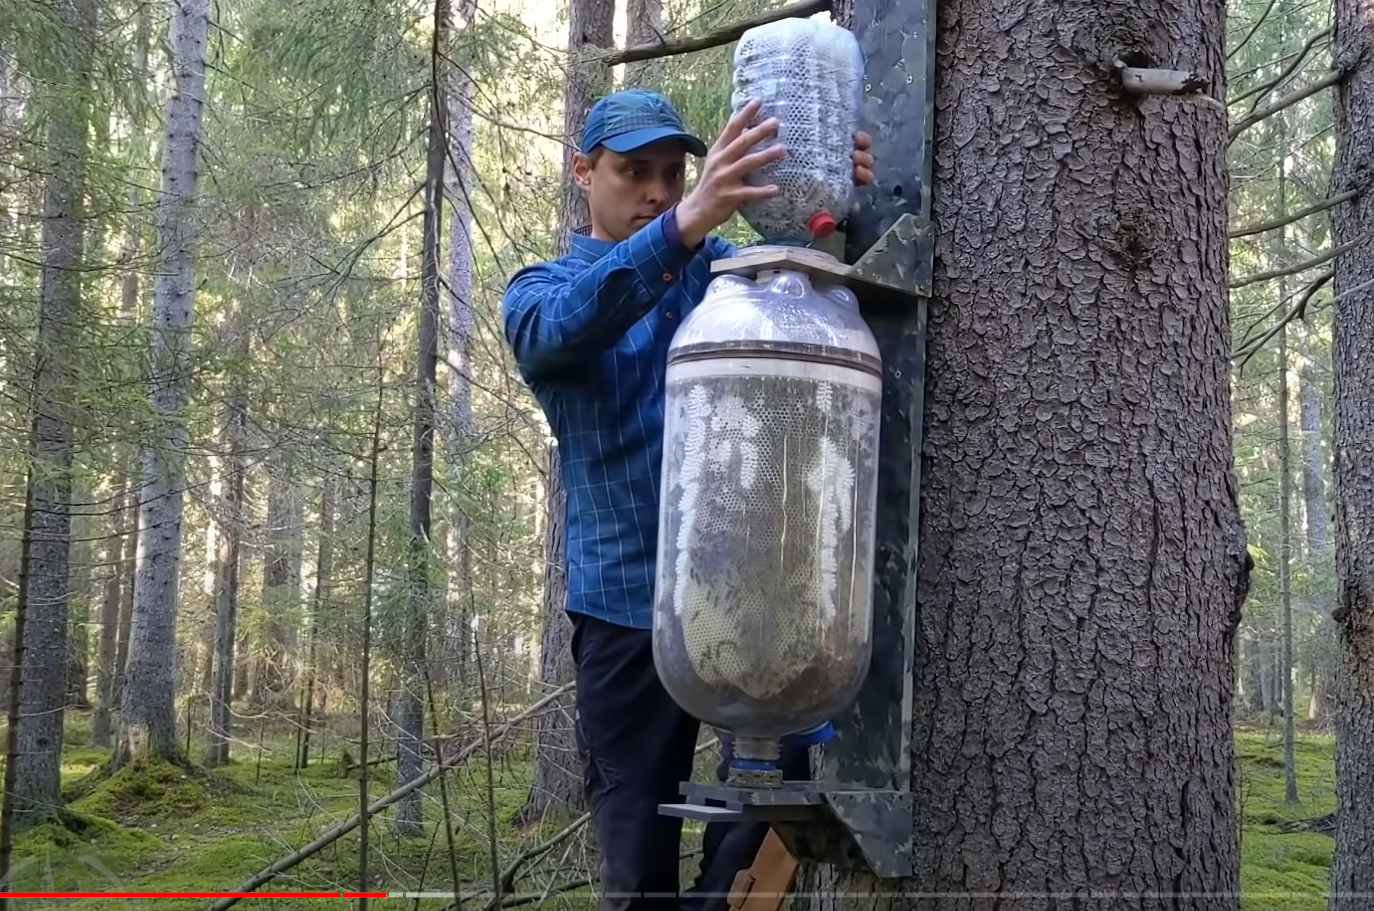
Advoko MAKES on You tube has been experimenting with using plastic bottles to farm bees.

It seems to be cheaper and easier. That big bottle is a European recycled beer keg.

He has even configured one of his hives to make the top bottle reachable from inside his house!

Posted on

The best time to harvest ginger roots

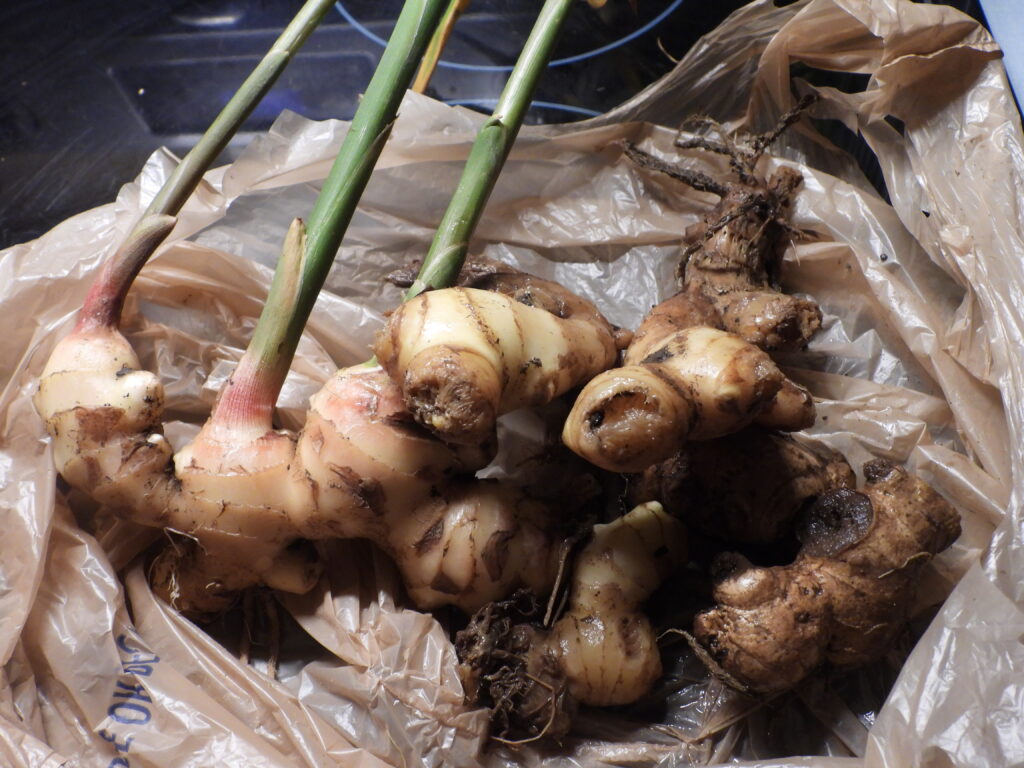
Newly harvested ginger roots

Last year, I wrote that, when growing ginger in the home garden, you should wait to harvest until after the leaves die back in the autumn. Now I’m not so sure that’s true.

This data isn’t actually from my own garden (although I am eating the result!). It all started when Mark’s mom cut up one rhizome to grow in a corner of a garden bed for my sake. “Harvest whenever you want,” she said.

When Mark and I dropped by at the end of September, the ginger plants still seemed to be growing so I decided to wait. But between then and the end of October, a light frost killed back all of the plants except one.

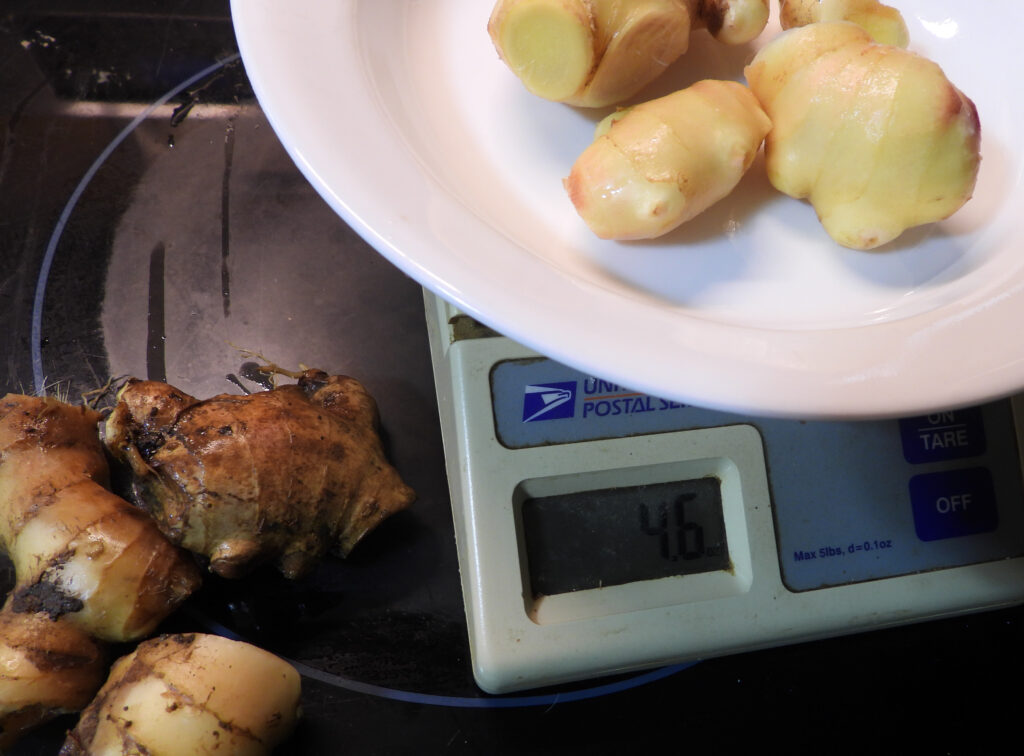
Baby ginger roots and mature ginger roots

The ginger that kept its top turned out to be at its peak and made delectable pickled ginger. The plants that had died back came out of the ground with tougher skins (like what you’d find in the grocery store) and several were rotting.

Since pickled ginger is my favorite use for the rhizome and the recipe demands “baby” roots, I’ll aim to harvest before the first freeze next time. For folks who store their ginger on the shelf, you’ll definitely want to wait longer so the protective outer skin will form (although not so long you get the rotting I dealt with).

Not sure if that means harvesting immediately after the first freeze or before, although I suspect the trick is to start root pieces inside so the plants hit maturity before cold weather comes to call. I’d love to hear from folks who have experimented and figured the sweet spot out!

Fall harvest

As a side note, growing ginger in a garden bed instead of in a pot definitely resulted in higher yields. And it was less finicky! So much so I might actually grow ginger myself next year rather than begging my mother-in-law to do the hard work for me.

In the meantime, I’m just enjoying my pickled ginger mixed into steamed veggies. That and hoping for more rain to boost our parched fall garden’s yields.

Posted on

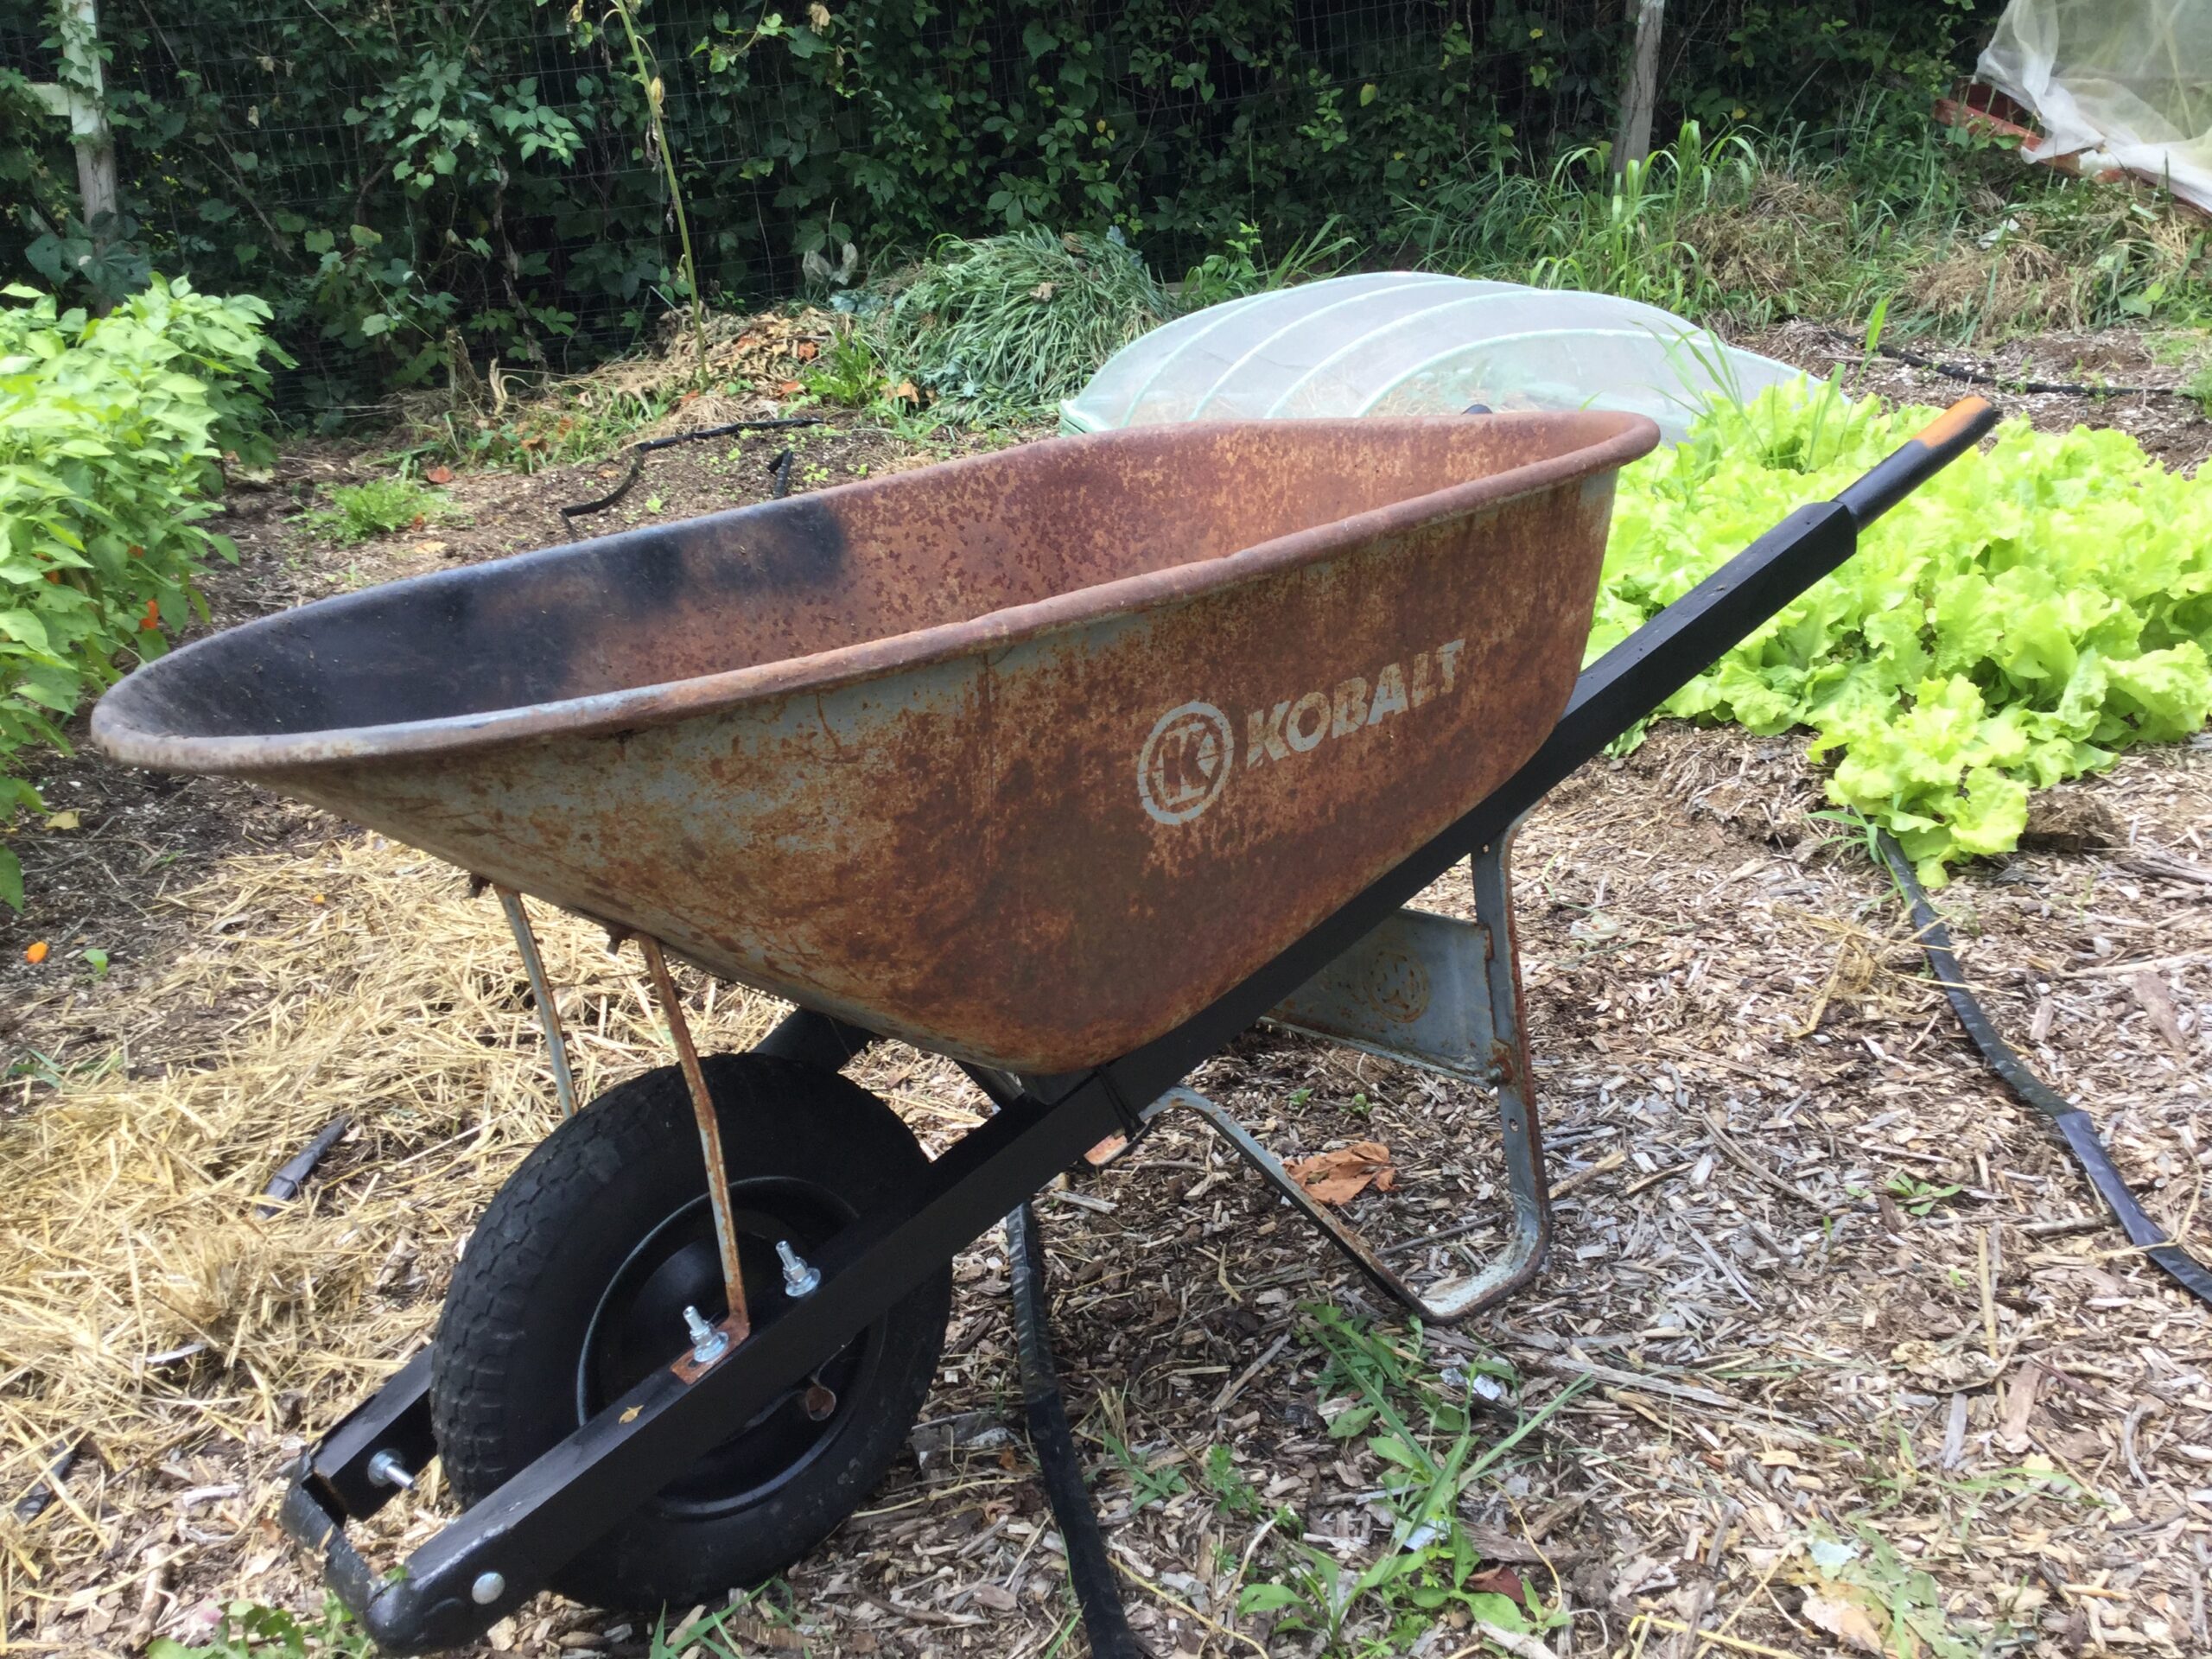
Kohl Wheelbarrow update details

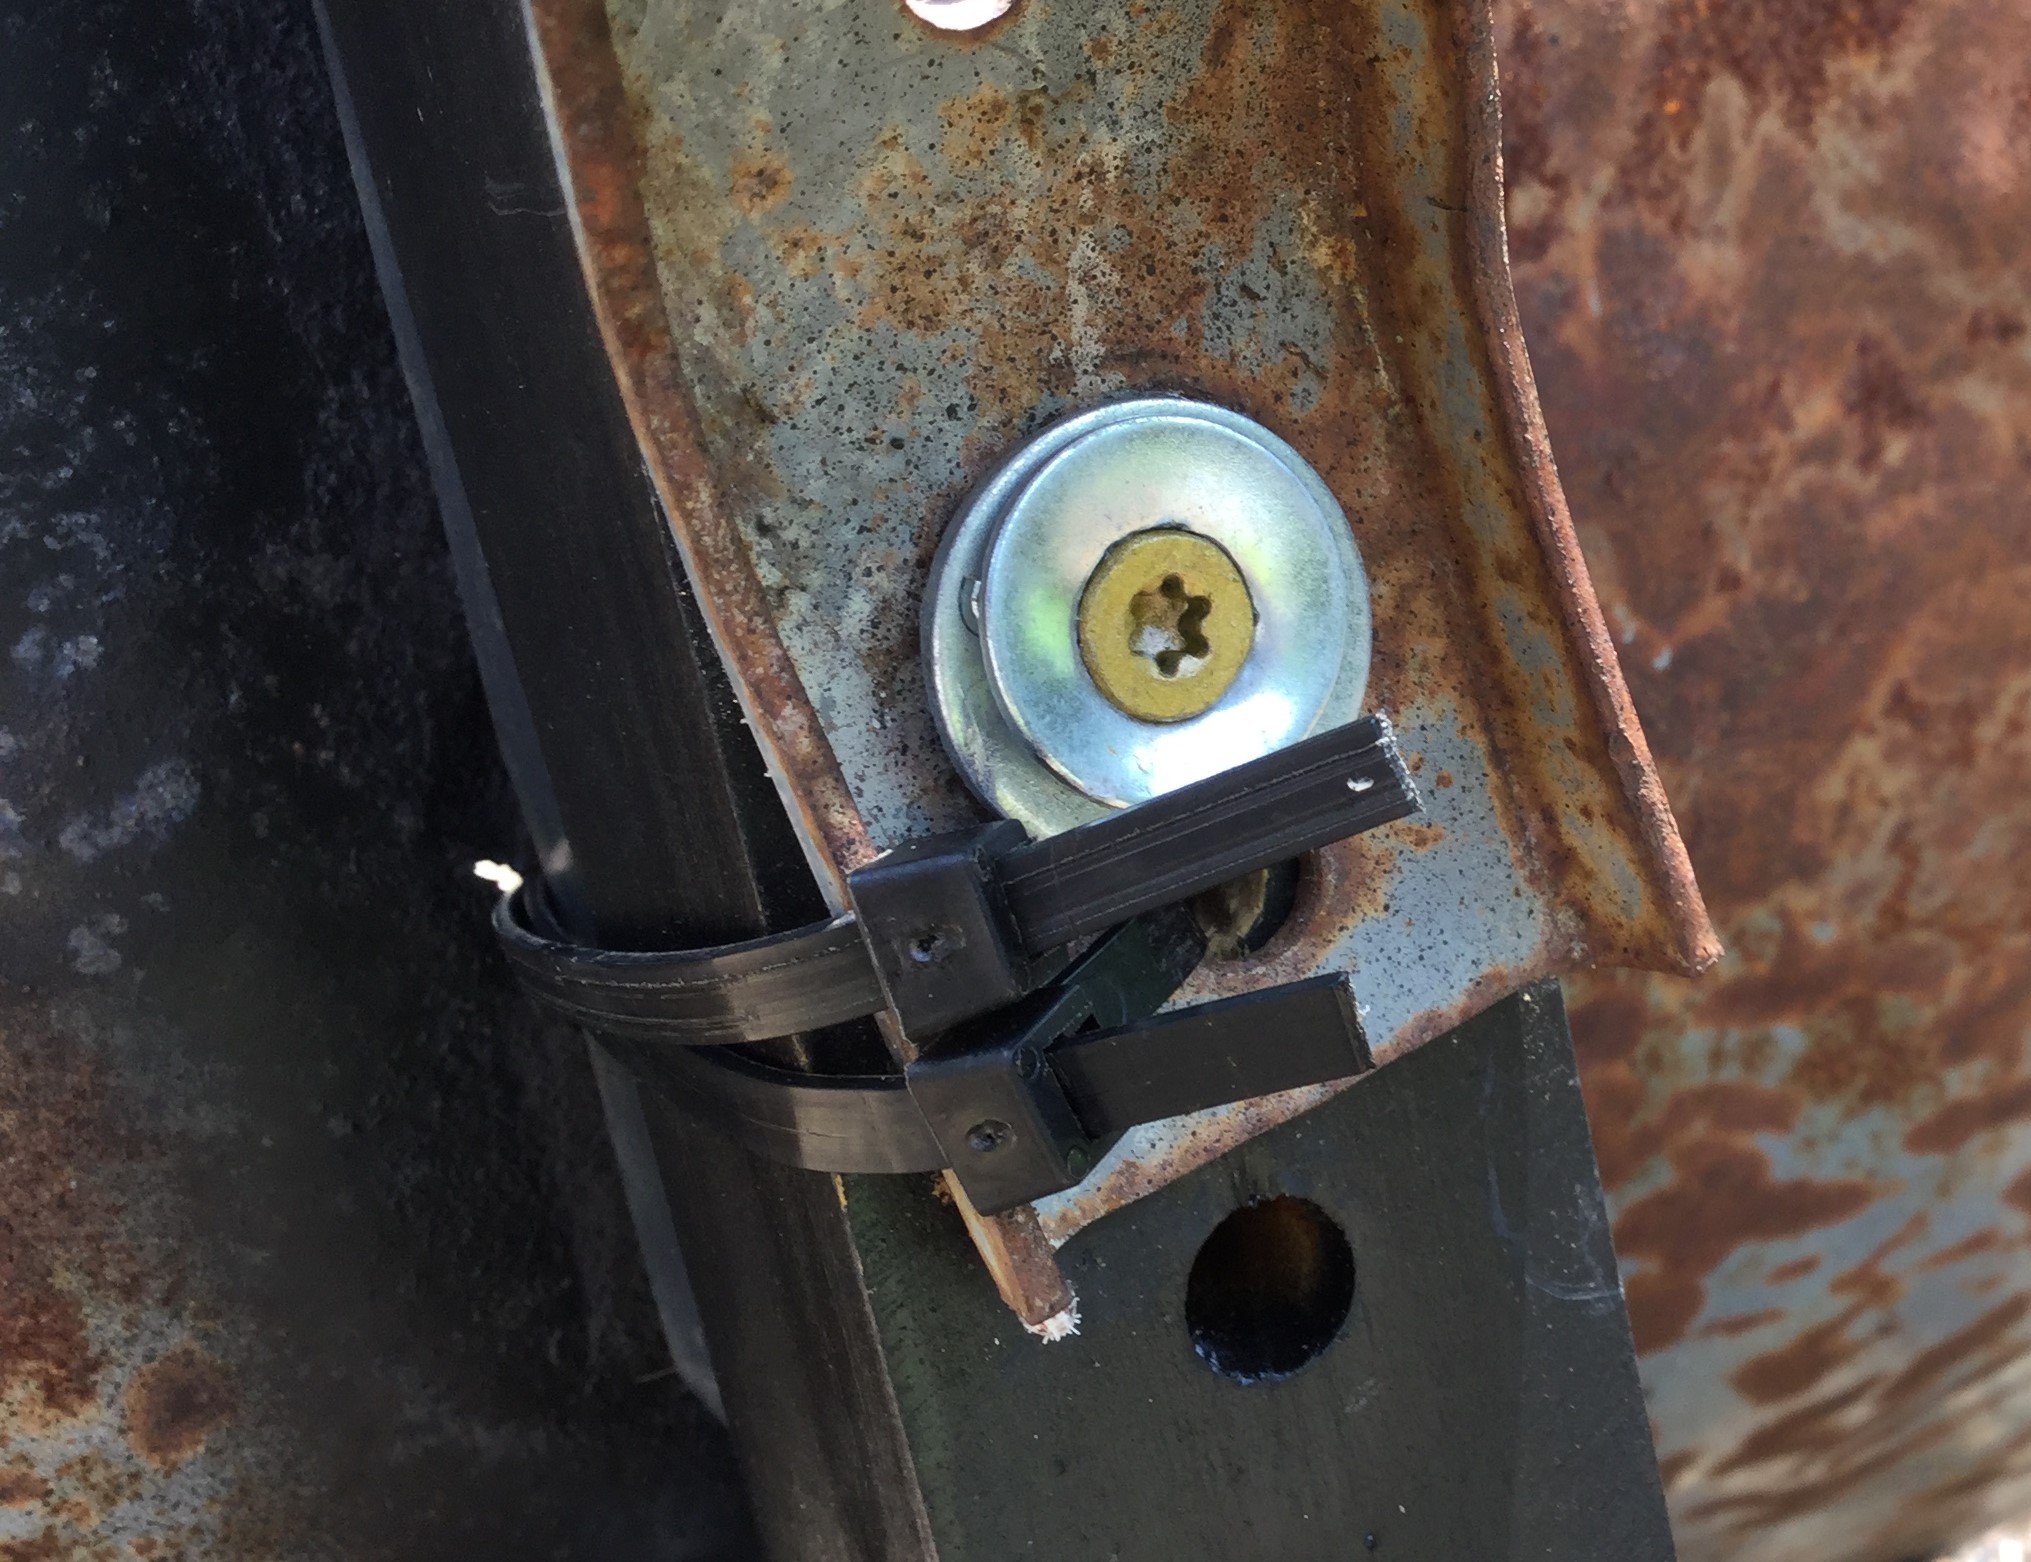
Some of the problems with restoring a wheelbarrow is the damage around bolt holes which prevents the round headed bolts from biting in so you can tighten them.

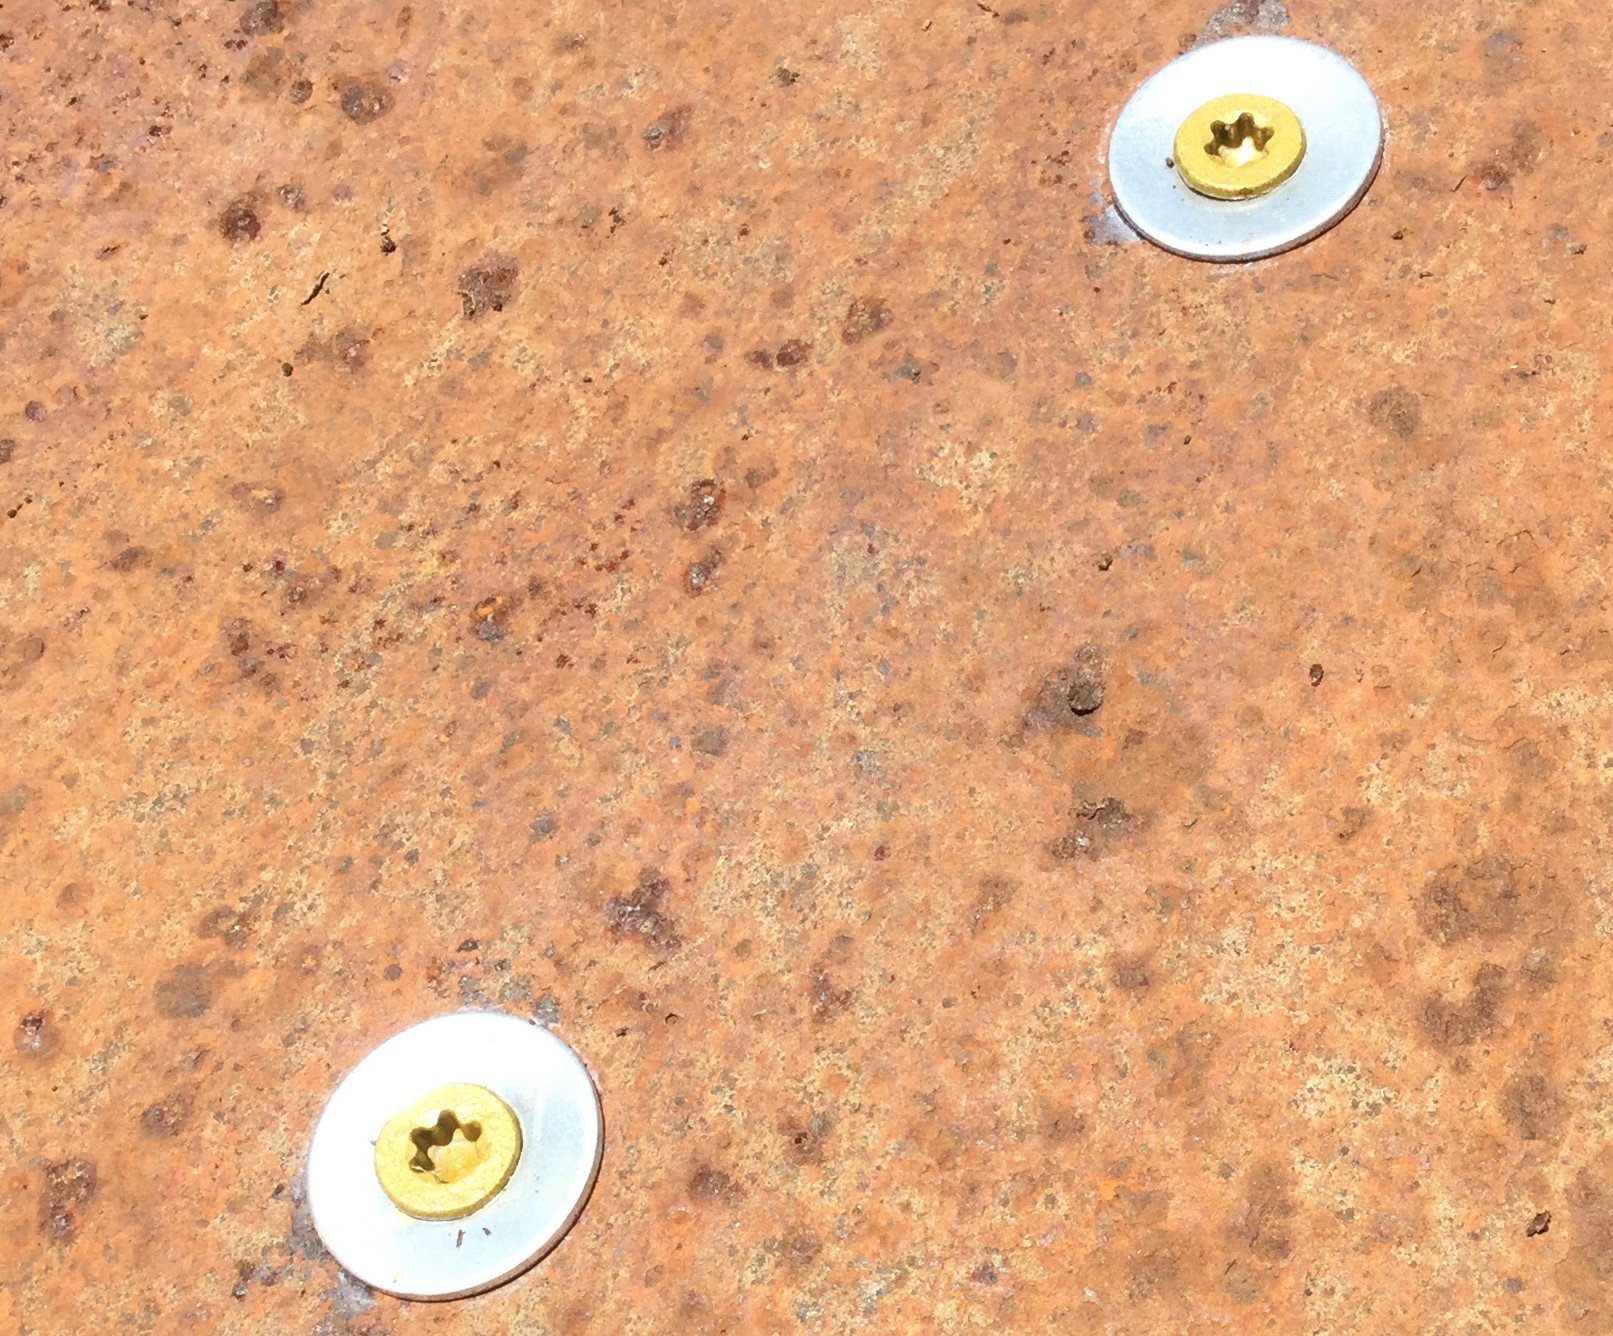
An exterior screw with a washer isn’t exactly flat but it seemed better than a traditional nut and fastened in nicely with the wood of the handles.

Zip ties helped me hold it all together without needing a second hand while I tightened everything down.

Posted on

Garden experiment updates

I’m sure you’ve been waiting with baited breath to hear how various experiments panned out. Wait no longer! Results are in.

Quirk cucumbers

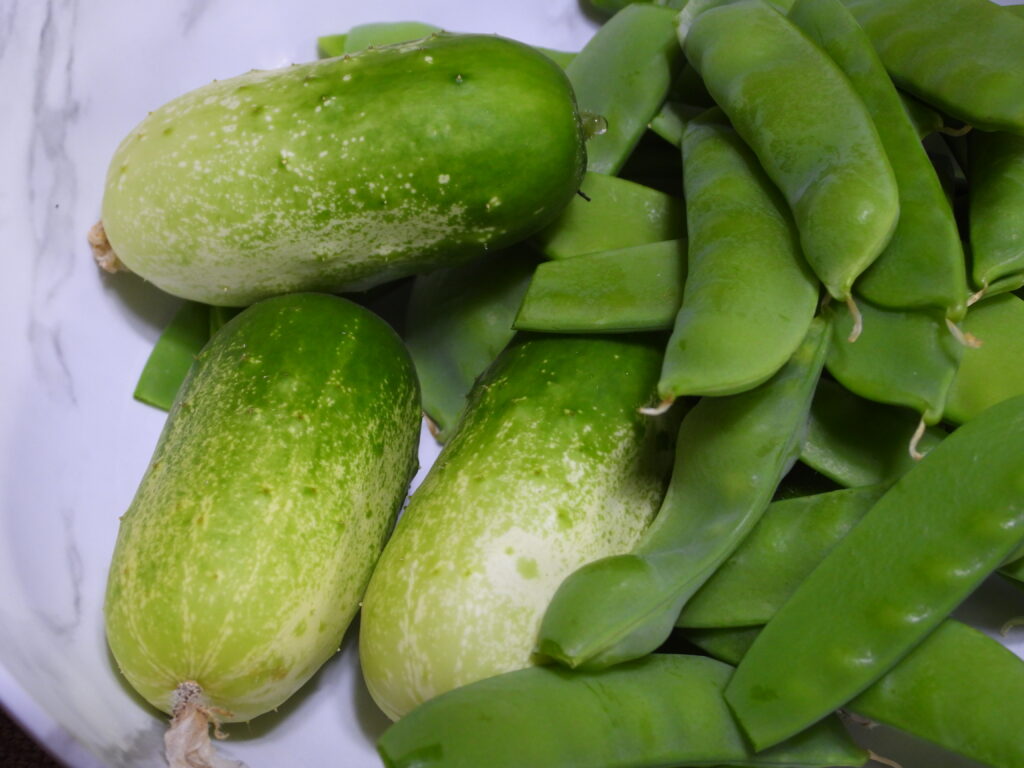
Quirk cucumber

Of the new vegetable varieties we’re trying this year, the Quirk cucumber, has already proven itself a winner. They’re sweet and tender and at least as productive as our other cucumber types. Just keep in mind that they mature quite small, so pick when you can still see the dried-up blossoms on the end.

Highly recommended! We’ll definitely be growing these again next year.

Overwintering a garden under a pool cover

Weed-free spring garden

Remember how my mothers-in-law laid down an old solar pool cover over their garden beds last fall? They didn’t plant until around the frost-free date this spring and left the pool cover on until just before planting.

By the time they took it off, nearly all of the maple leaves they’d topdressed the beds with had melted into the soil and the entire area was completely weed-free. Even weeks later, they’re only seeing very mild weed pressure, suggesting that seedlings sprouted under the pool cover then died. (My mind is blanking on which garden writer recommends a similar technique, but using black plastic. Maybe you can refresh my memory in the comments?)


Planting spring vegetables early vs. late

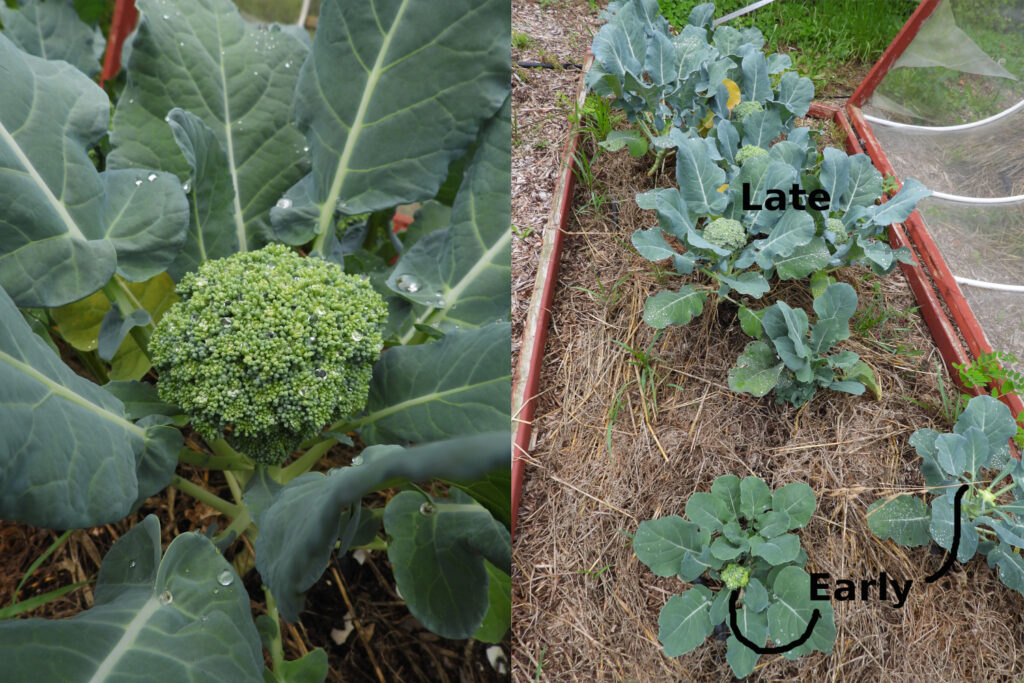
Planting spring broccoli early vs. late

This experiment involved planting some broccoli seedlings early enough that their tops got a little nipped then setting out seedlings started inside at the same time considerably later. The expected tradeoff was that the early planted broccoli would grow more roots at the expense of their tops while the later planted broccoli would grow more tops at the expense of their roots.

The results are a little more mixed on this one. The early planted broccoli gave me the results I always get (because I usually plant at the first possible moment). They headed up at various sizes — some huge, some tiny, many medium. In contrast, the late-planted broccoli were more regular in size — all on the small side of medium — and they headed up one to two weeks later than the early planted broccoli.

When thinking of this in terms of overall yield, it’s important to note that we keep picking side shoots for a long time from our spring broccoli. That’s a data point in favor of the early planting, even though some of the early broccoli made teensy little initial heads.

That said, it’s nice not to have all of my excess broccoli needing to be frozen at once. Which is an argument for hedging my bets by planting both ways in future.


How about you?

Any garden experiments you’d like to share results of with the with the world at large?

Posted on

Growing in the gutter

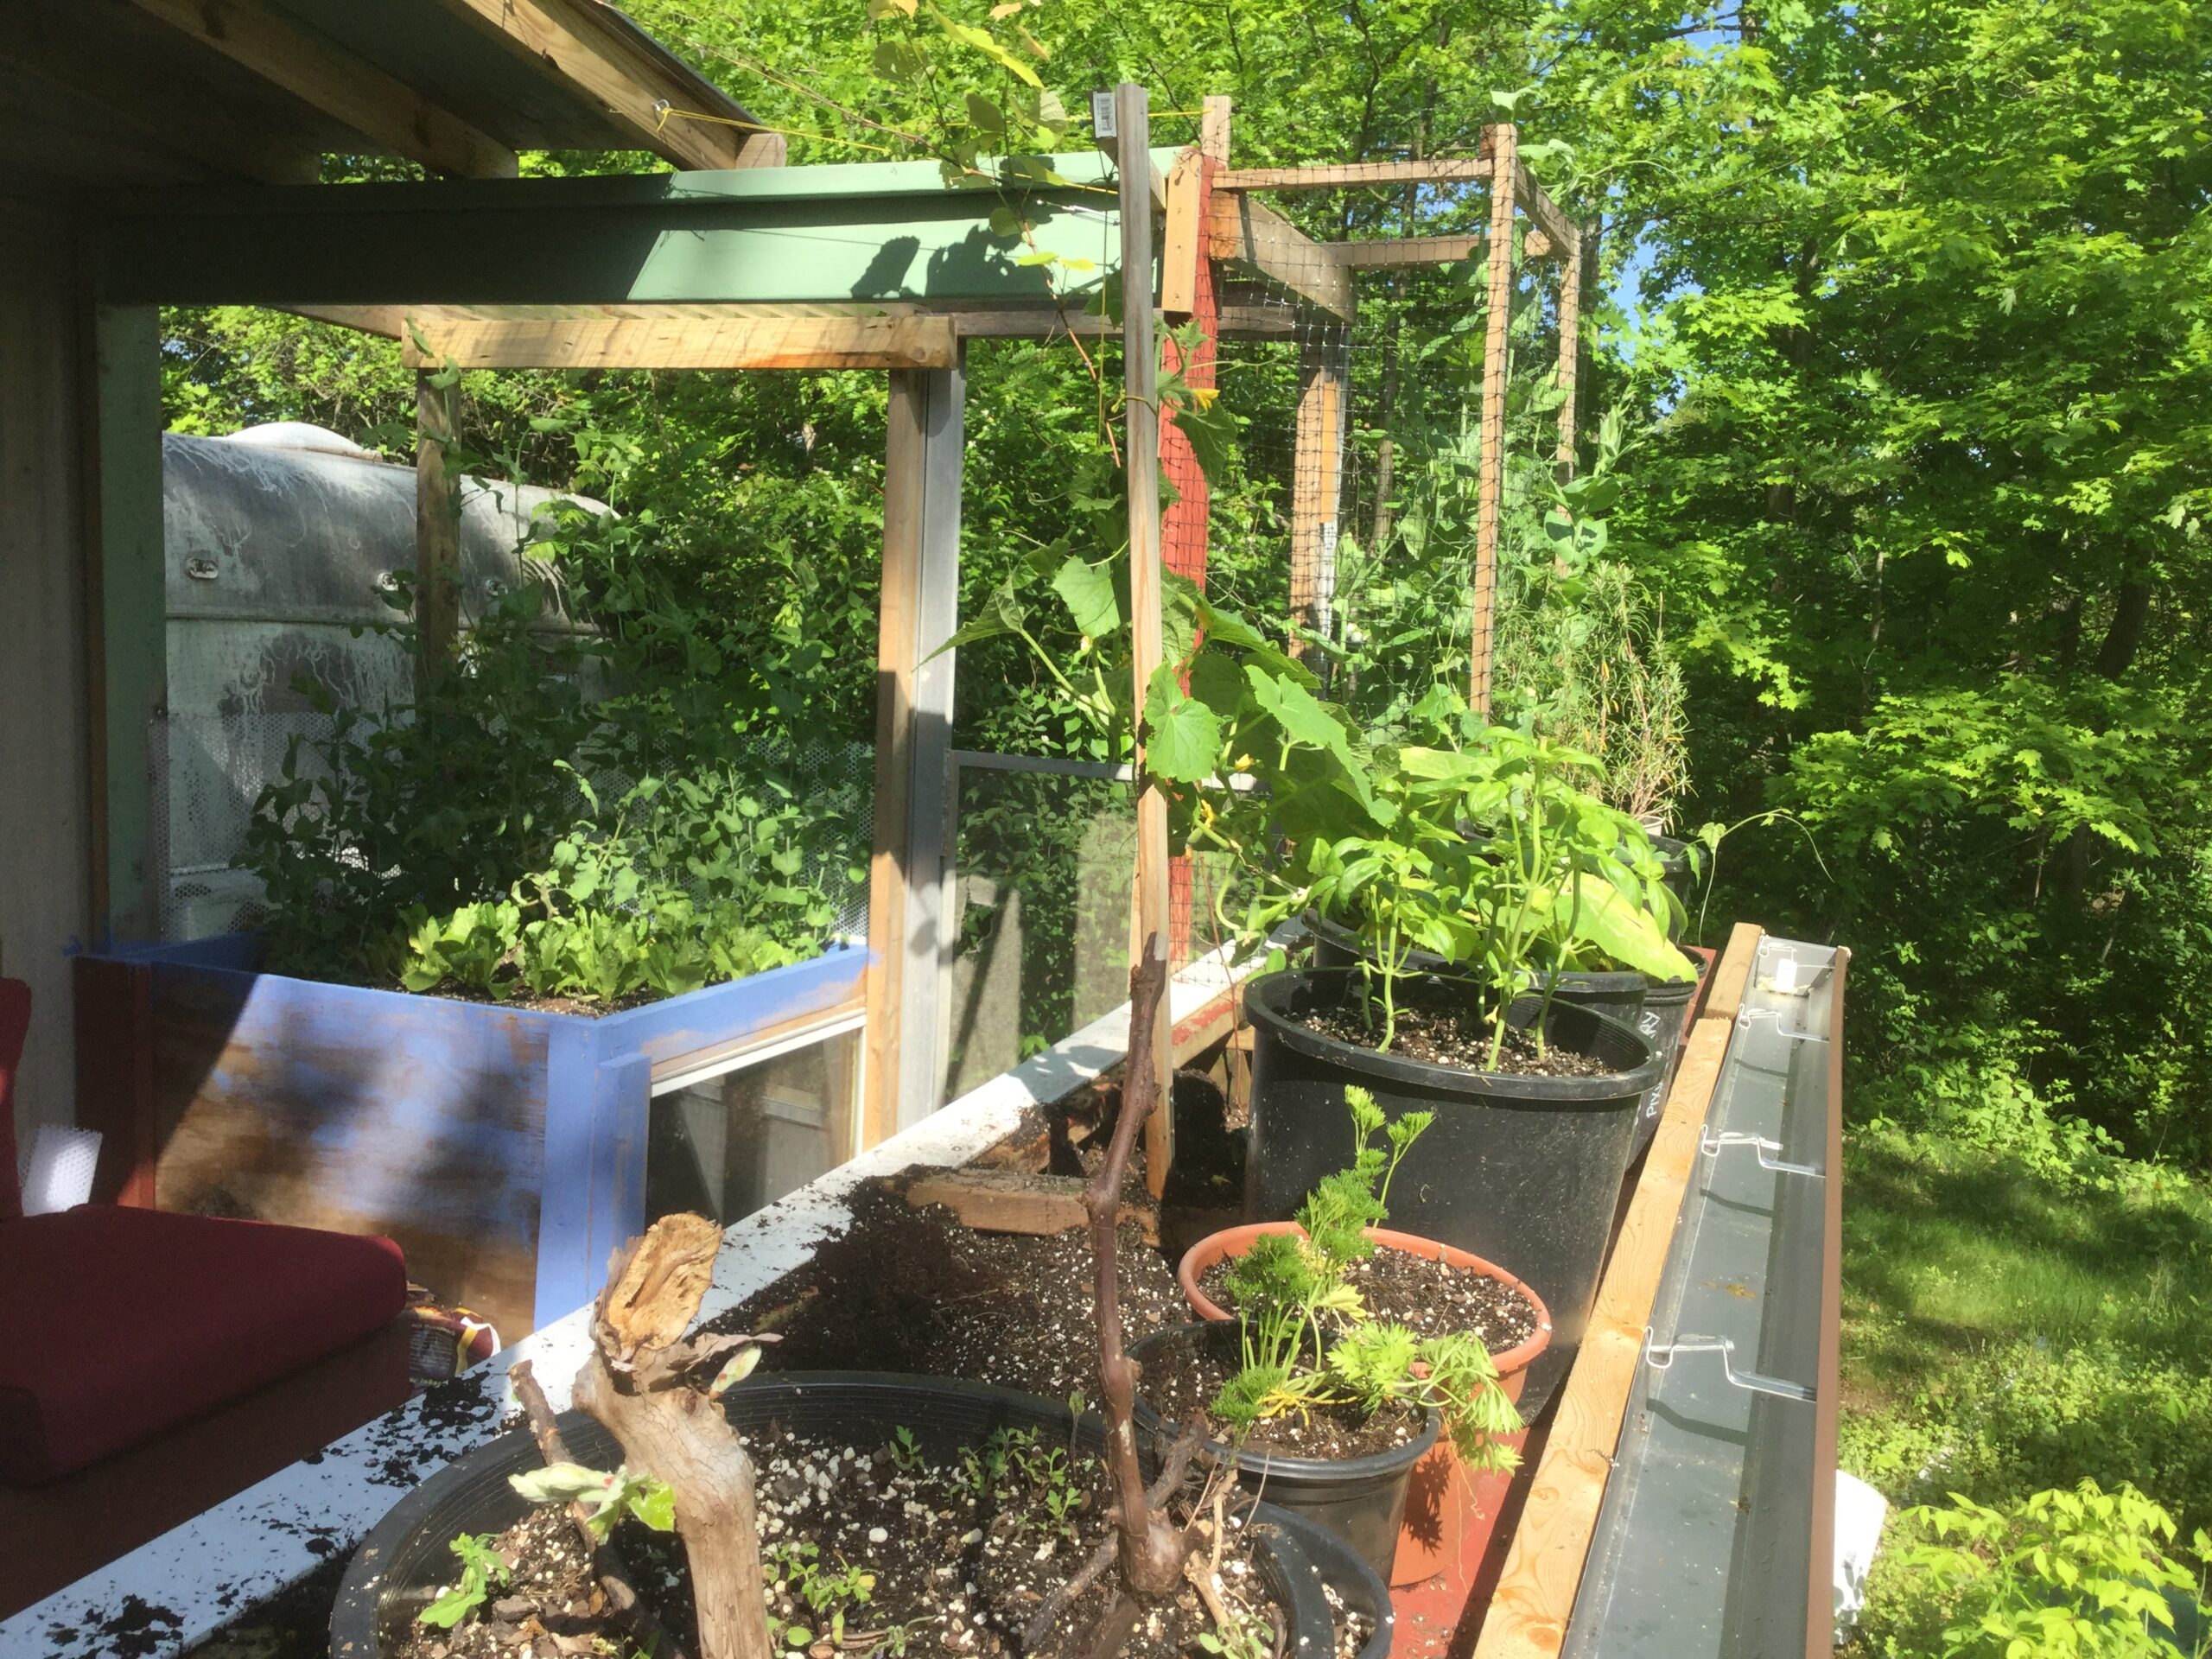
One challenge of our deck growing area is the shade it gets from close by structures.

The new experiment is to see what we can grow in this gutter area that escapes some of the shade.

A 10 foot section of aluminum gutter is about 15 dollars with another 15 on end caps and hardware.

Posted on

Harvesting the first hairy vetch for mulch

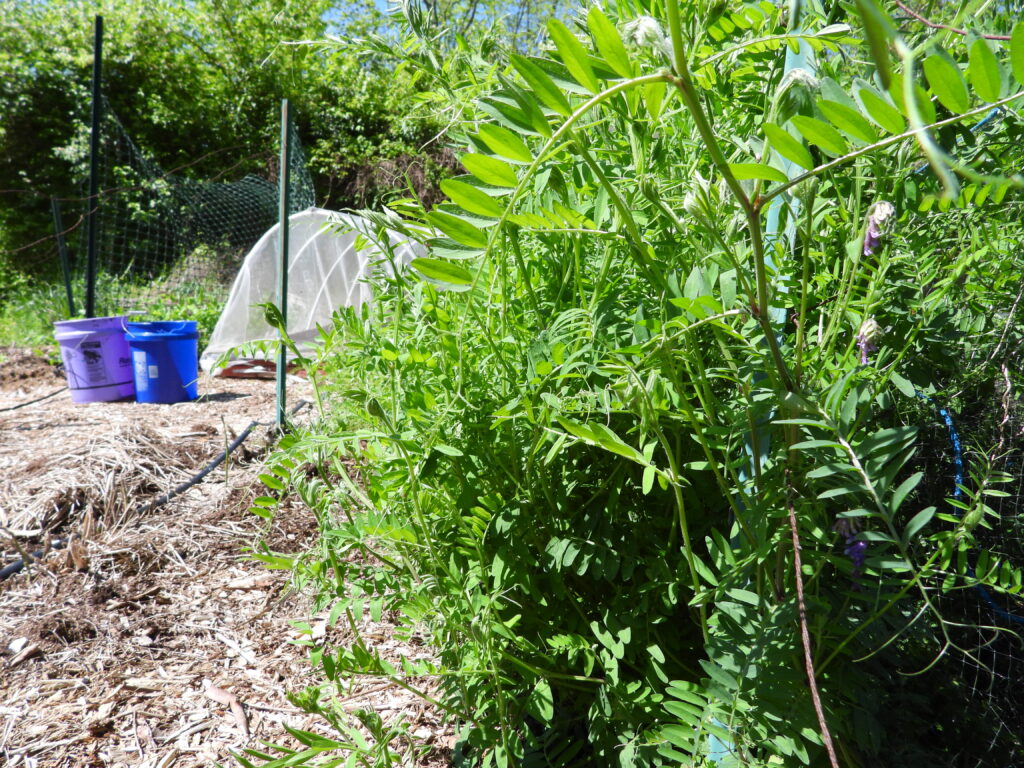
Hairy vetch starting to bloom

Remember my disappointment in summer-planted hairy vetch? Well, that patch kept growing slowly throughout the fall and winter, then took off like a rocket this spring. I needed some mulch this week and didn’t mind the vetch bed staying in cover crops for another year, so I actually cut when only the first few blooms had appeared. Harvest was extremely simple — a lot of stalks ripped out easily by hand then I used a toothed sickle to cut through the rest.

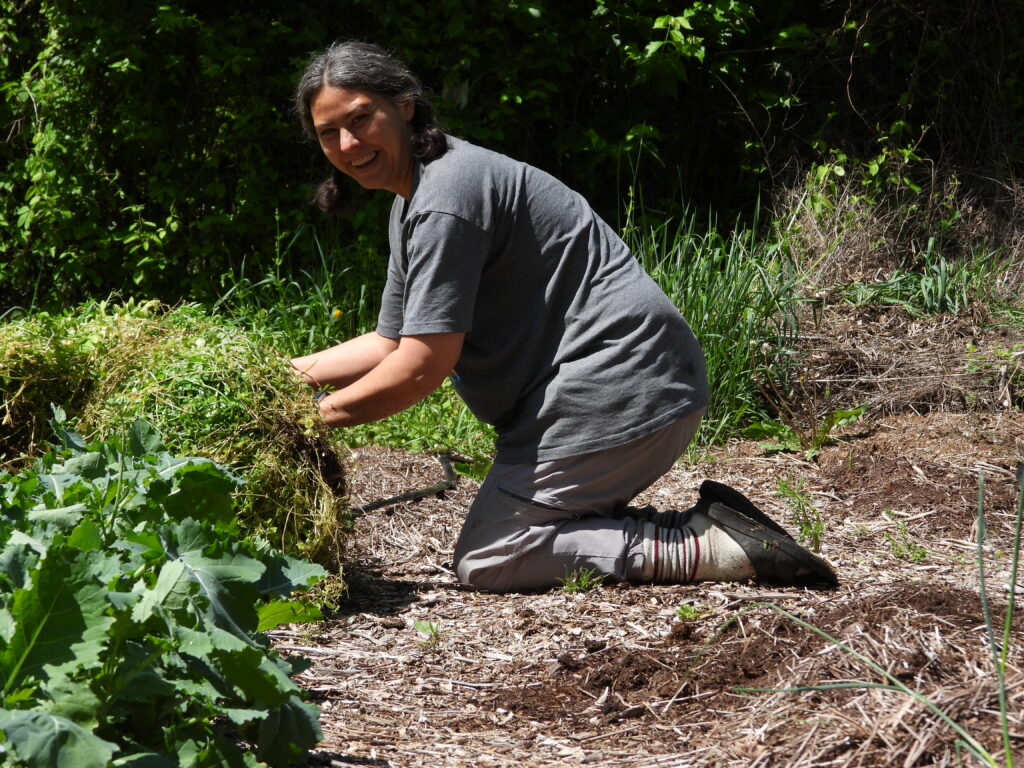
Rolling a ball of vetch

For the first bed that was entirely vetch, I rolled my cut cover crops up into a big snowball of greenery and pushed them down the hill to the broccoli, who have been treated with worm castings but still need more nitrogen (plus mulch). The vetch covered up an area about three times as large as the original spot it had been harvested from, although we’ll see how much the greenery melts down as the stems die and dry.


Co-planting rye and vetch

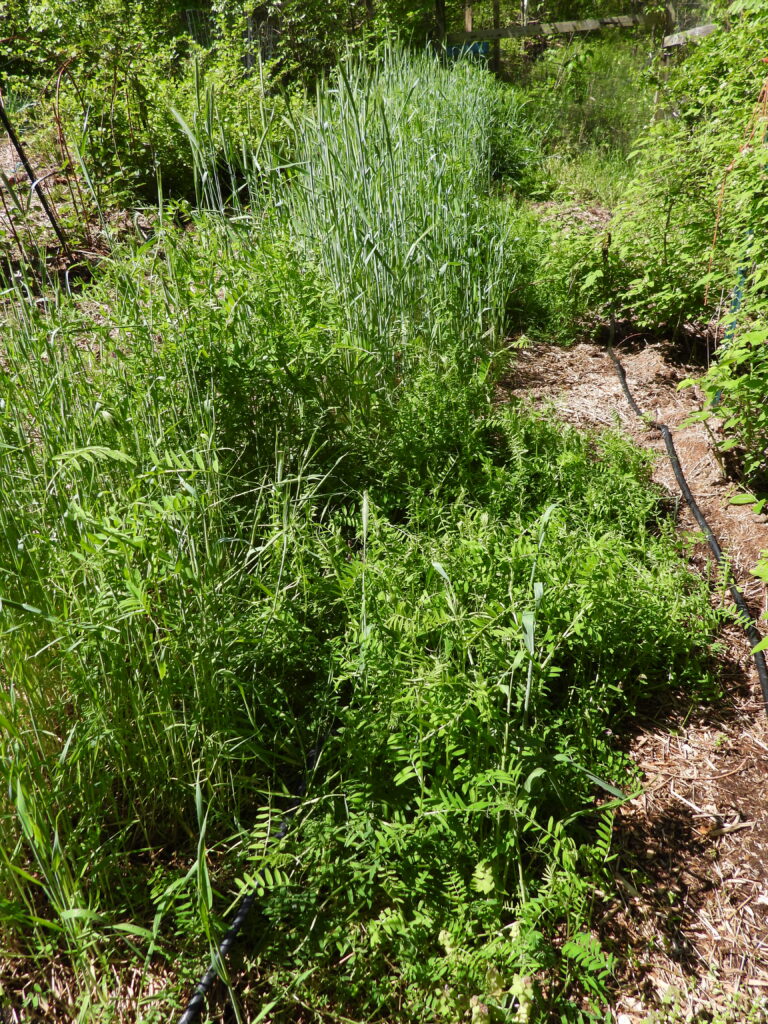
Vetch and rye cover crop coplanting experiment

Next up was taking a look at a rye-and-vetch co-planting. Like the other vetch bed, this patch of garden soil needs serious improvement (thus the focus on a nitrogen-fixer like vetch). Unlike that other bed, I planted in fall instead of summer.

In this area, I wanted to determine which did better — rye planted solo or rye interplanted with vetch. So I divided the bed up into stripes, the first one vetch and rye, the next one rye only, etc. The idea is to make sure any difference I saw between plantings wasn’t due to the part of bed they were planted in.

Conclusions? First of all, it’s clear that rye does much better in excellent soil than it does in poor soil. When we’d planted it in Virginia, our rye used to grow to my shoulder. These beds barely make it to my waist.

The vetch, in contrast, did quite well here (although only about 60% as well as the summer-planted vetch-only bed). The bands with vetch produced about twice as much total biomass as the rye-only bands did. Would a vetch-only band have produced yet more? Hard to say since my vetch-only bed was planted earlier in the season than the rye-and-vetch bands. Sounds like we’re due for another experiment this fall.


Moving hand-harvested mulch around

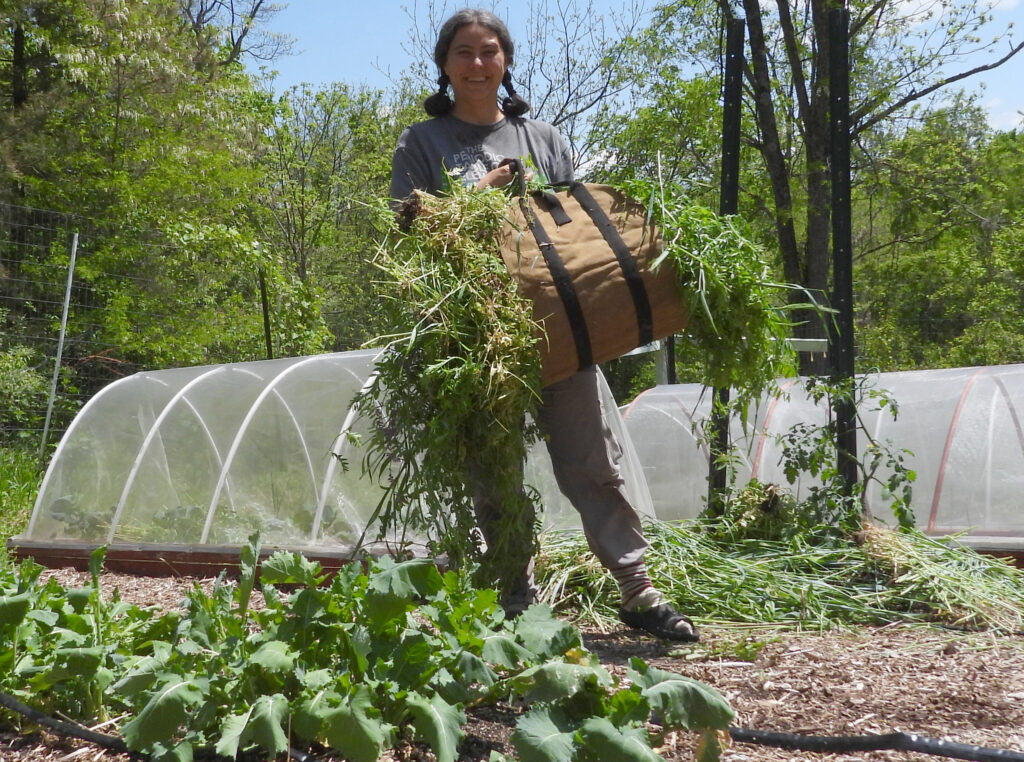
Homegrown garden mulch carrier

As a side note, the firewood tote carrier we no longer use turns out to be awesome for moving cover crop mulch around. If you’re hand harvesting, you can lay clumps into the carrier as you cut them, then the tote bundles them up nicely as you wander across the garden.

Homegrown garden mulch

And here’s about a third of the area I mulched with handcut cover crops over the course of a bit over an hour. Yes, I did yank up blooming arugula and cut some comfrey leaves also to round things out. I’m now tuckered out but very pleased with my free mulch.

Posted on

Should you plant your spring garden early?

Water droplets on a pepper leaf

I don’t have a plant problem…yet.

Potting up spring seedlings

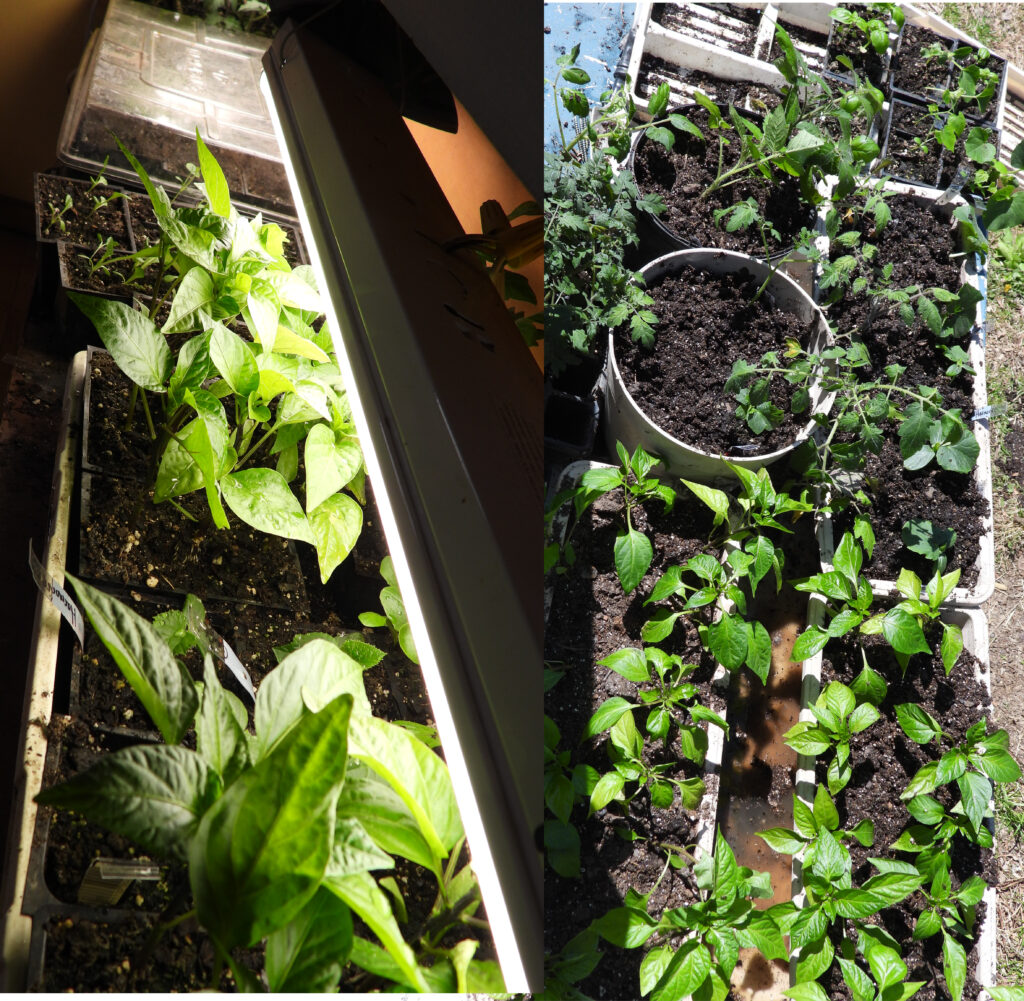
But I did pot up my indoor seedling shelf (left photo) into an outdoor seedling table (right photo) this afternoon. Which will be great…until the next low in the 30s, forecast to show up in six short days.

Broccoli seedlings

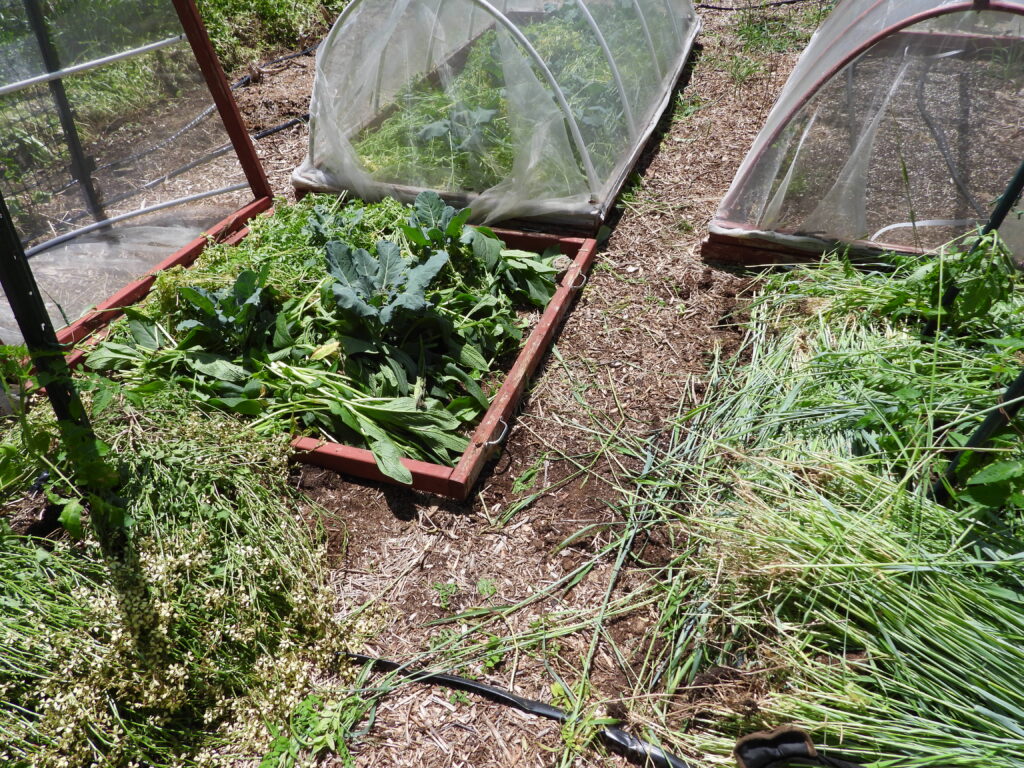
The reason for all this potting up is that I started some of my seedlings — peppers, tomatoes, and the first round of cucumbers — earlier than usual this year. That means they need to be potted up and/or put into the ground earlier than usual. I’m on the fence about how smart it is to really push the spring garden envelope this way, so I’m doing a side-by-side comparison in my broccoli beds.

The broccoli story began when I set out most of my broccoli seedlings on March 21, covered them up during a cold spell that dropped into the high 20s, and watched what always happens happen again. The broccoli plants got a little nipped but not so bad that they won’t produce.

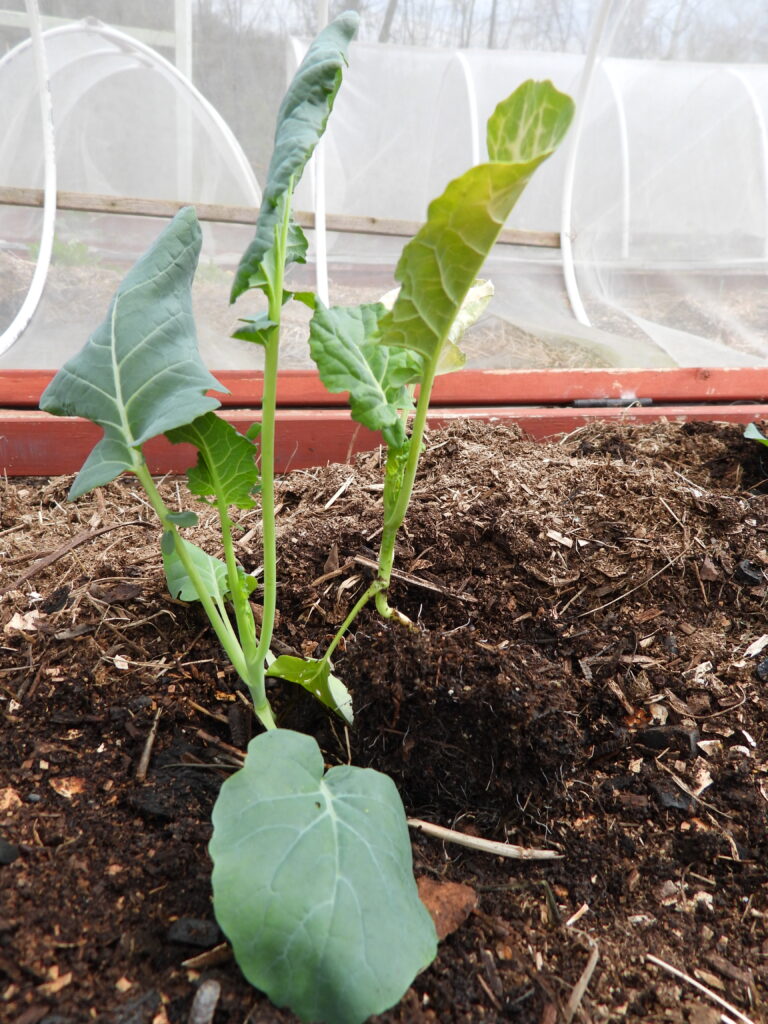
Meanwhile, I had another eight plants that I wasn’t able to fit into the designated space, which I kept inside for an extra two weeks. The indoor plants quickly outpaced the outdoor plants in size and I thought to myself, “Why not rip out some of the outdoor plants and replace them with bigger indoor plants to see whether I would have been better off not jumping the gun?” On April 3, the second round of plants went into the ground.

In the photo above, one of the indoor-longer plants is on the left. On the right is the outdoor-longer plant I’d just pulled out. I’ll try to remember to make another post in a month or two once it becomes clear which set of plants is doing best.

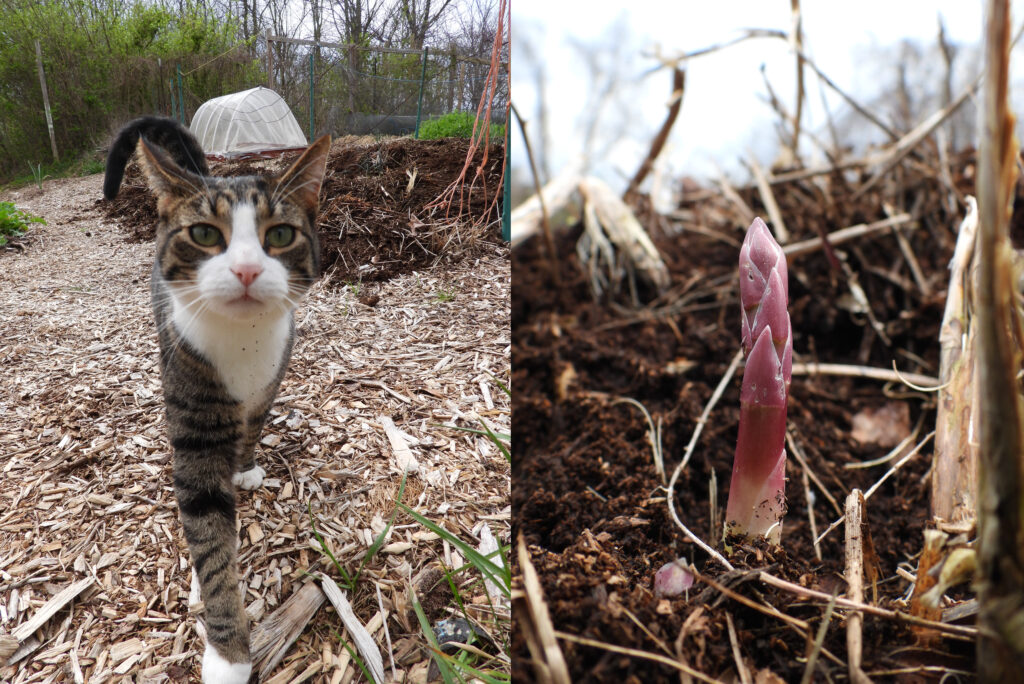
First asparagus and garden cat

In other garden news, we picked our first three asparagus spears Sunday! Dandelion, our garden guardian, predicts many more will head into our bellies soon.

How’s your garden growing?

Posted on

New garden varieties for 2023

Experimental crops for 2023The seed rush has started! My calendar tells me to start the first lettuce outside if the ground is warm enough on February 2 (which it almost never is up here) and the first broccoli inside on February 14. But Mark asked me to try romaine lettuce this year, which seemed like an excuse to go ahead and start a few lettuce seedlings along with the first flat of broccoli seedlings on January 30. I couldn’t help myself!

As usual, we’re trying a small selection of new varieties along with our tried-and-true and I thought you might like to see our experiments. We get our seeds from Johnny’s because their plants are (almost) always both productive and delicious, so you can find all of these goodies over there if you want to follow suit. I will admit that their seeds aren’t cheap, but I find that I get so much more out of each plant that it’s worth the extra cash, especially once you factor in time spent taking care of crops that don’t bear.

So, without further ado, four experiments!

Quirk produces tiny cucumbers that were just too cute to pass by when I saw them on the website.

Sunland is a run-of-the-mill romaine, but we’ve never grown romaine before so I’m adding it to the list. We’ll be starting a few seeds every week then transplanting them the way you would broccoli, a different technique than our dependable direct-seed-a-bed-a-month technique formerly used for leaf lettuce.

Adam Gherkin looks like a similar variety to my beloved Harmonie, which has been a delicious producer for years. Yes, 250 seeds is a lot, but the packet option just seemed too small. I can often eke out cucurbit seeds for two to four years, so if this variety is a winner that will only be $5 – $10 a year for our main cucumber crop.

Menuette is a new kind of parsley with very small, ferny leaves. We like to use parsley in tuna salad, but the bigger leaves tend to get tough in the summer. We’re hoping this variety will stay tender all year long.

How about you? Which new varieties are you most excited about trying? (I’m assuming your seeds are ordered, right?!)