Posted on

A brand new gardening course for you!

Garden Course Sale

Porch planter boxAs long-time readers are aware, Mark’s a big believer in building your way out of repetitive or unpleasant homesteading tasks. So I get to enjoy his amazing caterpillar tunnels, porch-top planter boxes, anti-chipmunk strawberry beds, anti-bird raspberry area, and deer-proof garden fence.

Now, after a year of making me talk in front of a camera then plunking Mark down in front of editing software, you can enjoy a deep dive into each of those projects. For another day or two, you can even nab your copy at 50% off!

This is our second video course and I hope it comes across as tighter, more informative, and more entertaining than the first one. (It certainly felt that way to me, but maybe I’m just getting over my annoyance at seeing myself in moving pictures.)
Caterpillar tunneslAs a bonus, Udemy courses come with a lifetime subscription to updates. For example, folks in our Soil-First Gardening Course paid up front for an hour-long course just like this one, then got a bonus half hour of cover-crop information a few months later totally free even though the course increased in price by $10 at the same time.

Which is a long way of saying — I hope you’ll grab a copy now while DIY Gardening Projects is brand new and the cheapest it will ever be!  if you really want to make our day, please consider leaving a review after you watch. Reviews not only help strangers decide to take a chance on our courses, they also give us ideas of what to add and how to do better next time.

Happy learning!

Posted on

2×3 mistake

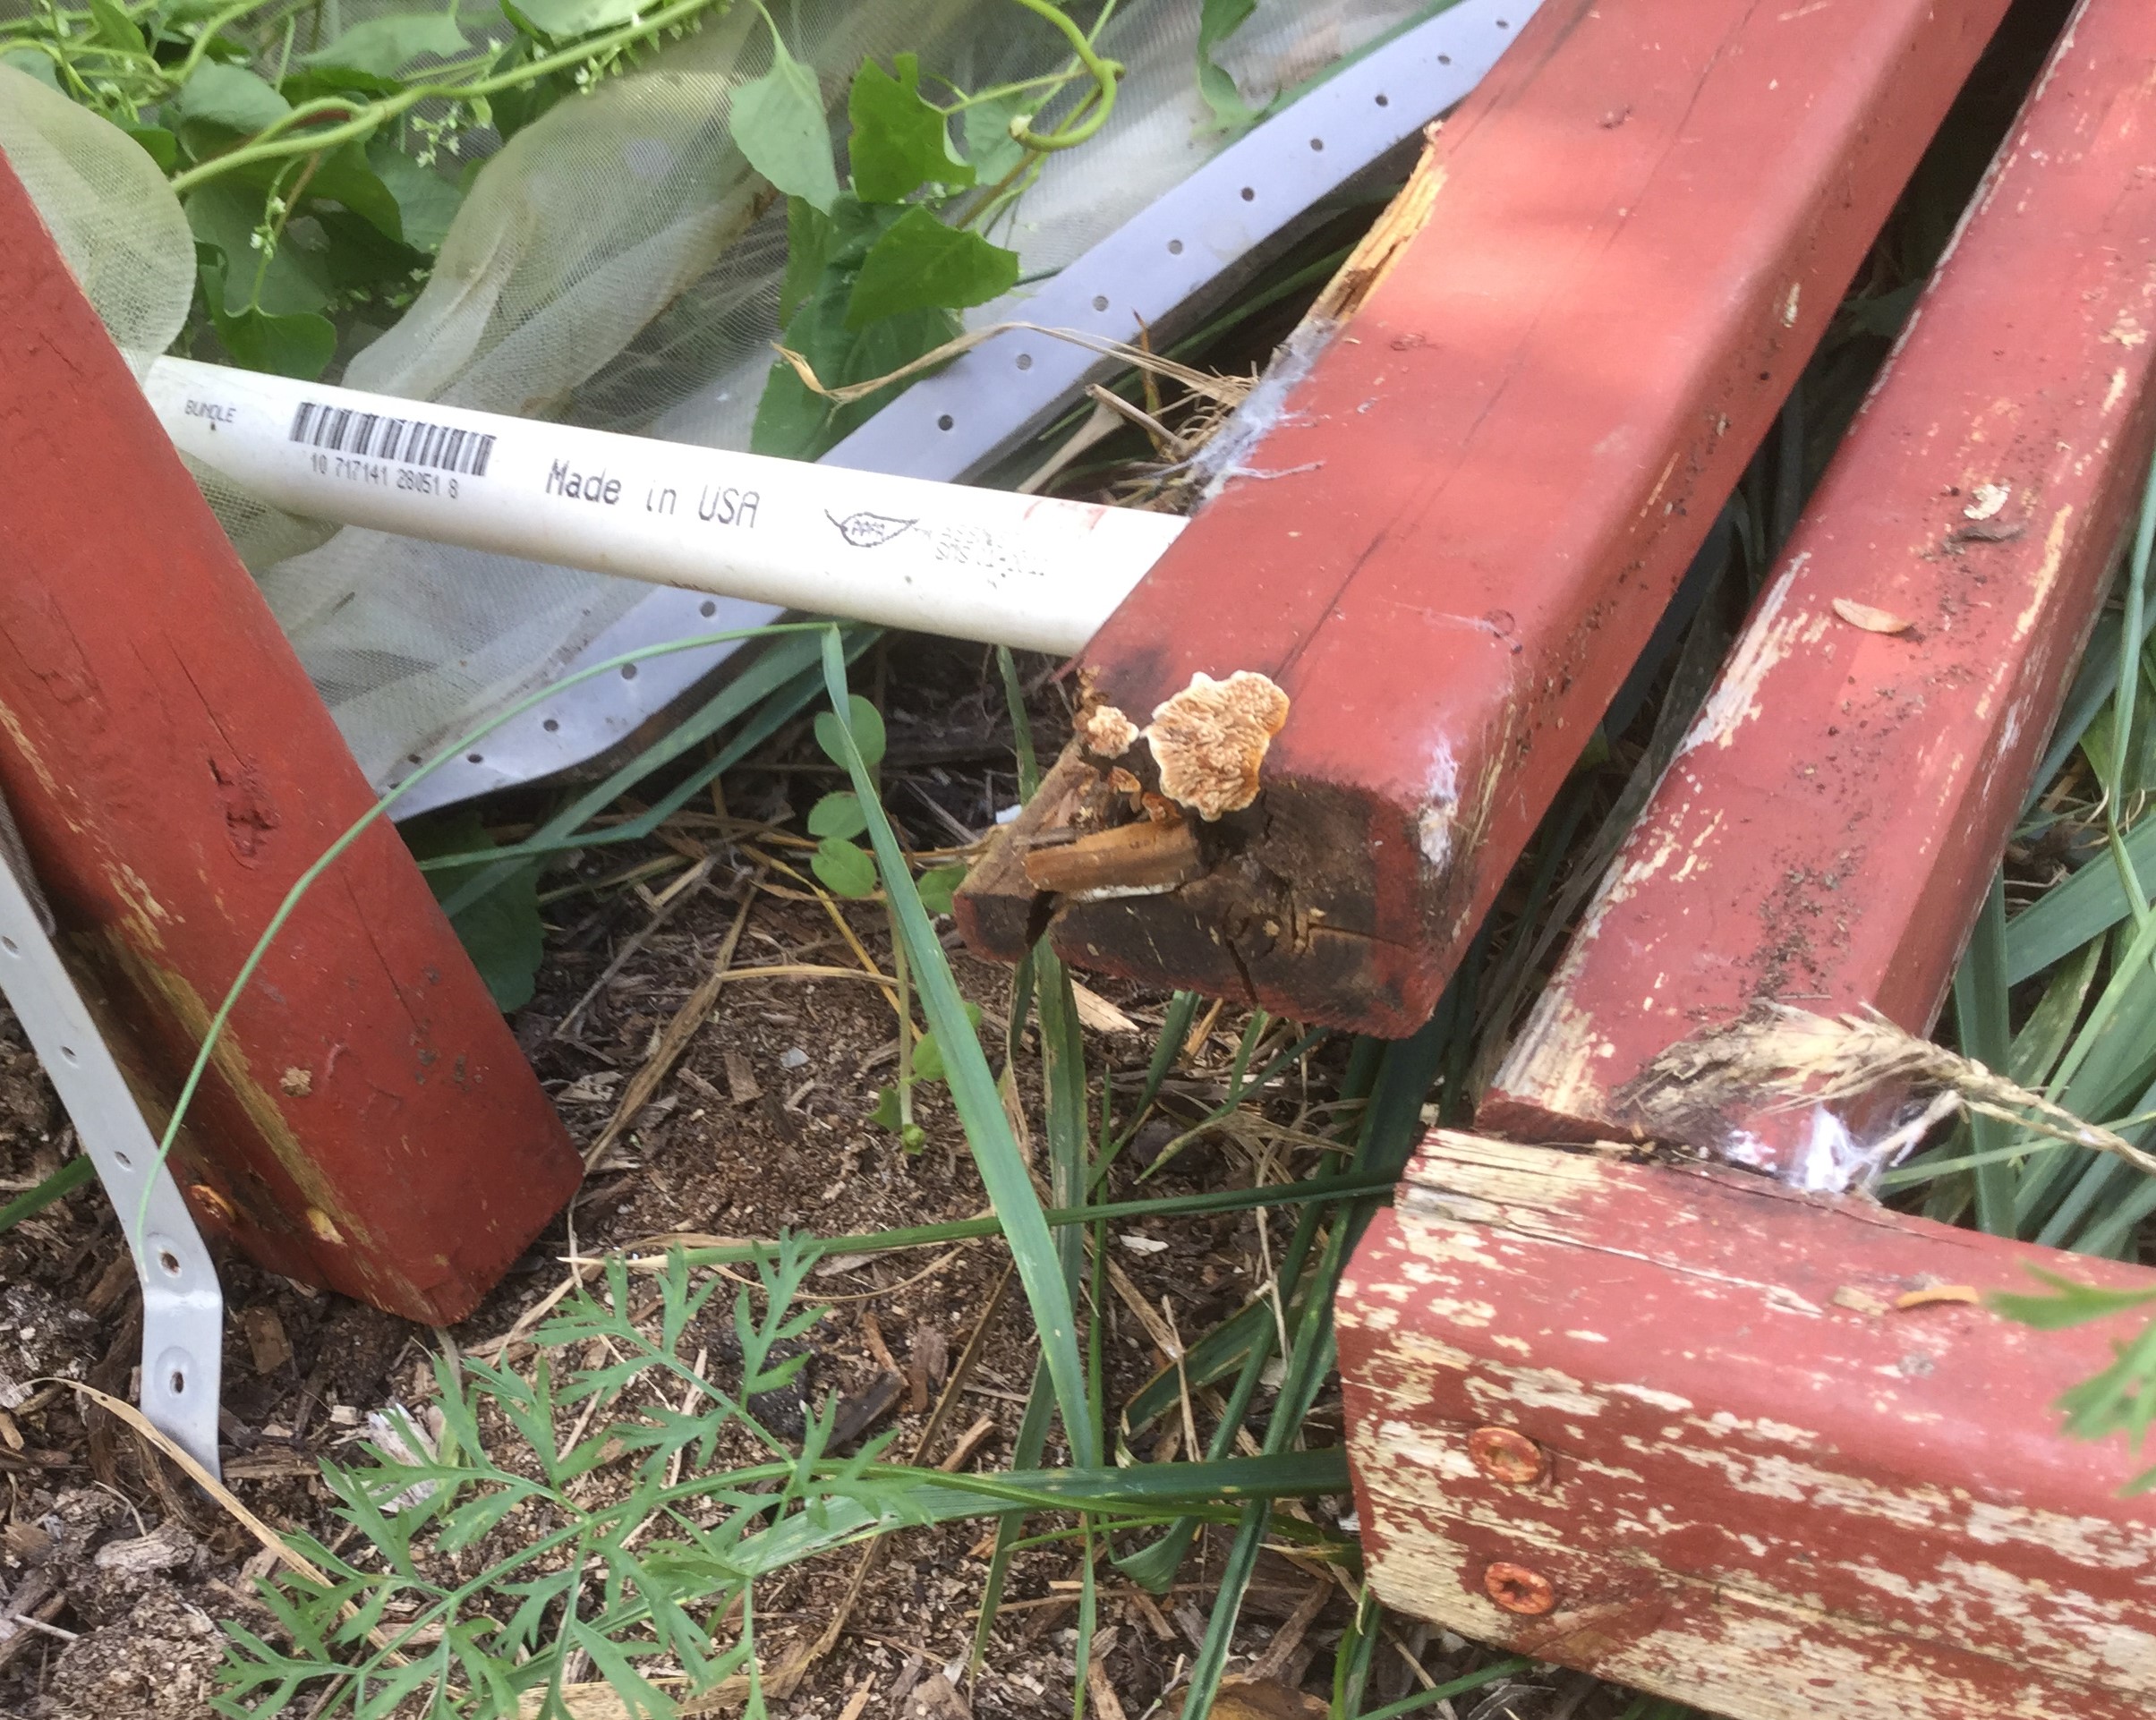
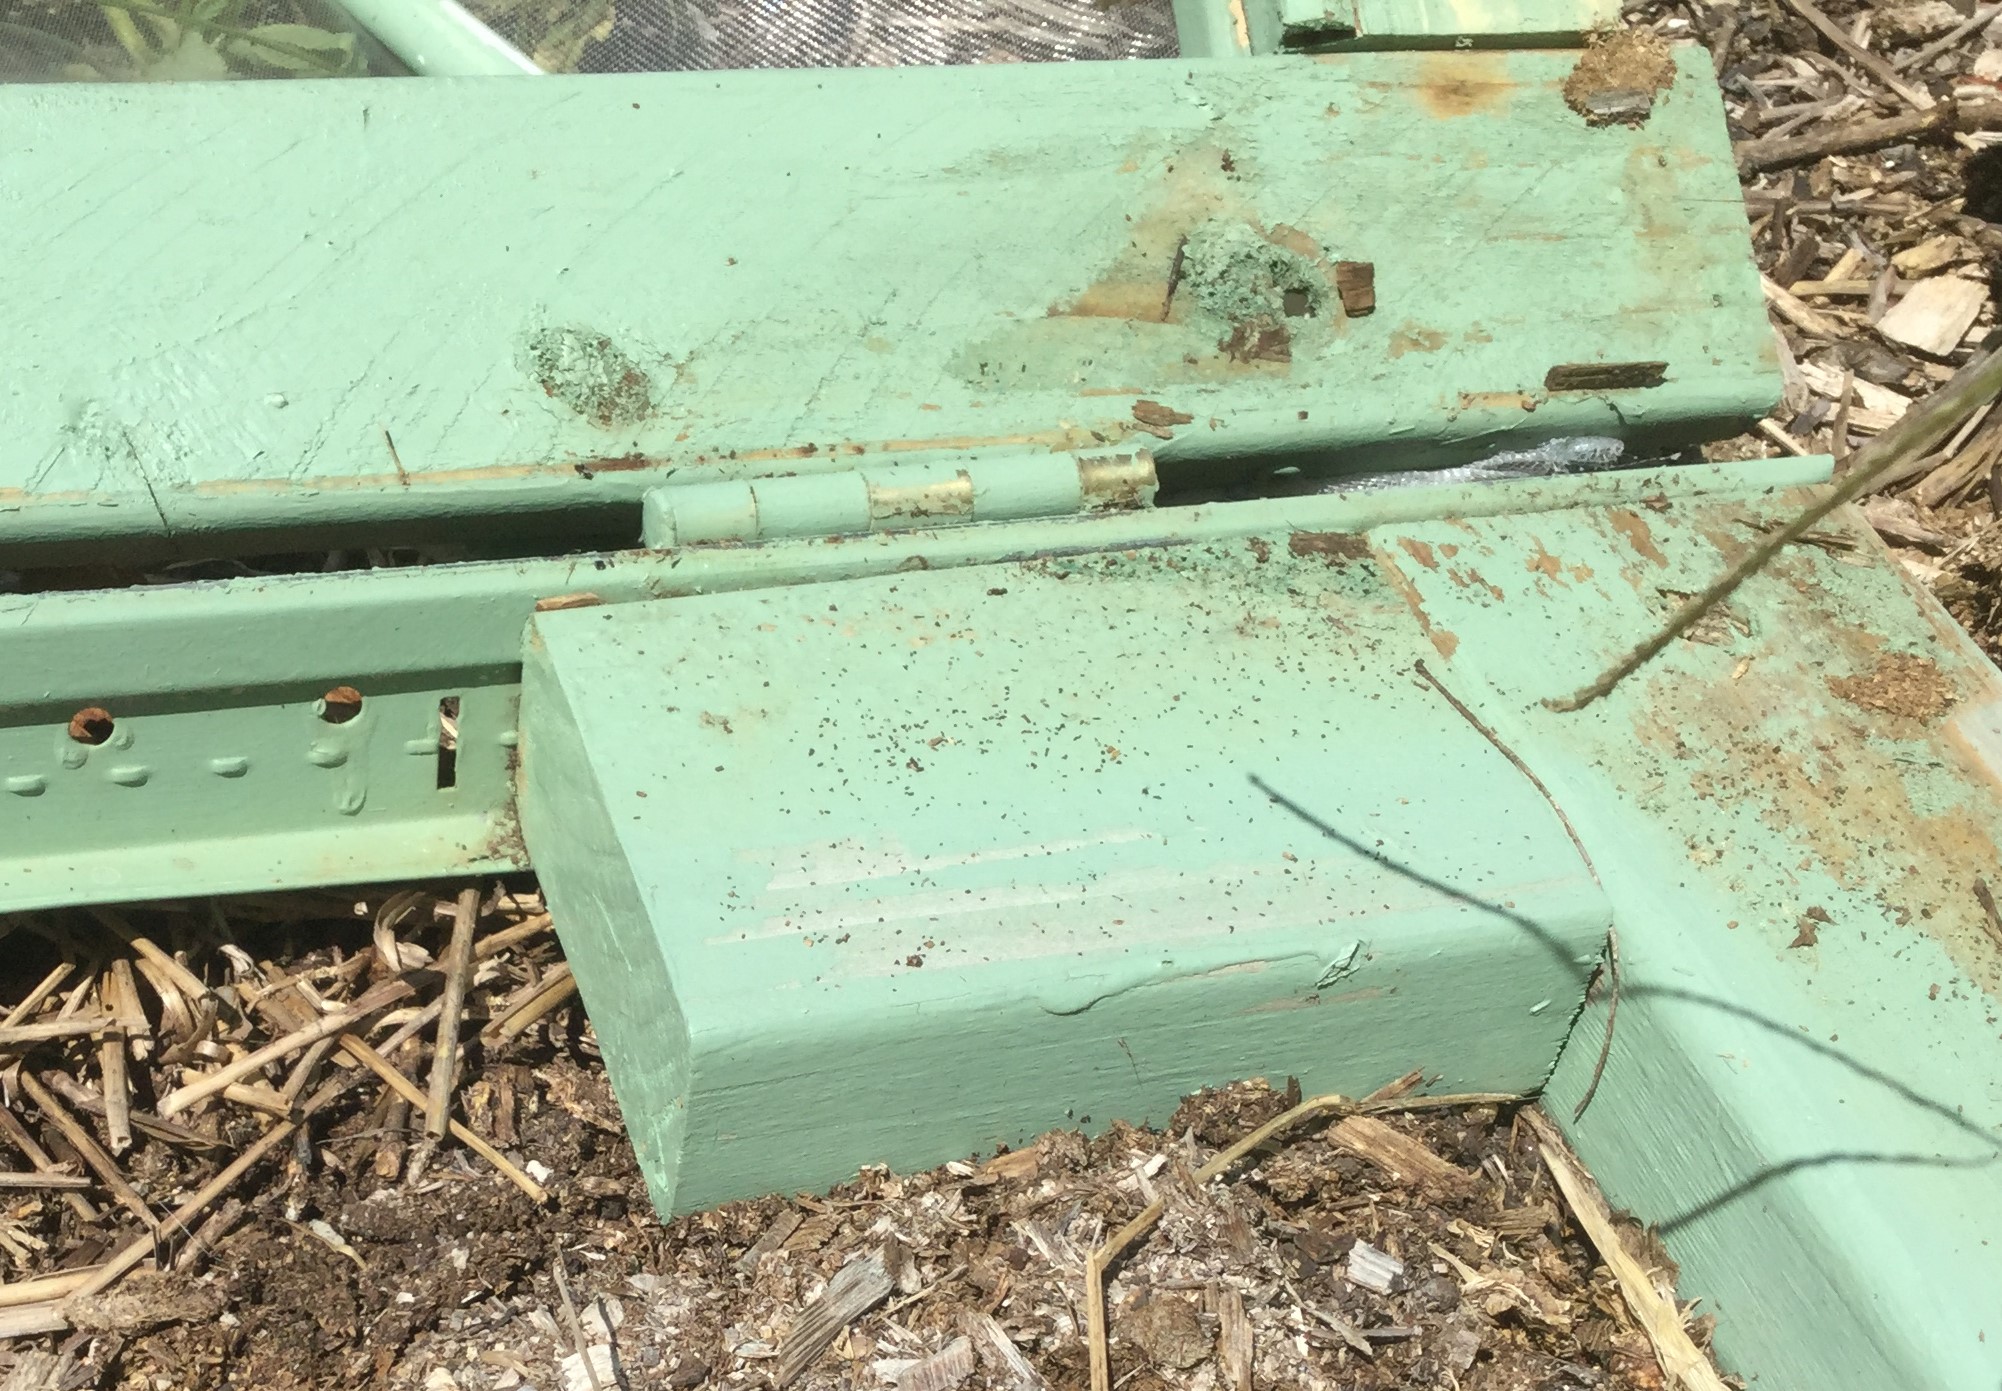
I chose 2×3 over 2×4 boards in an effort to make our caterpillar tunnels lighter.

We now know this makes them a little too heavy and prone to decay faster than expected.

I was able to fix the problem with some brackets but needed a whole new design.

The new version takes advantage of the light and strong steel rails used to support ceiling tiles in big buildings.

I also decided that a smaller structure is easier to move and less prone to damage.

Stay tuned for a more detailed post on the smaller and better caterpillar tunnel after we’ve finished driving it around the block a few times this year.

Posted on

Propping up anti-bird netting

Propping up anti-bird netting

Blackberry

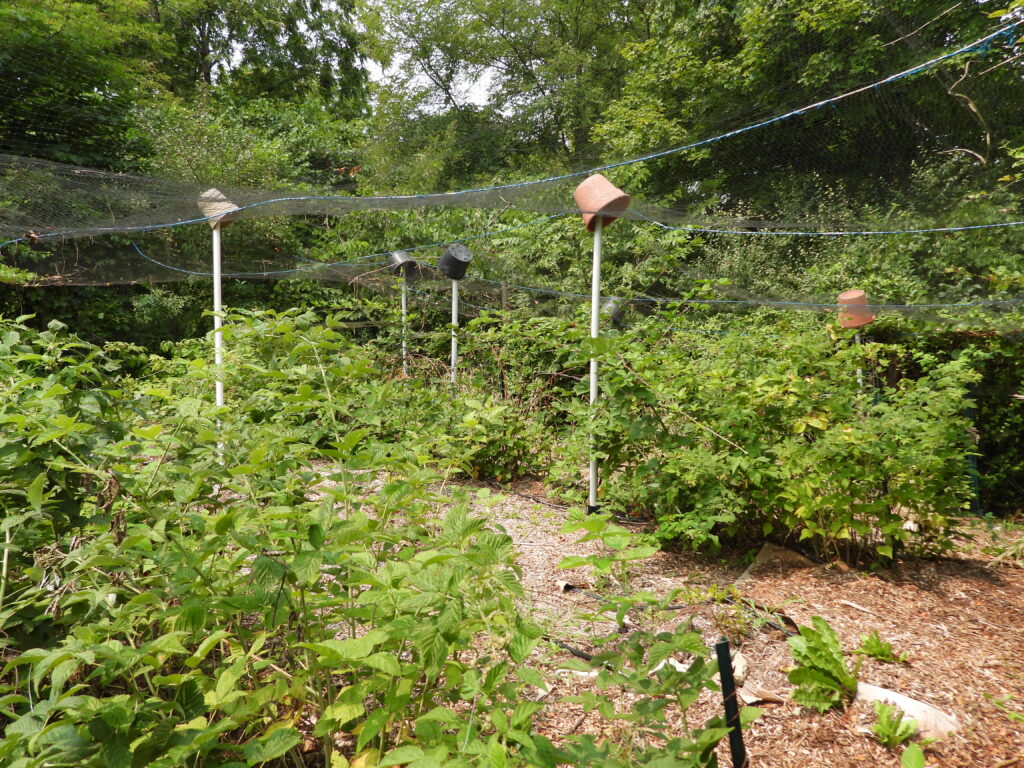
Our berry enclosure has been unsuccessful at keeping out chipmunks but successful at keeping out birds. So we moved our strawberries (aka chipmunk magnets) to a different setup and are using the space left behind for blackberries, raspberries, and gooseberries.

This year, we’ve had great harvests from all of our berries, which means I visit the berry enclosure a lot. And that also means bird netting rubbing against my head every time I take a step turned into a drag. Time to solve that problem once and for all!

My first step was to look back through old Walden Effect posts, where I found this great solution in another gardener’s berry area. Now, how to recreate it to mesh with our existing setup?

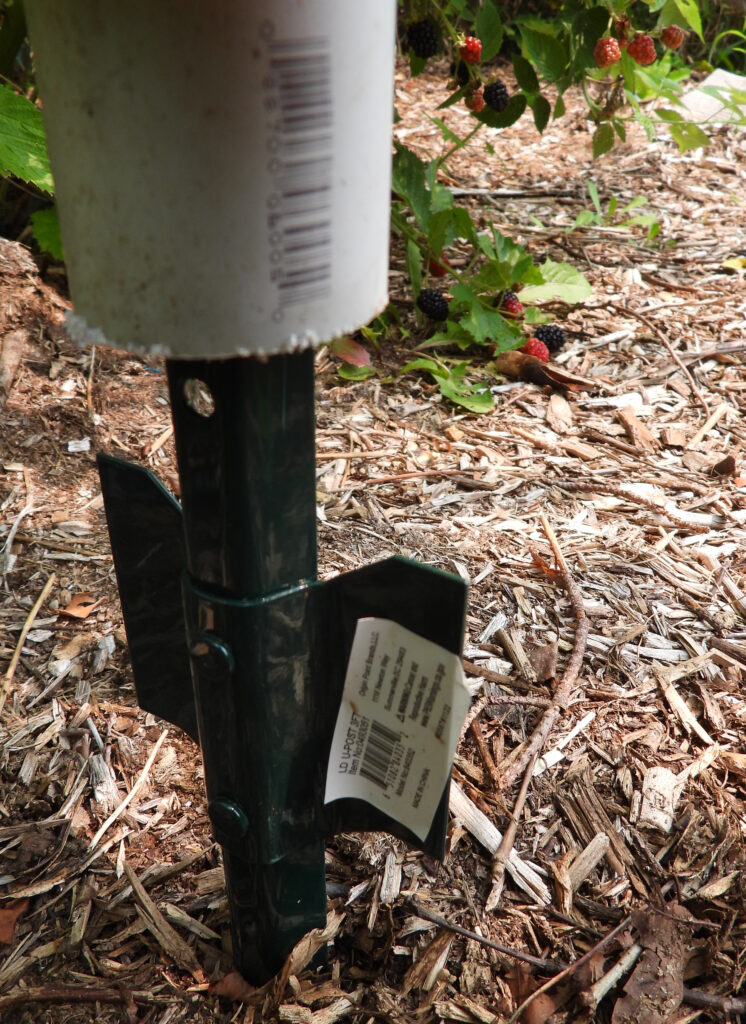
A PVC pipe on top of a fencepost

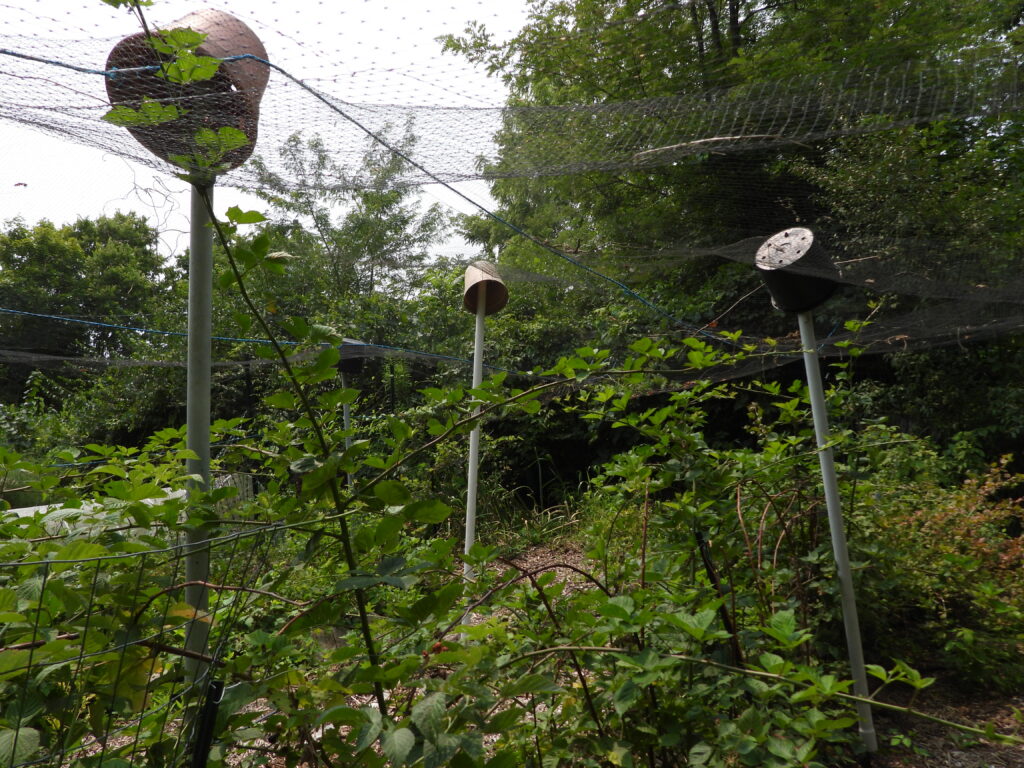
We had a lot of 10-foot PVC pipes lying around, purchased when we thought we’d need to extend our garden fence to 10 feet to keep out deer. That turned out to be unnecessary, so I decided to repurpose the pipes into berry-netting supports.

Next, we need to find a U-post that would slide easily inside the pipes. The cheapest, shortest ones were a fit!

Berry enclosure

I ended up cutting a couple of feet off each PVC pipe before sliding it onto the post since there was only so much wiggle room in our existing system. If you’re starting from scratch, you can probably use the full height.

Last step was to plop old plastic flower pots on top of each pipe to spread out that pressure point and prevent pipes from poking through netting if leaves fall before we take our setup down. If you repeat this, be smarter than I was — don’t stare up at the flower pot as you raise the pole into place or you’ll end up with an almost black eye!

We’re thrilled with the result, although the enclosure still has one big flaw. Honeysuckle has taken over the fence edges and each season it expands to twine into our berry netting. We’re still working out solutions on that front. In the meantime, eating lots of berries is a great reward for not-so-hard work.

Posted on

Garden experiment updates

I’m sure you’ve been waiting with baited breath to hear how various experiments panned out. Wait no longer! Results are in.

Quirk cucumbers

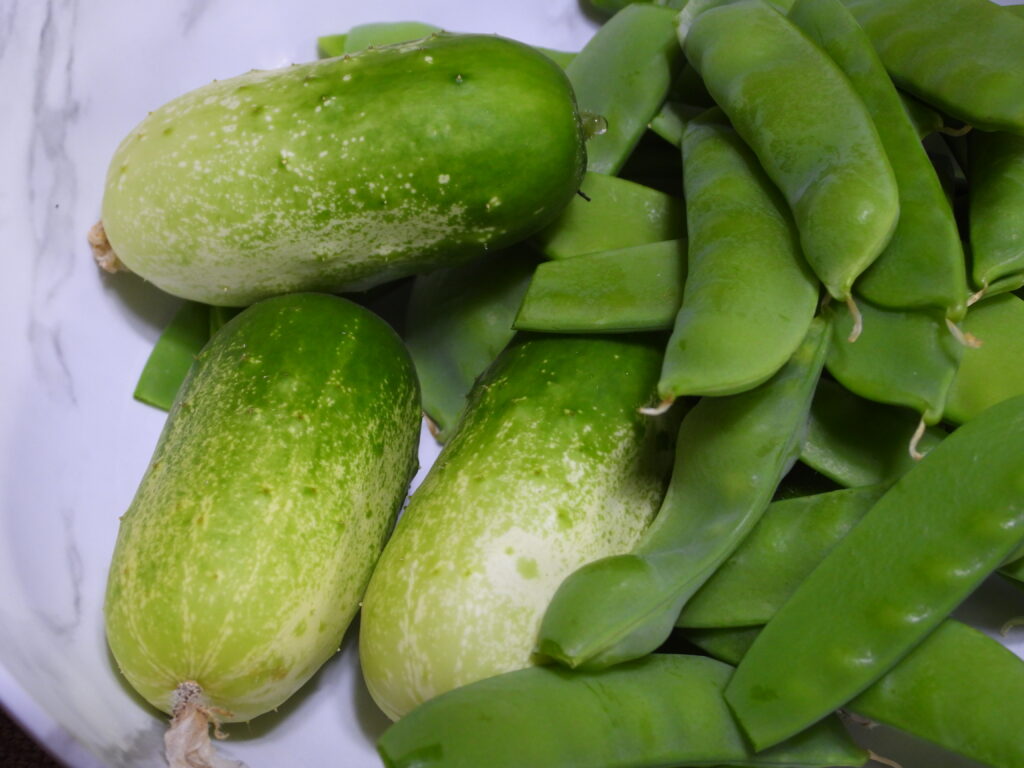
Quirk cucumber

Of the new vegetable varieties we’re trying this year, the Quirk cucumber, has already proven itself a winner. They’re sweet and tender and at least as productive as our other cucumber types. Just keep in mind that they mature quite small, so pick when you can still see the dried-up blossoms on the end.

Highly recommended! We’ll definitely be growing these again next year.

Overwintering a garden under a pool cover

Weed-free spring garden

Remember how my mothers-in-law laid down an old solar pool cover over their garden beds last fall? They didn’t plant until around the frost-free date this spring and left the pool cover on until just before planting.

By the time they took it off, nearly all of the maple leaves they’d topdressed the beds with had melted into the soil and the entire area was completely weed-free. Even weeks later, they’re only seeing very mild weed pressure, suggesting that seedlings sprouted under the pool cover then died. (My mind is blanking on which garden writer recommends a similar technique, but using black plastic. Maybe you can refresh my memory in the comments?)


Planting spring vegetables early vs. late

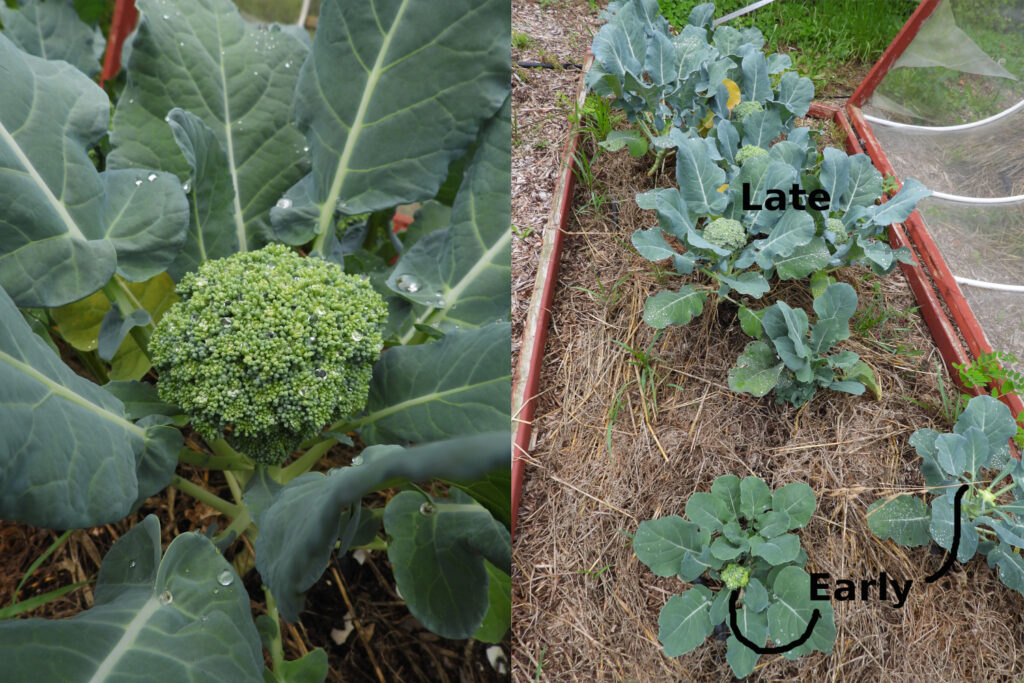
Planting spring broccoli early vs. late

This experiment involved planting some broccoli seedlings early enough that their tops got a little nipped then setting out seedlings started inside at the same time considerably later. The expected tradeoff was that the early planted broccoli would grow more roots at the expense of their tops while the later planted broccoli would grow more tops at the expense of their roots.

The results are a little more mixed on this one. The early planted broccoli gave me the results I always get (because I usually plant at the first possible moment). They headed up at various sizes — some huge, some tiny, many medium. In contrast, the late-planted broccoli were more regular in size — all on the small side of medium — and they headed up one to two weeks later than the early planted broccoli.

When thinking of this in terms of overall yield, it’s important to note that we keep picking side shoots for a long time from our spring broccoli. That’s a data point in favor of the early planting, even though some of the early broccoli made teensy little initial heads.

That said, it’s nice not to have all of my excess broccoli needing to be frozen at once. Which is an argument for hedging my bets by planting both ways in future.


How about you?

Any garden experiments you’d like to share results of with the with the world at large?

Posted on

New chicken books

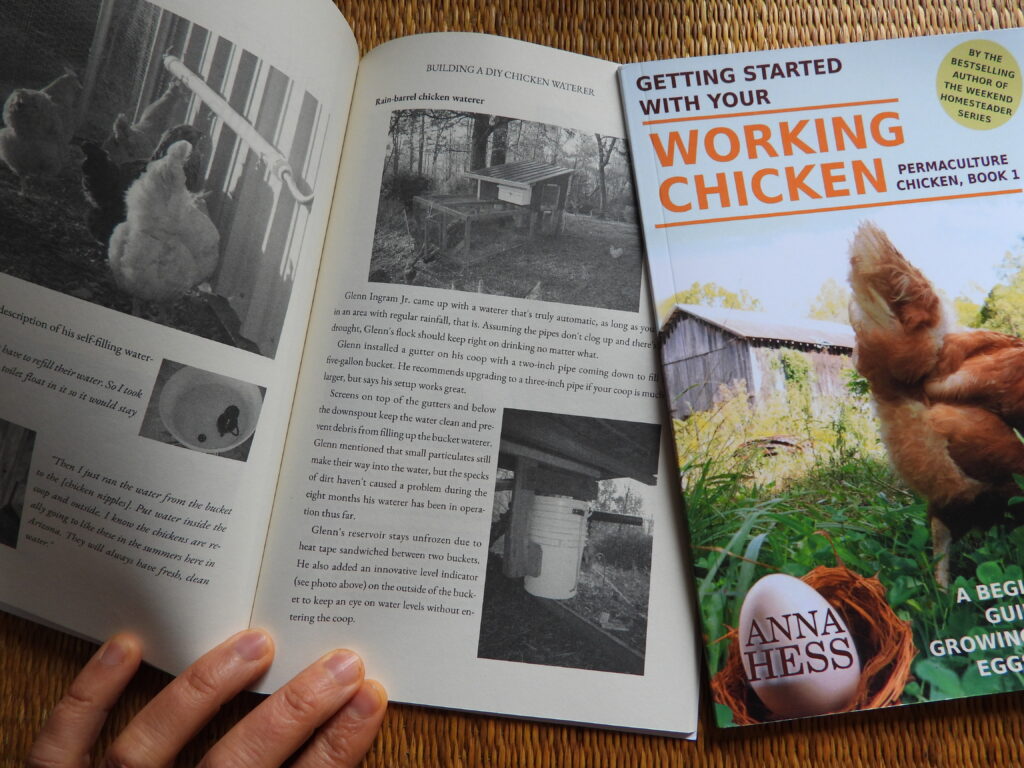
Proof copies of chicken books

Do you have friends jumping on the chicken bandwagon this spring? Then I hope you’ll point them toward my Getting Started With Your Working Chicken, entirely free in ebook form and dirt cheap even as a (brand new!) paperback. I think of this title as a bit like the bare-basics books at pet stores intended for folks impulse buying a new type of animal. The goal is to bring new chicken keepers up to speed in half an hour so they don’t get overwhelmed by the deluge of options right off the bat.

Want to help me out by spreading the word about the paperback release (and possibly win a copy)? You can enter our rafflecopter giveaway here.

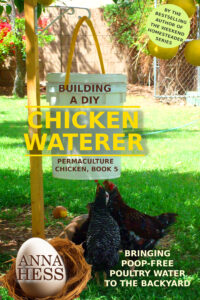
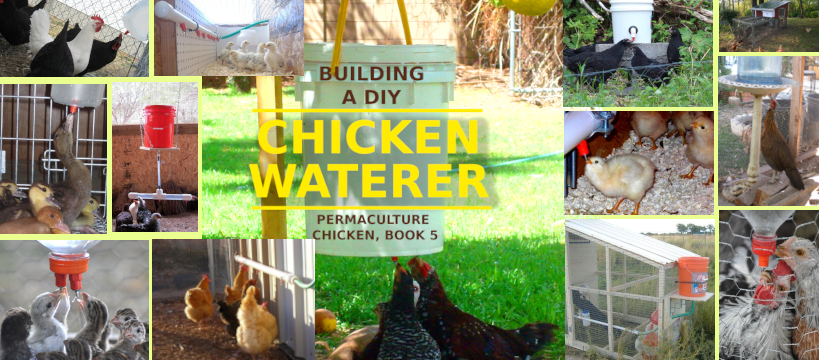
Building a DIY Chicken Waterer

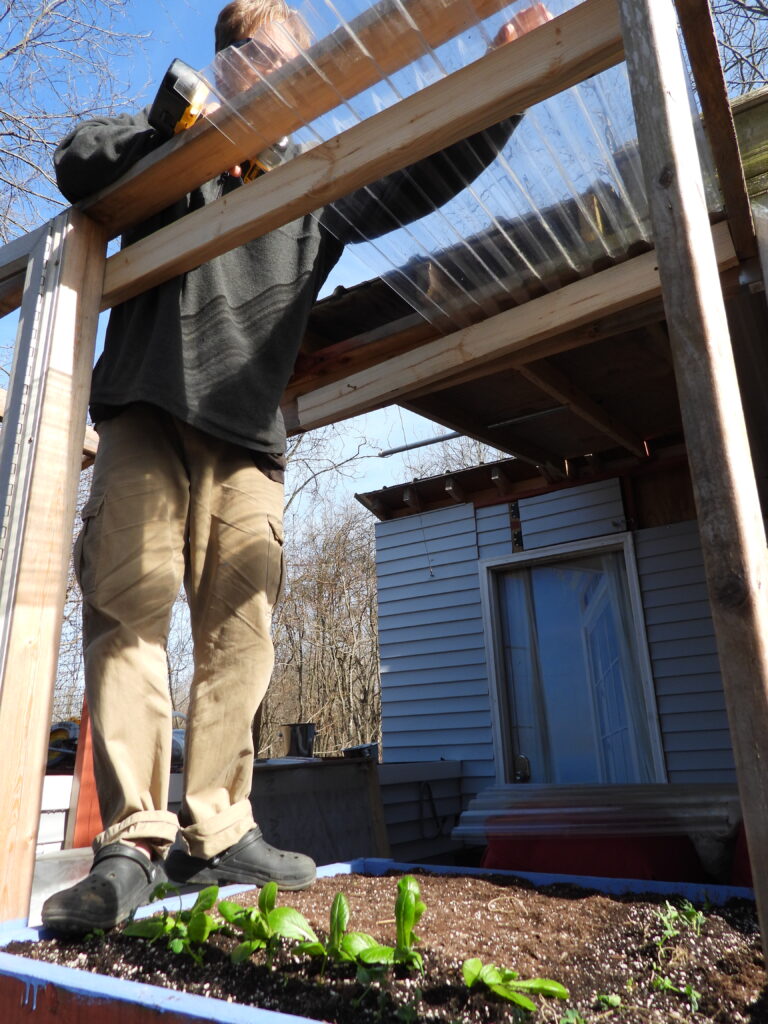
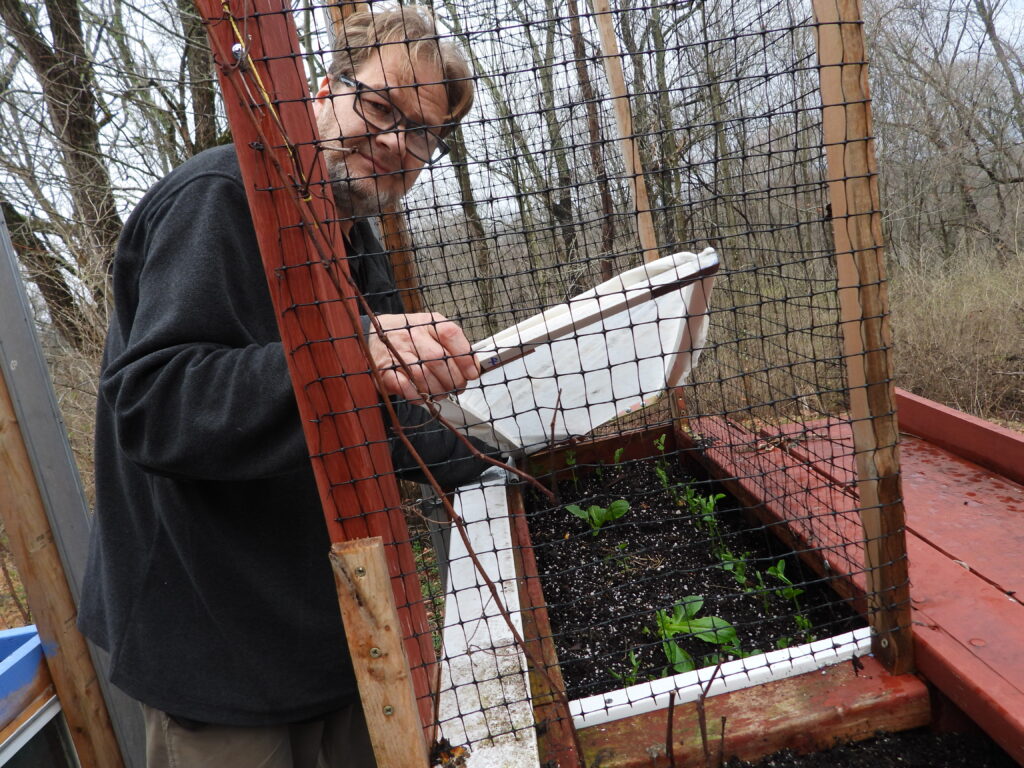
Adding a clear roof over a planter boxMeanwhile, we’ve been hard at work coming up with a new ebook in the Permaculture Chicken series. Building a DIY Chicken Waterer will launch next month, and you can preorder the ebook for a buck off. (There will be a paperback too, but I’m still working on it. As you can likely tell, the font size needs increased. Stay tuned for a preorder announcement soon!)
And, finally, the third chicken book on my plate this year is an update to Thrifty Chicken Breeds. Want to share your wisdom and win a free copy of the ebook? Just comment below with your favorite breed(s), a photo (which can be emailed to anna@kitenet.net if it’s hard to leave in the comment), and a short writeup of why you prefer the one(s) you prefer. If I use your info, you’ll get a free copy of the revised ebook once it’s ready to go.

(Oh, and in case you’re curious what Mark’s up to this photo, it has nothing to do with chickens. He’s adding a clear roof to his newest porch planter box to prevent roof runoff from swamping our crops. I’m hoping this will also make for an even lower-blight situation for tomatoes this summer. Stay tuned to find out if it works!)

DIY chicken waterers

Update: Building a DIY Chicken Waterer is now live in print and available to preorder as an ebook!

Posted on

Agribon fabric protection

Another advantage to using a planter box is how easy it is to cover delicate plants in hopes of surviving a dip down to 20 degrees.
I made a rectangle the size we needed and attached just one layer of Agribon fabric. The literature says only use one layer for optimum results.

We are hoping this new method in the planter box will help the Snow Peas make it to our table a little faster than last year.

Posted on

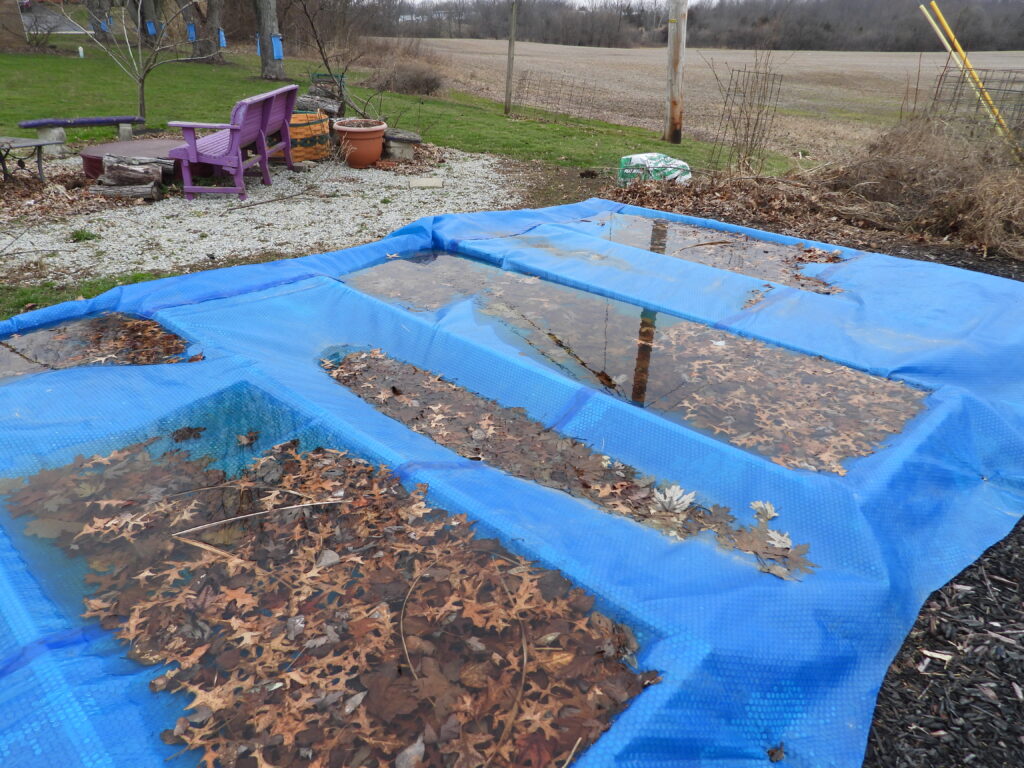
Overwintering a garden under a solar pool cover

Using a solar pool cover on a garden

If you have a solar pool cover lying around unused, it might be worth using to preheat your garden soil. We had the pleasure of seeing one in action this past weekend…

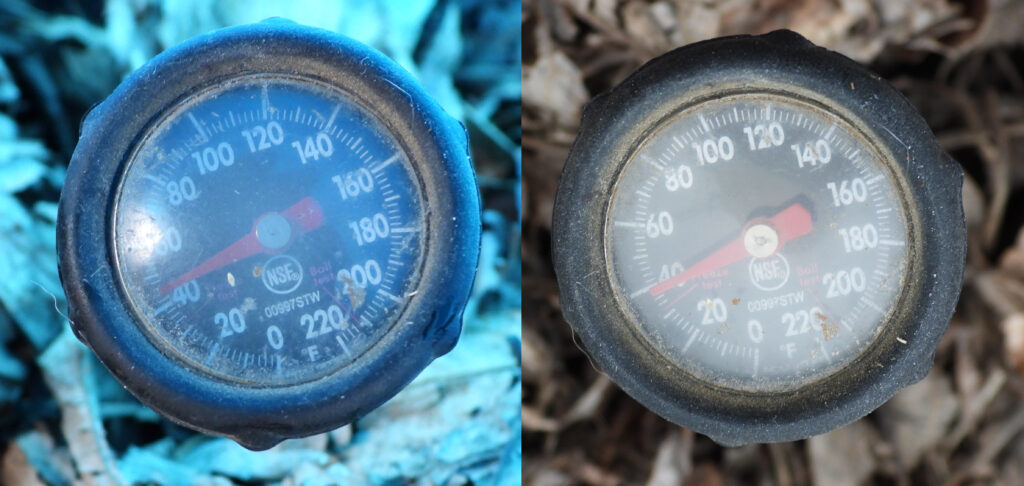
Soil temperature under pool cover and in the regular garden

…and were impressed by the results. Under the pool cover, soil was 43 degrees on an overcast day. Outside, the soil in an otherwise-identical raised bed was 39 degrees.

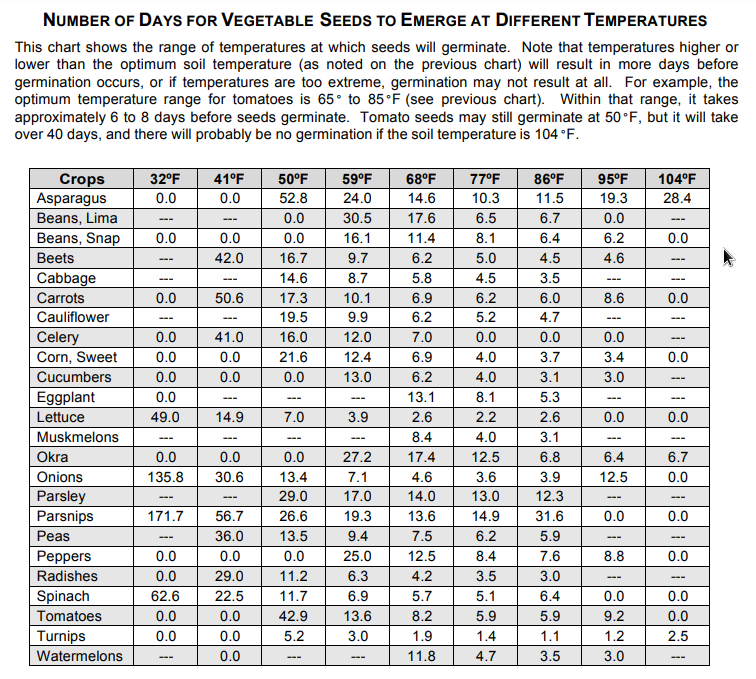
Is that enough extra warmth to start your spring crops now? I’ve always tried to jump the gun using the absolutely minimum germination temperatures. Based on that, the soil under the pool cover is warm enough for most spring crops.

However, I generally get very spotty germination when I plant so early. No wonder since, I learned this week, peas planted at 42 degrees will take 36 days to germinate!

Speed of germination at various temperatures
Source: https://sacmg.ucanr.edu/files/164220.pdf

We’ve gotten into starting unconventional seedlings inside as a result, but more on that in a later post. For now, that old truism about planting peas on Valentine’s Day — we won’t.