I’ve written a lot in the past about critical temperatures of spring crops (especially flowering fruits), but I realized I don’t say much about what fall crops can handle. Usually, we’re down to the hardiest vegetables by the time we get a hard freeze. But this year, a very dry late summer meant some fall crops were running late, which was okay because we enjoyed a very long lingering autumn. Then the forecast suddenly called for the better part of a week below freezing with lows around 18 Fahrenheit, leaving me struggling to figure out what to harvest early and what to cover up. In case you’re ever in a similar situation, I thought you might like to see the results.
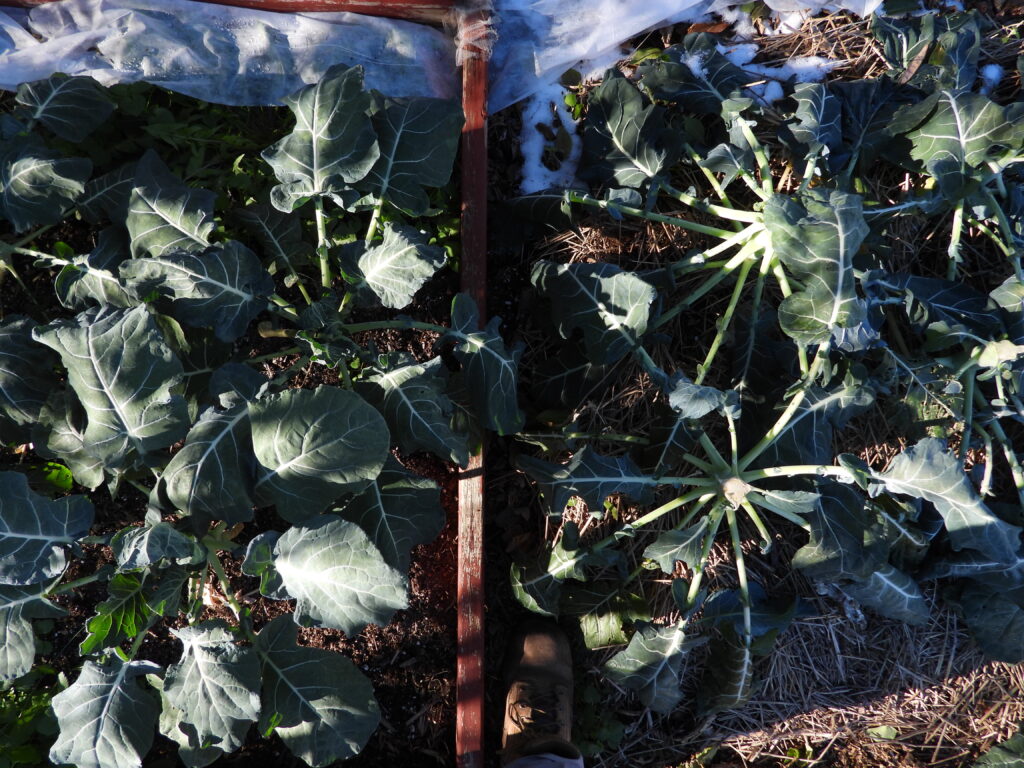
The image above is from the morning after the first hard freeze, broccoli I harvested early on the right and broccoli I chose to cover with a caterpillar tunnel plus row-cover fabric on the left. Everything looks pretty good, right?
Not so fast! Freeze damage usually doesn’t show up that first morning.
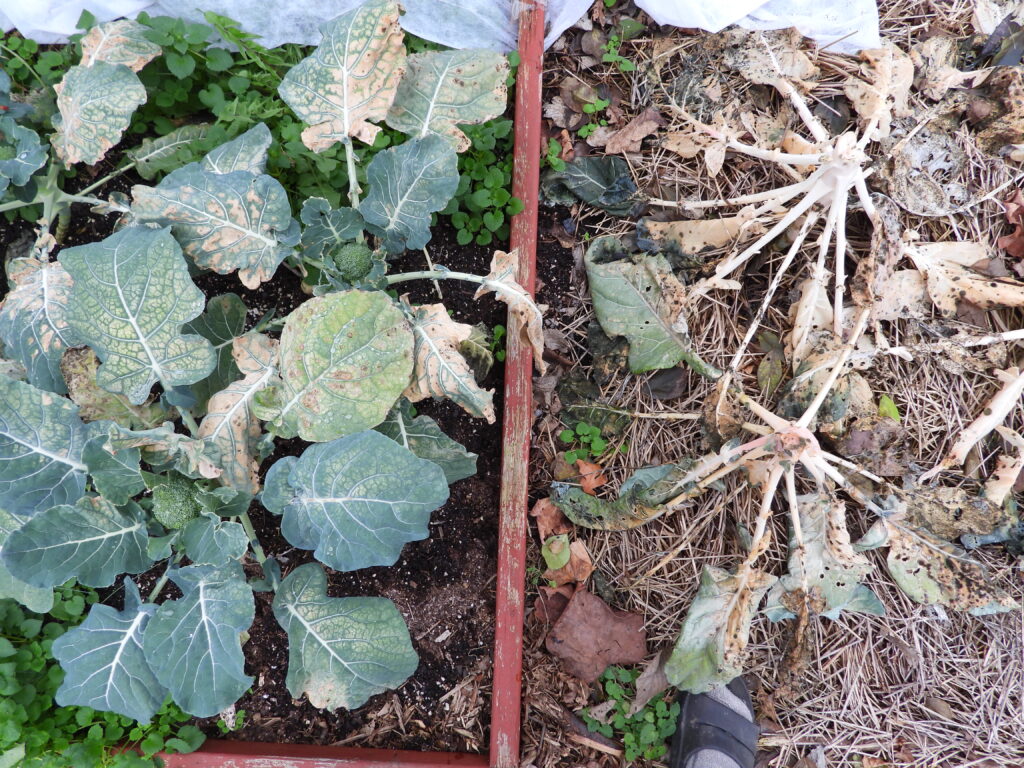
A couple of weeks later, the results are clearer. Uncovered broccoli pretty much bit the dust while broccoli under cover was damaged but kept growing in the warmer spell that followed. I’m not holding my breath about getting a crop from those last few plants though.
Recommendation: Harvest the broccoli early.
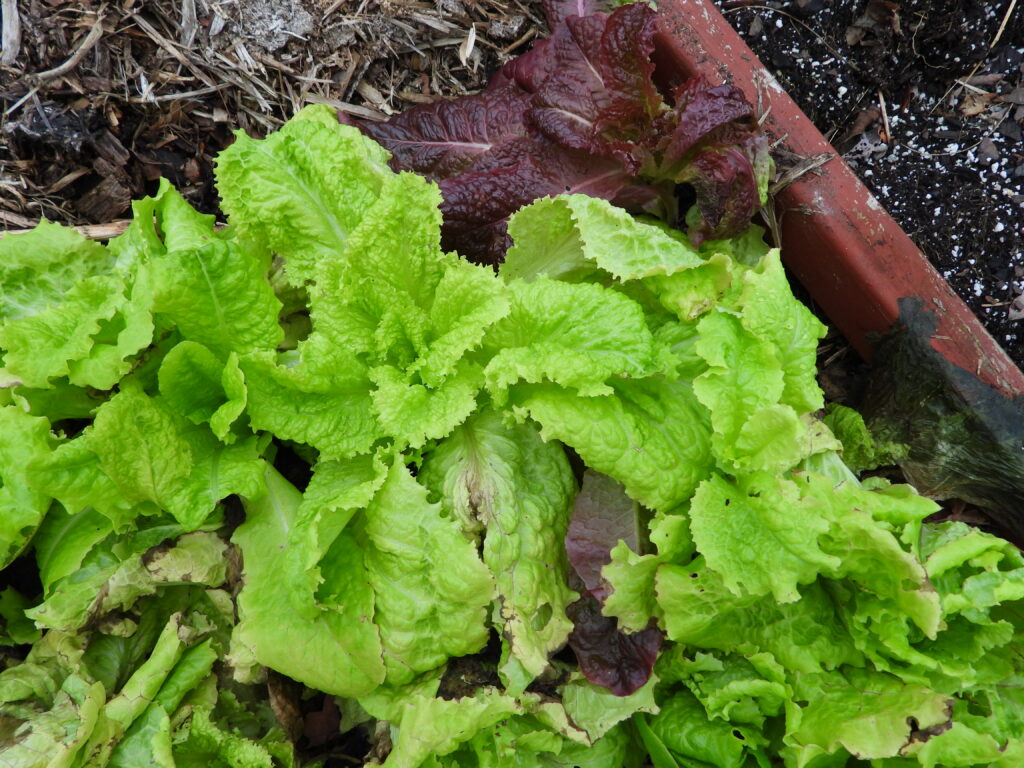
Elsewhere in the garden, I had two beds of lettuce, both under caterpillar tunnels plus row cover fabric. Both got nipped, but the younger lettuce (shown above) has since regrown. The older lettuce, which was starting to bolt, is now rotted down to nothing.
Recommendation: Age of the crop makes a different. Lettuce in its young prime can bounce back from a hard freeze if it’s protected but it’s probably a good idea to harvest anything that’s ready just in case.

My darling kale, of course, did pretty well both under cover and in uncovered beds. Some leaves were slightly nipped; others weren’t. We’re still happily consuming a couple of meals of kale per week, often in the form of Kale Pesto.
Recommendation: Kale is our most cold-hardy fall crop if it’s moderately mature. If you’re low on row-cover, you can wait to cover this one up.
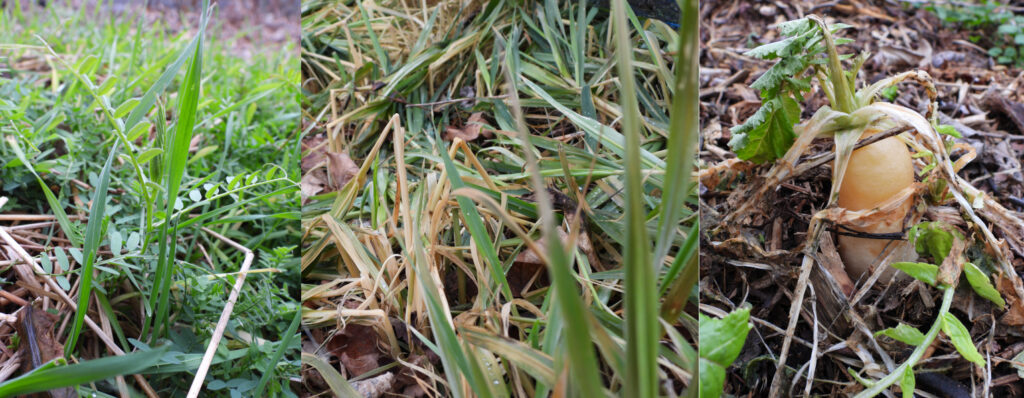
Not that I was going to do anyting to protect my cover crops, but I thought you might like to see them after the hard freeze too. On the left — rye and vetch are thriving. Center — the oats are half-dead. Right — oilseed radishes are pretty nipped too. Of course, I wanted the oats and radishes to die and rot into the soil before spring, so this is actually good news.
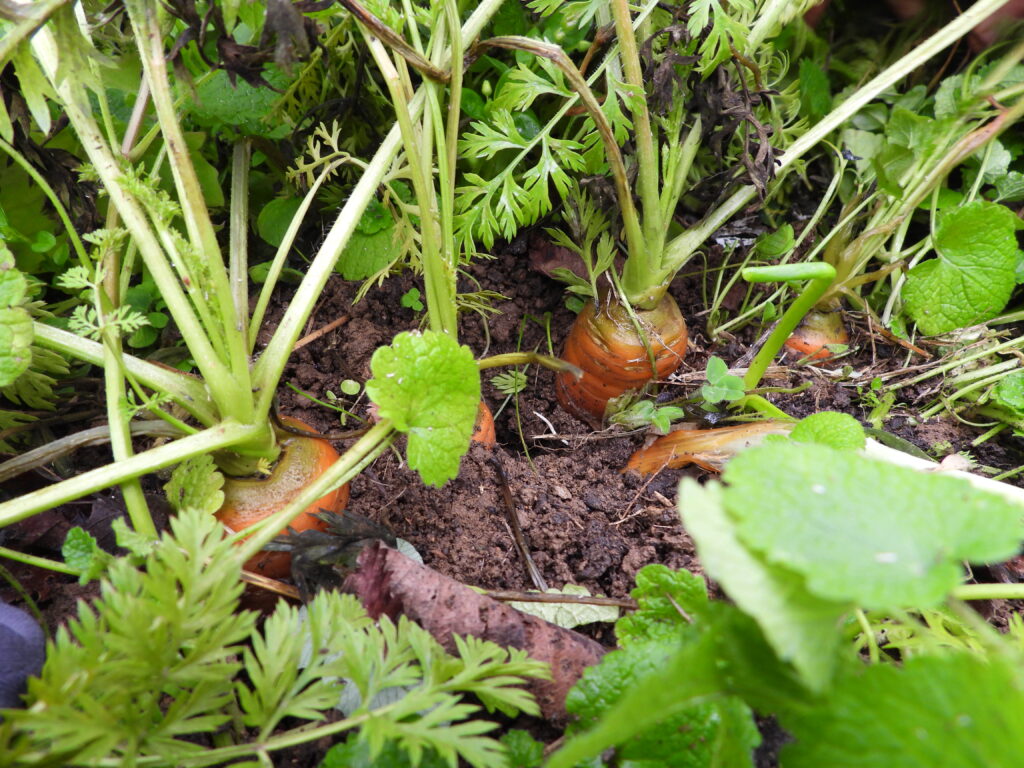
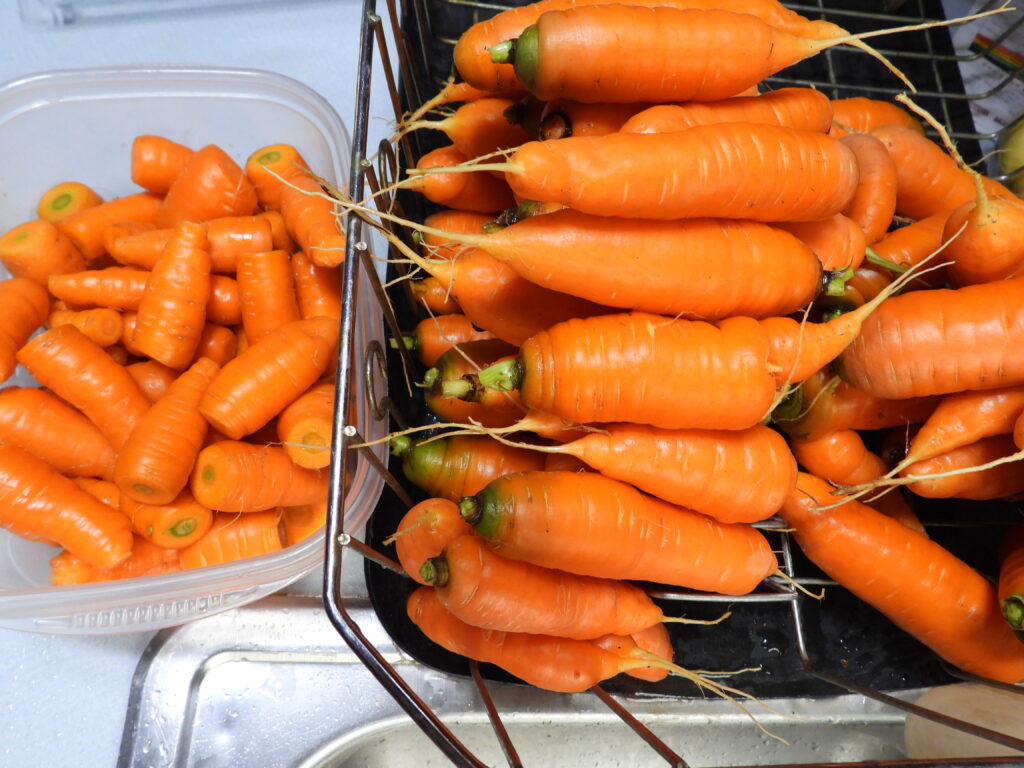
What about carrots? I got spooked and harvested the rest of ours because we had so many and they were so beautiful that I couldn’t bear to risk it. But our new friends from Trouivalle Farm put theirs under a version of a quick hoop and are still harvesting as needed out of the ground.
Recommendation: Be brave! Try leaving at least some carrots in the ground under row cover.
(Stay tuned for next week — we have a fascinating interview from Trouivalle Farm’s proprietors coming your way once Mark edits it into shape!)
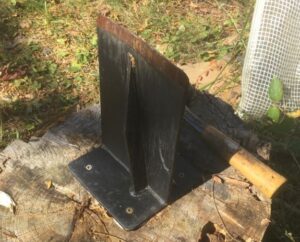
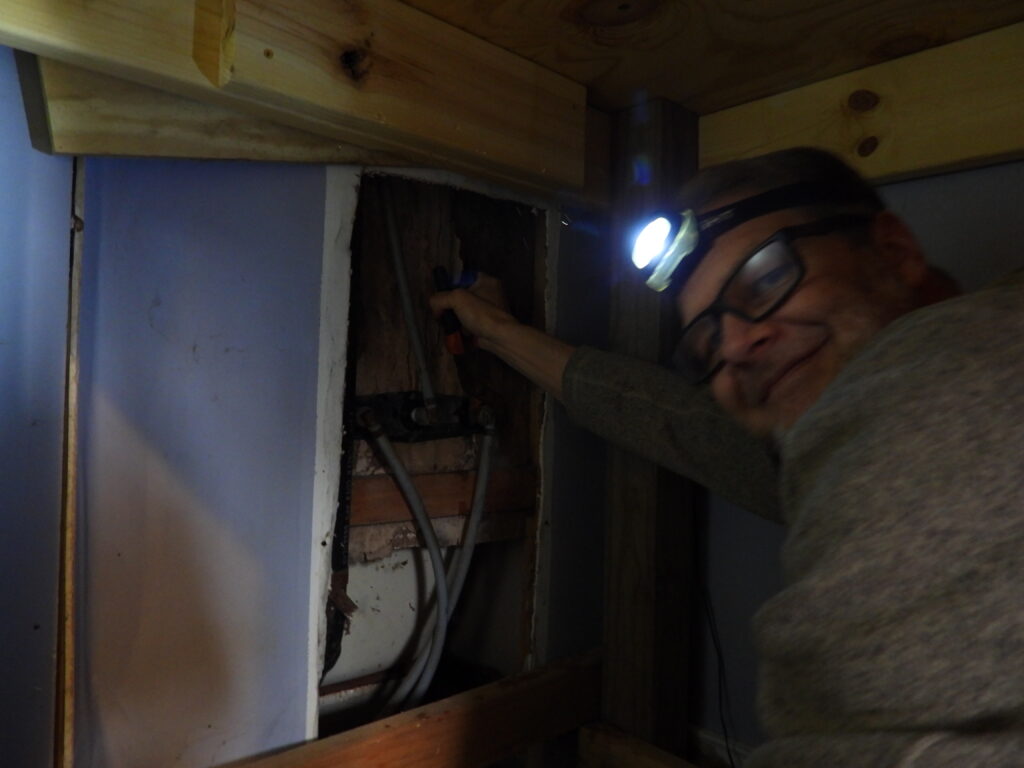
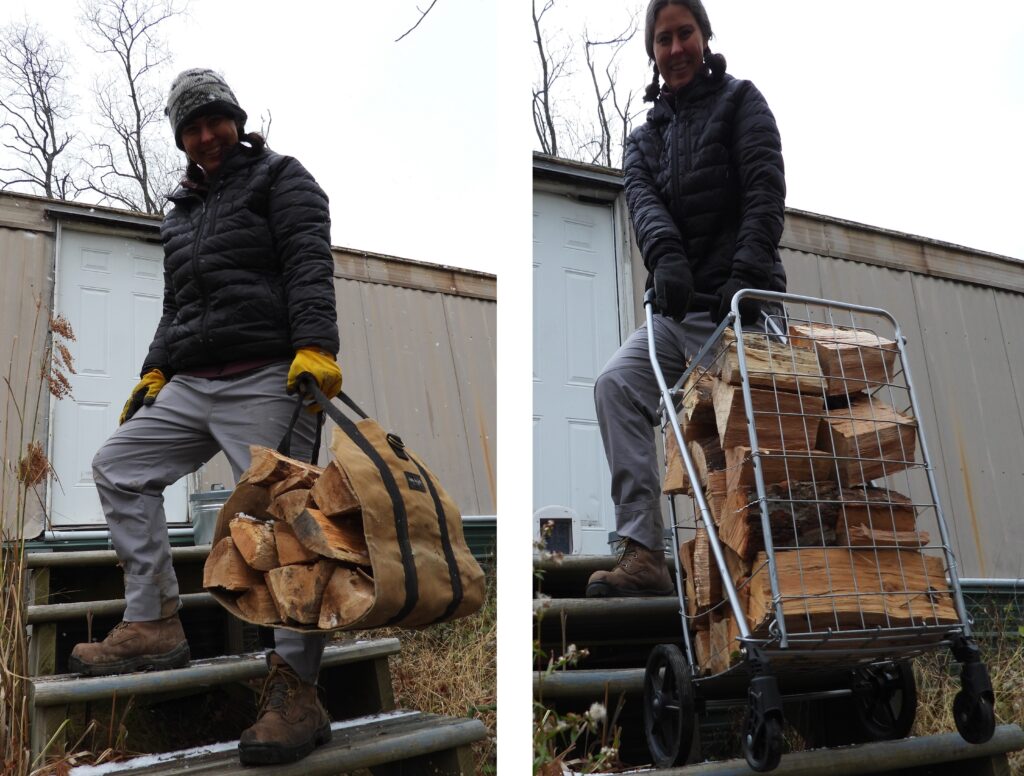 We upgraded from a


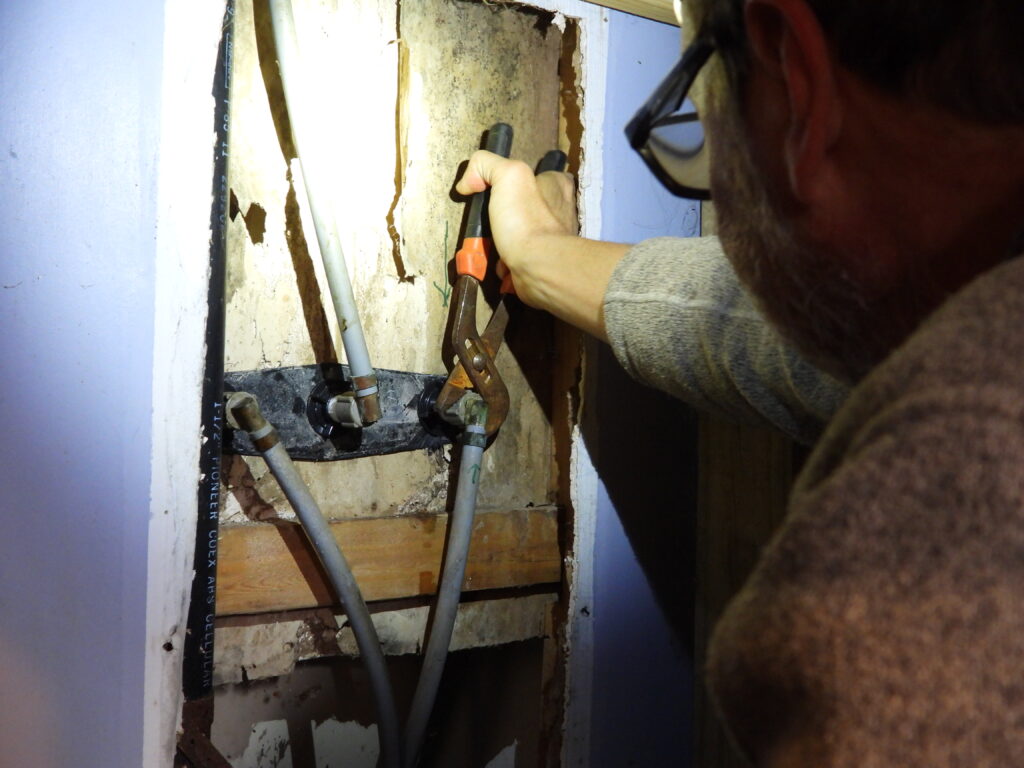
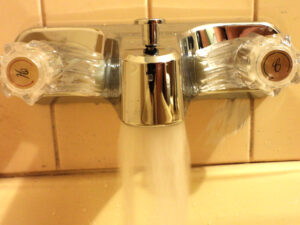 The back plate from the old faucet turned into a perfect solution. Applying it to the screw side of the wall while the new faucet’s back plate stayed on the faucet side of the wall resulted in a much stronger sandwich. Ta da — running water with no leaks!