We’ve written in the past about our mushroom experiments, which mostly centered around using plug spawn in logs. So I was thrilled when our local library offered an opportunity to try something a little different — sawdust spawn.
(Yes, we do have the best library around. Yes, they did let us take home an inoculated shiitake log of our very own.)
Pros and cons of sawdust spawn
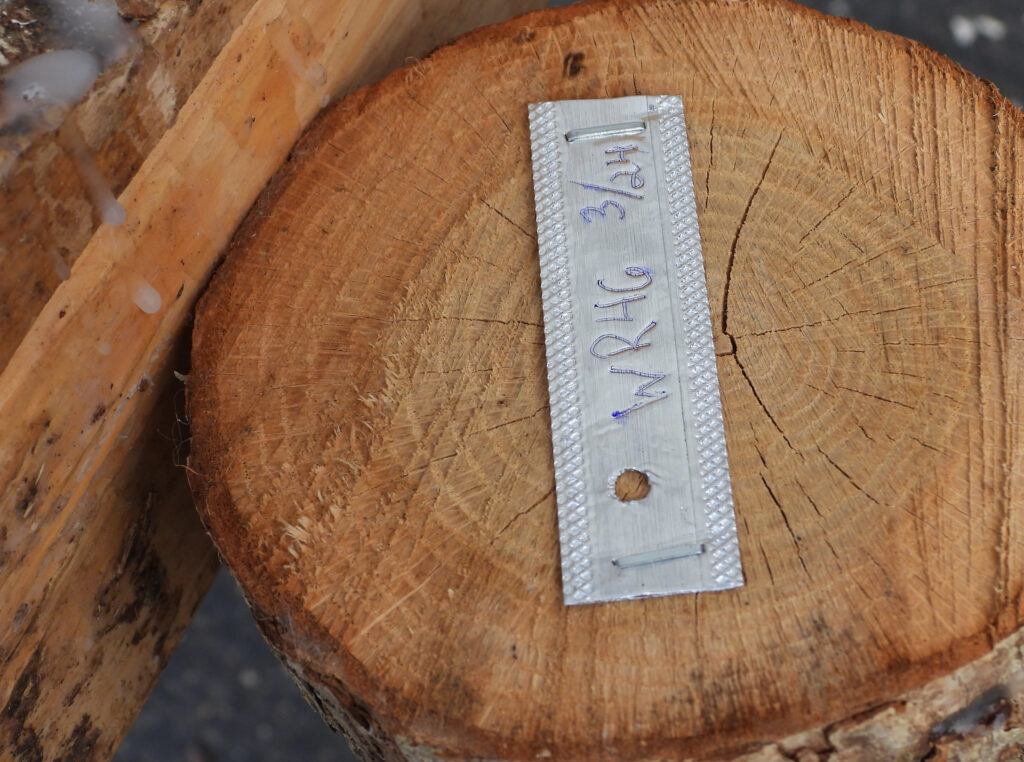
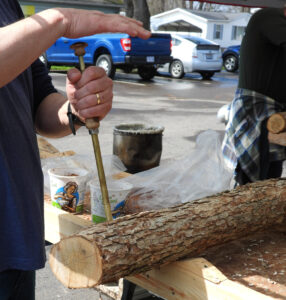
As best I can tell, the only real downside of using sawdust spawn is that you need to buy an inoculation tool. At $45 per tool, that means sawdust spawn makes the most sense for folks who intend to inoculate at least 36 logs (although you don’t have to do them all at once, of course). My math in today’s dollars:
- Sawdust spawn: about $1 per log in spawn cost
- Plug spawn: about $2.25 per log in spawn cost
In addition to long-term price savings, other benefits of using sawdust spawn include:
- Your logs will produce mushrooms faster (in 5 to 12 months instead of 9 to 18 months).
- I actually found inoculation with the sawdust tool gentler on my wrists (no hammering!).
Other inoculation innovations
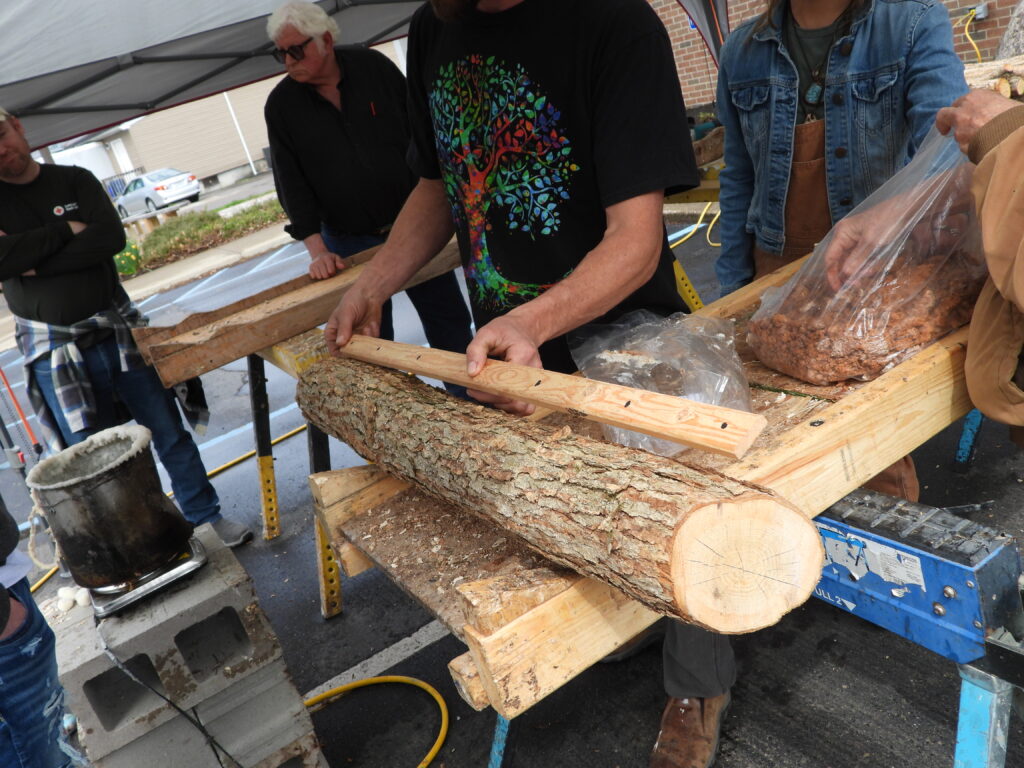
Other than the inoculation tool, using sawdust spawn is pretty much the same as using plug spawn. But I thought you might enjoy seeing our teachers’ entire process since it is definitely better than ours!
First the infrastructure: They built tables with little wooden cradles at intervals to hold the logs in place. That means the only time you really need a second set of hands is when drilling the holes.
Also note the measuring stick with the spacing information on it. No laborious hand-measuring each log!
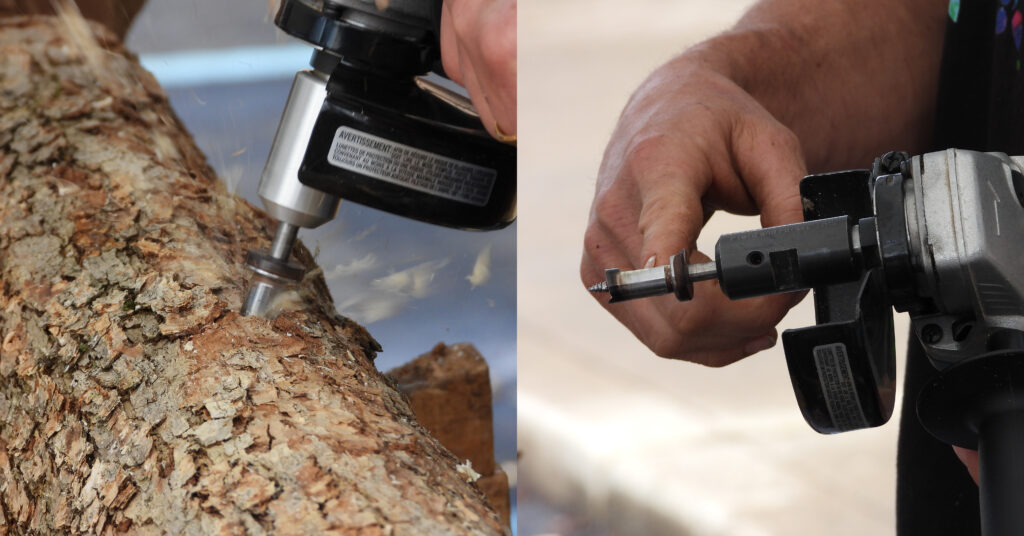
Another innovation is the use of an angle grinder rather than a drill gun. Mark shared a video in which you can see how much faster this is than what we’d done in the past.
(Do be careful though. I could see someone drilling through their hand with this setup.)
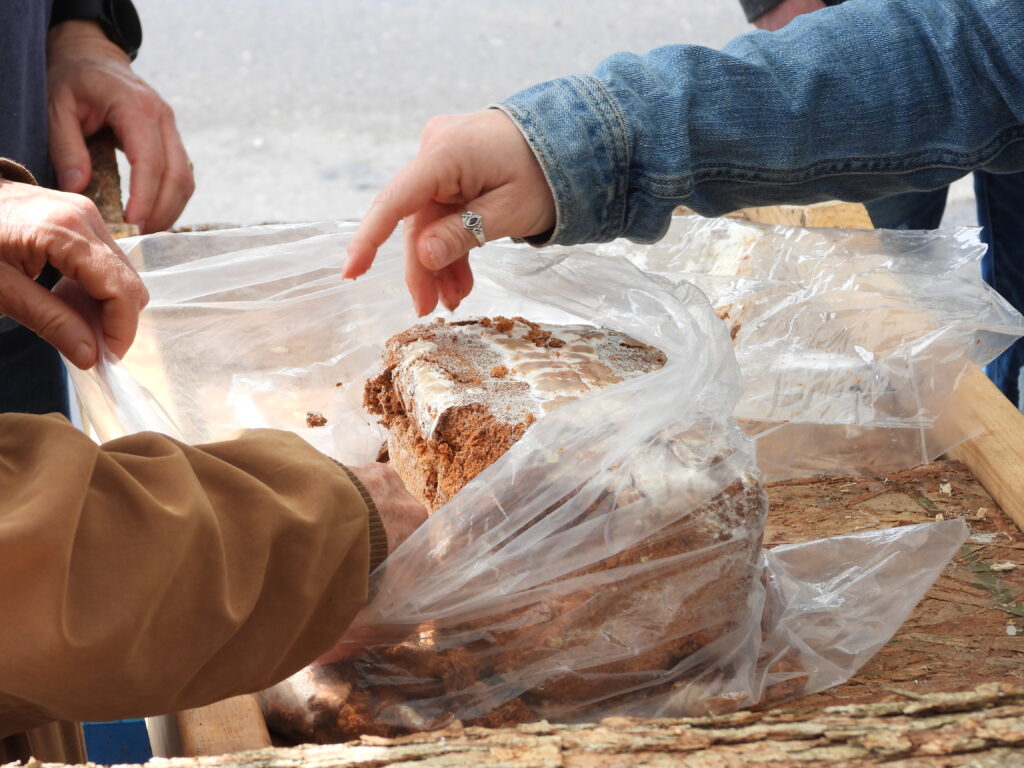
After the holes are drilled, it’s time to insert the spawn. Sawdust spawn comes in a block like the one shown above. You break it up with your hands then scoop some of the loose sawdust out into an empty yogurt container (or something similar).
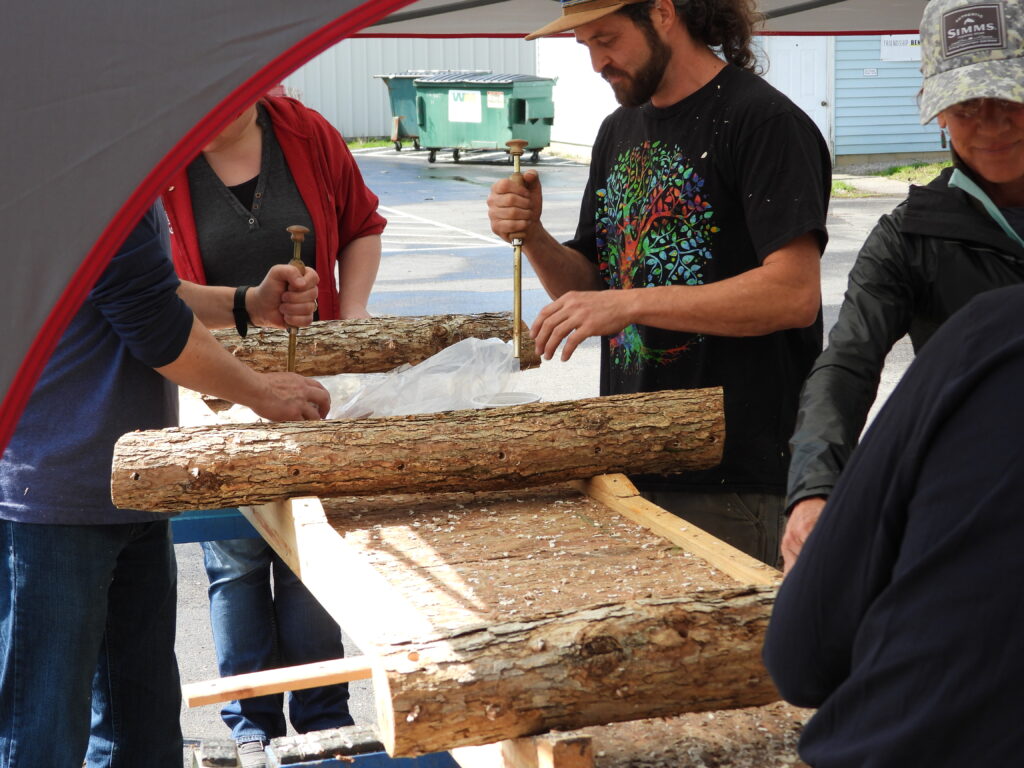
 Next, bang the inoculation tool into the container a few times to fill it with spawn. Place the tool over the hole and depress the button at the top to insert spawn. The goal is for the spawn to fill the hole up to about the bark level.
After that, all you need to do is wax over each spawn-filled hole. In the past, we’ve used beeswax from local hives, but apparently any food-safe wax works. Our teachers were using paraffin, melted then daubed on with cute little brushes. But they mentioned that there’s a new kind of wax, primarily used with plug spawn, that you can wipe on cold with your finger.
After that, it’s the usual waiting game (with the side note that, since we now live in an area with less extreme precipitation than we used to be located, we need to remember to water our log if we don’t get at least an inch of rain per week).
We haven’t had productive mushroom logs since moving to Ohio, but remembering how fun and easy inoculation was put the process back on my radar. Maybe next year we’ll push wildcrafting mushrooms onto the back burner and inoculate more logs.
About our teachers
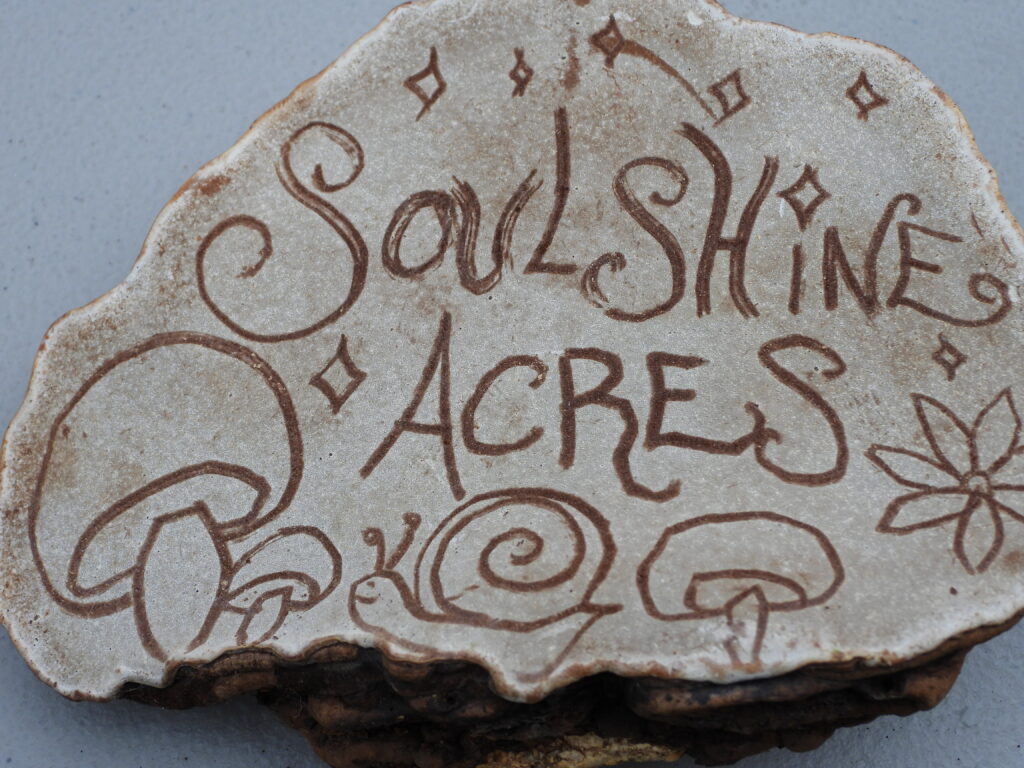
I want to end with a huge thank you to Soulshine Acres for sharing their expertise with us. They’re a frequent vendor at the Athens, Ohio, farmer’s market if you want to check some of their mushrooms out. Or just follow them on instagram using the link above to learn about their forest farm, full of over 400 mushroom logs.
