Remember my brother, Joey’s, underground solar house? Thirteen years later, I dropped by for a tour to see how it’s aged…and been reenvisioned.
Upgrade, round 1
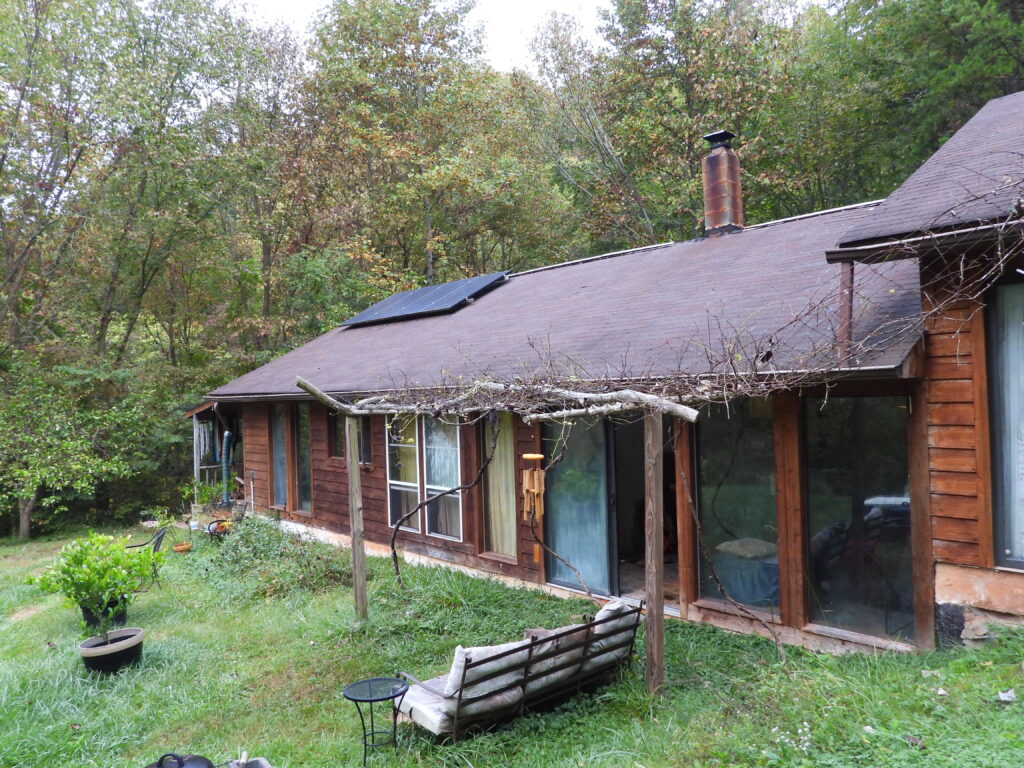
Five years ago, Joey took out the old panels and installed a 1-kilowatt solar array.
It cost him about $2,000 at that time to pay for the panels and racking to install the new panels on the roof, although he notes that prices have gone down considerably since then. (More on that later.)
This allowed him to add on a satellite internet system (1.2 kwh) and a fridge/freezer (0.5 kwh).
Upgrades, round two
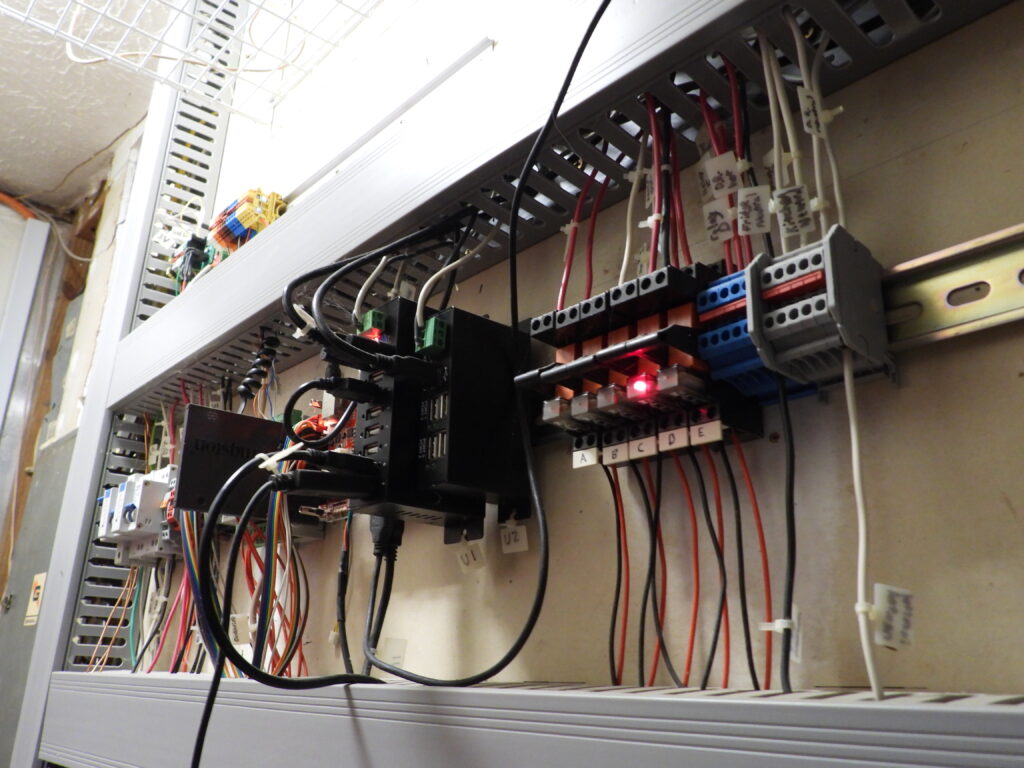
A couple of years later, he spent $3,500 on four lithium-ion batteries, in part to bring him up to speed for the new panels and in part to prepare for further upgrades. Since then, he’s started adding in all of the associated wiring for upgrade part 2, the goal of which is to let him add a hot-water heater (6 kwh), an electric vehicle (variable, depending on how much you drive), and an induction stove (2 kwh) while never again dealing with low-power days.
The new system, which he hopes to bring online within a year or two, will involve completely covering the roof in solar panels (a roughly 10-kilowatt array). The solar panels aren’t anywhere near the most expensive part since he’s planning on buying them by the pallet-load, which will cost anywhere from $2,700 to $5,200 for 25 to 30 panels adding up to 10 kilowatts. He hasn’t pulled the trigger on this because, as we learned, delivery of a pallet to a rough-drivewayed homestead can be tricky! (Plus, he needs to change out his roof first.)
Other parts of the new system include about $500 on wires, $550 on charge controllers (about which, more shortly), $1,000 on combiner boxes/breakers/lightning arresters, and a whopping $3,200 on roof mounts. Total estimated cost (including the recently purchased batteries): $13,500.
(Of course, the full math also includes the federal tax credit he’ll get back as well. In some areas, there are )
Sounds like a massive investment, right? That price tag still represents a huge savings over hiring an installer to come in and build the system. Joey estimates the installer cost would have been at least double what he plans to pay.
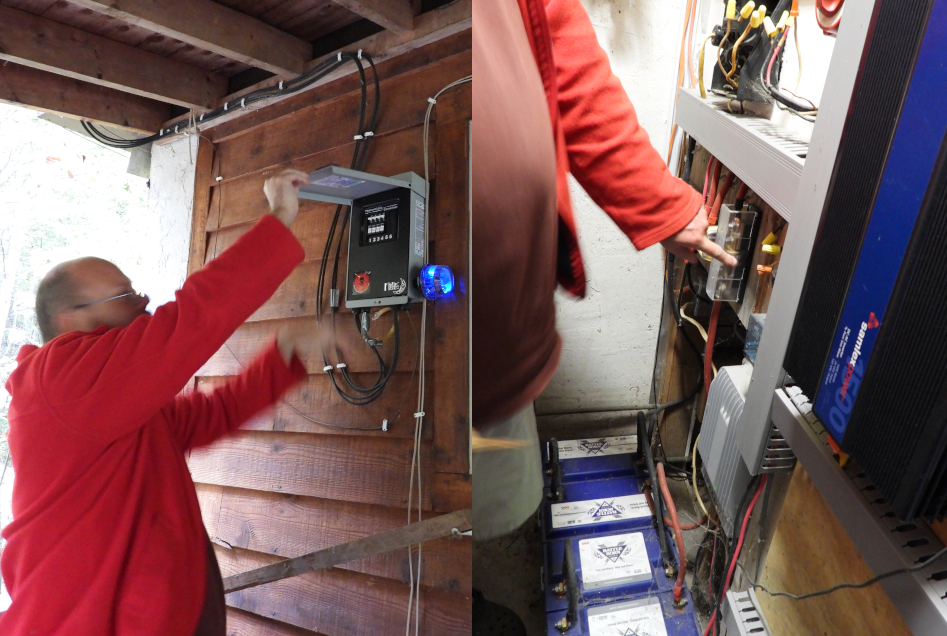
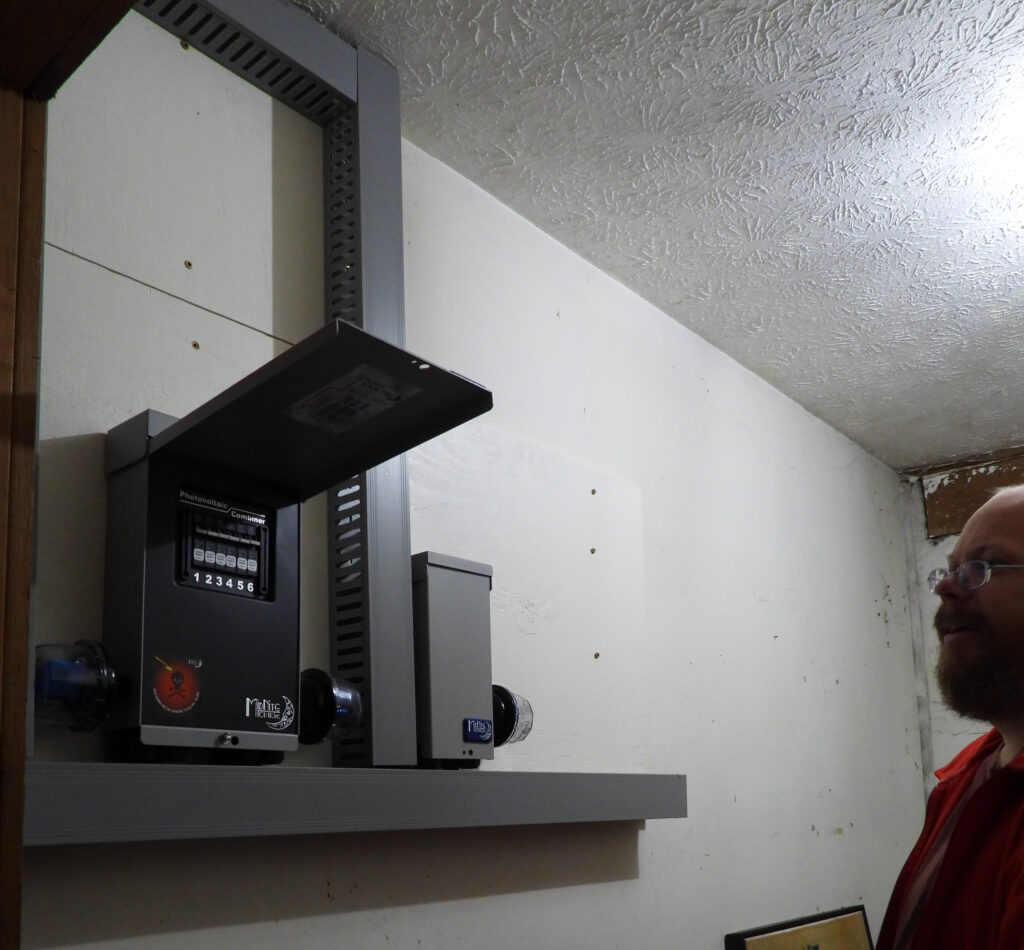
A unique charge controller
Joey wanted me to mention that his choice of charge controllers is very off-beat. He loves living far away from civilization, where birds and crickets are the only noises he has to deal with. He wasn’t willing to disrupt that tranquility with the usual charge controllers, which run a fan constantly.
Instead, he chose a cheap Epever charge controller that’s silent…but only handles one or two kilowatts. For upgrade 2, he installed more controllers, but will still lose half his power.
He’s okay with this because it ensures that, on a cloudy winter day, he’ll still have enough power. Since solar panels are so cheap, it’s now okay to overdo that part of the system.
Another side note: 24-volt system
During the first upgrade, Joey changed over from a 12-volt to a 24-volt system, which required him to change out the lights in the house. (You can decide whether you’re running a 12-volt, 24-volt, or 48-volt system based on the way you wire the batteries.) The benefit of a 24-volt system is that it lets him use industrial automation equipment, versus the automotive equipment you’d use with a 12-volt system. It also lets his charge controllers handle twice as many panels as they could otherwise.
What happened to the old panels?
I’m so glad you asked! That’s the topic of another post. Stay tuned!