Posted on

Plastic bottle bee keeping

Advoko MAKES on You tube has been experimenting with using plastic bottles to farm bees.

It seems to be cheaper and easier. That big bottle is a European recycled beer keg.

He has even configured one of his hives to make the top bottle reachable from inside his house!

Posted on

How to cut fiberglass insulation

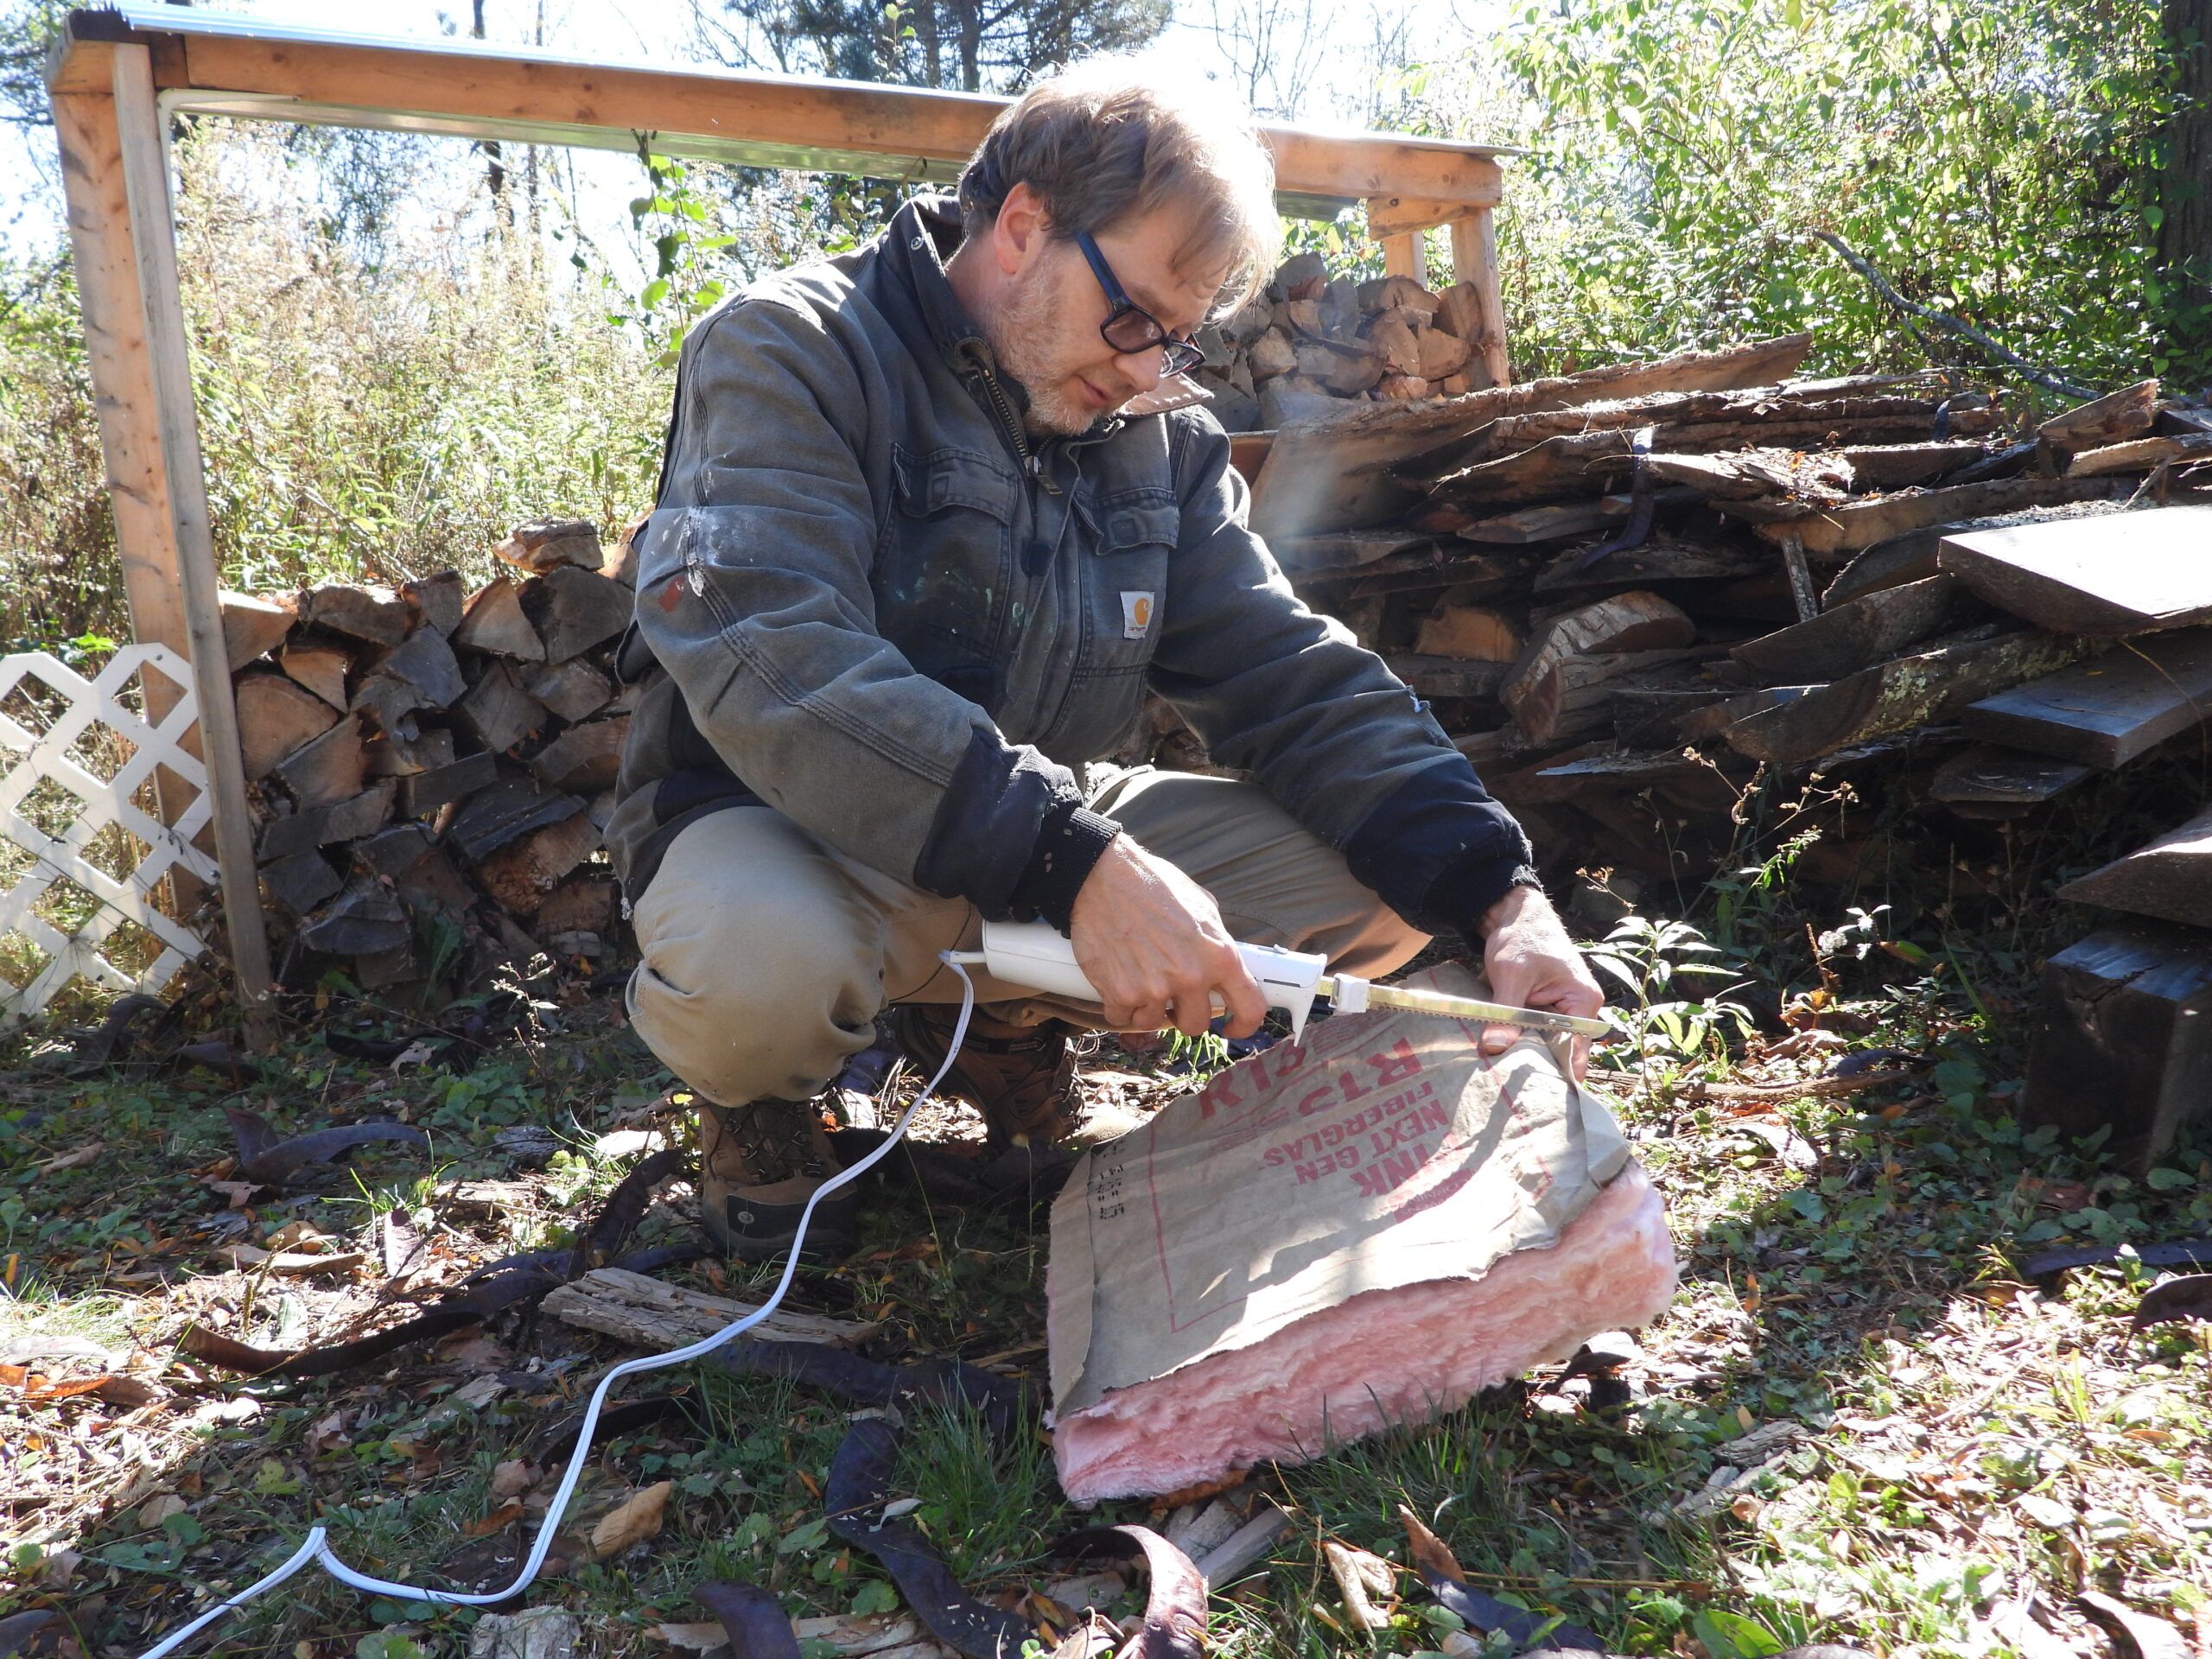
I learned the hard way during some recent insulation work that a pair of scissors is painful.

The standard method of using a utility knife on a hard surface is good if you have plenty of room.

An electric meat carving knife is much better and quicker. It’s light enough to use with one hand while you use the other hand to hold on to the insulation.

Posted on

2×3 mistake

I chose 2×3 over 2×4 boards in an effort to make our caterpillar tunnels lighter.

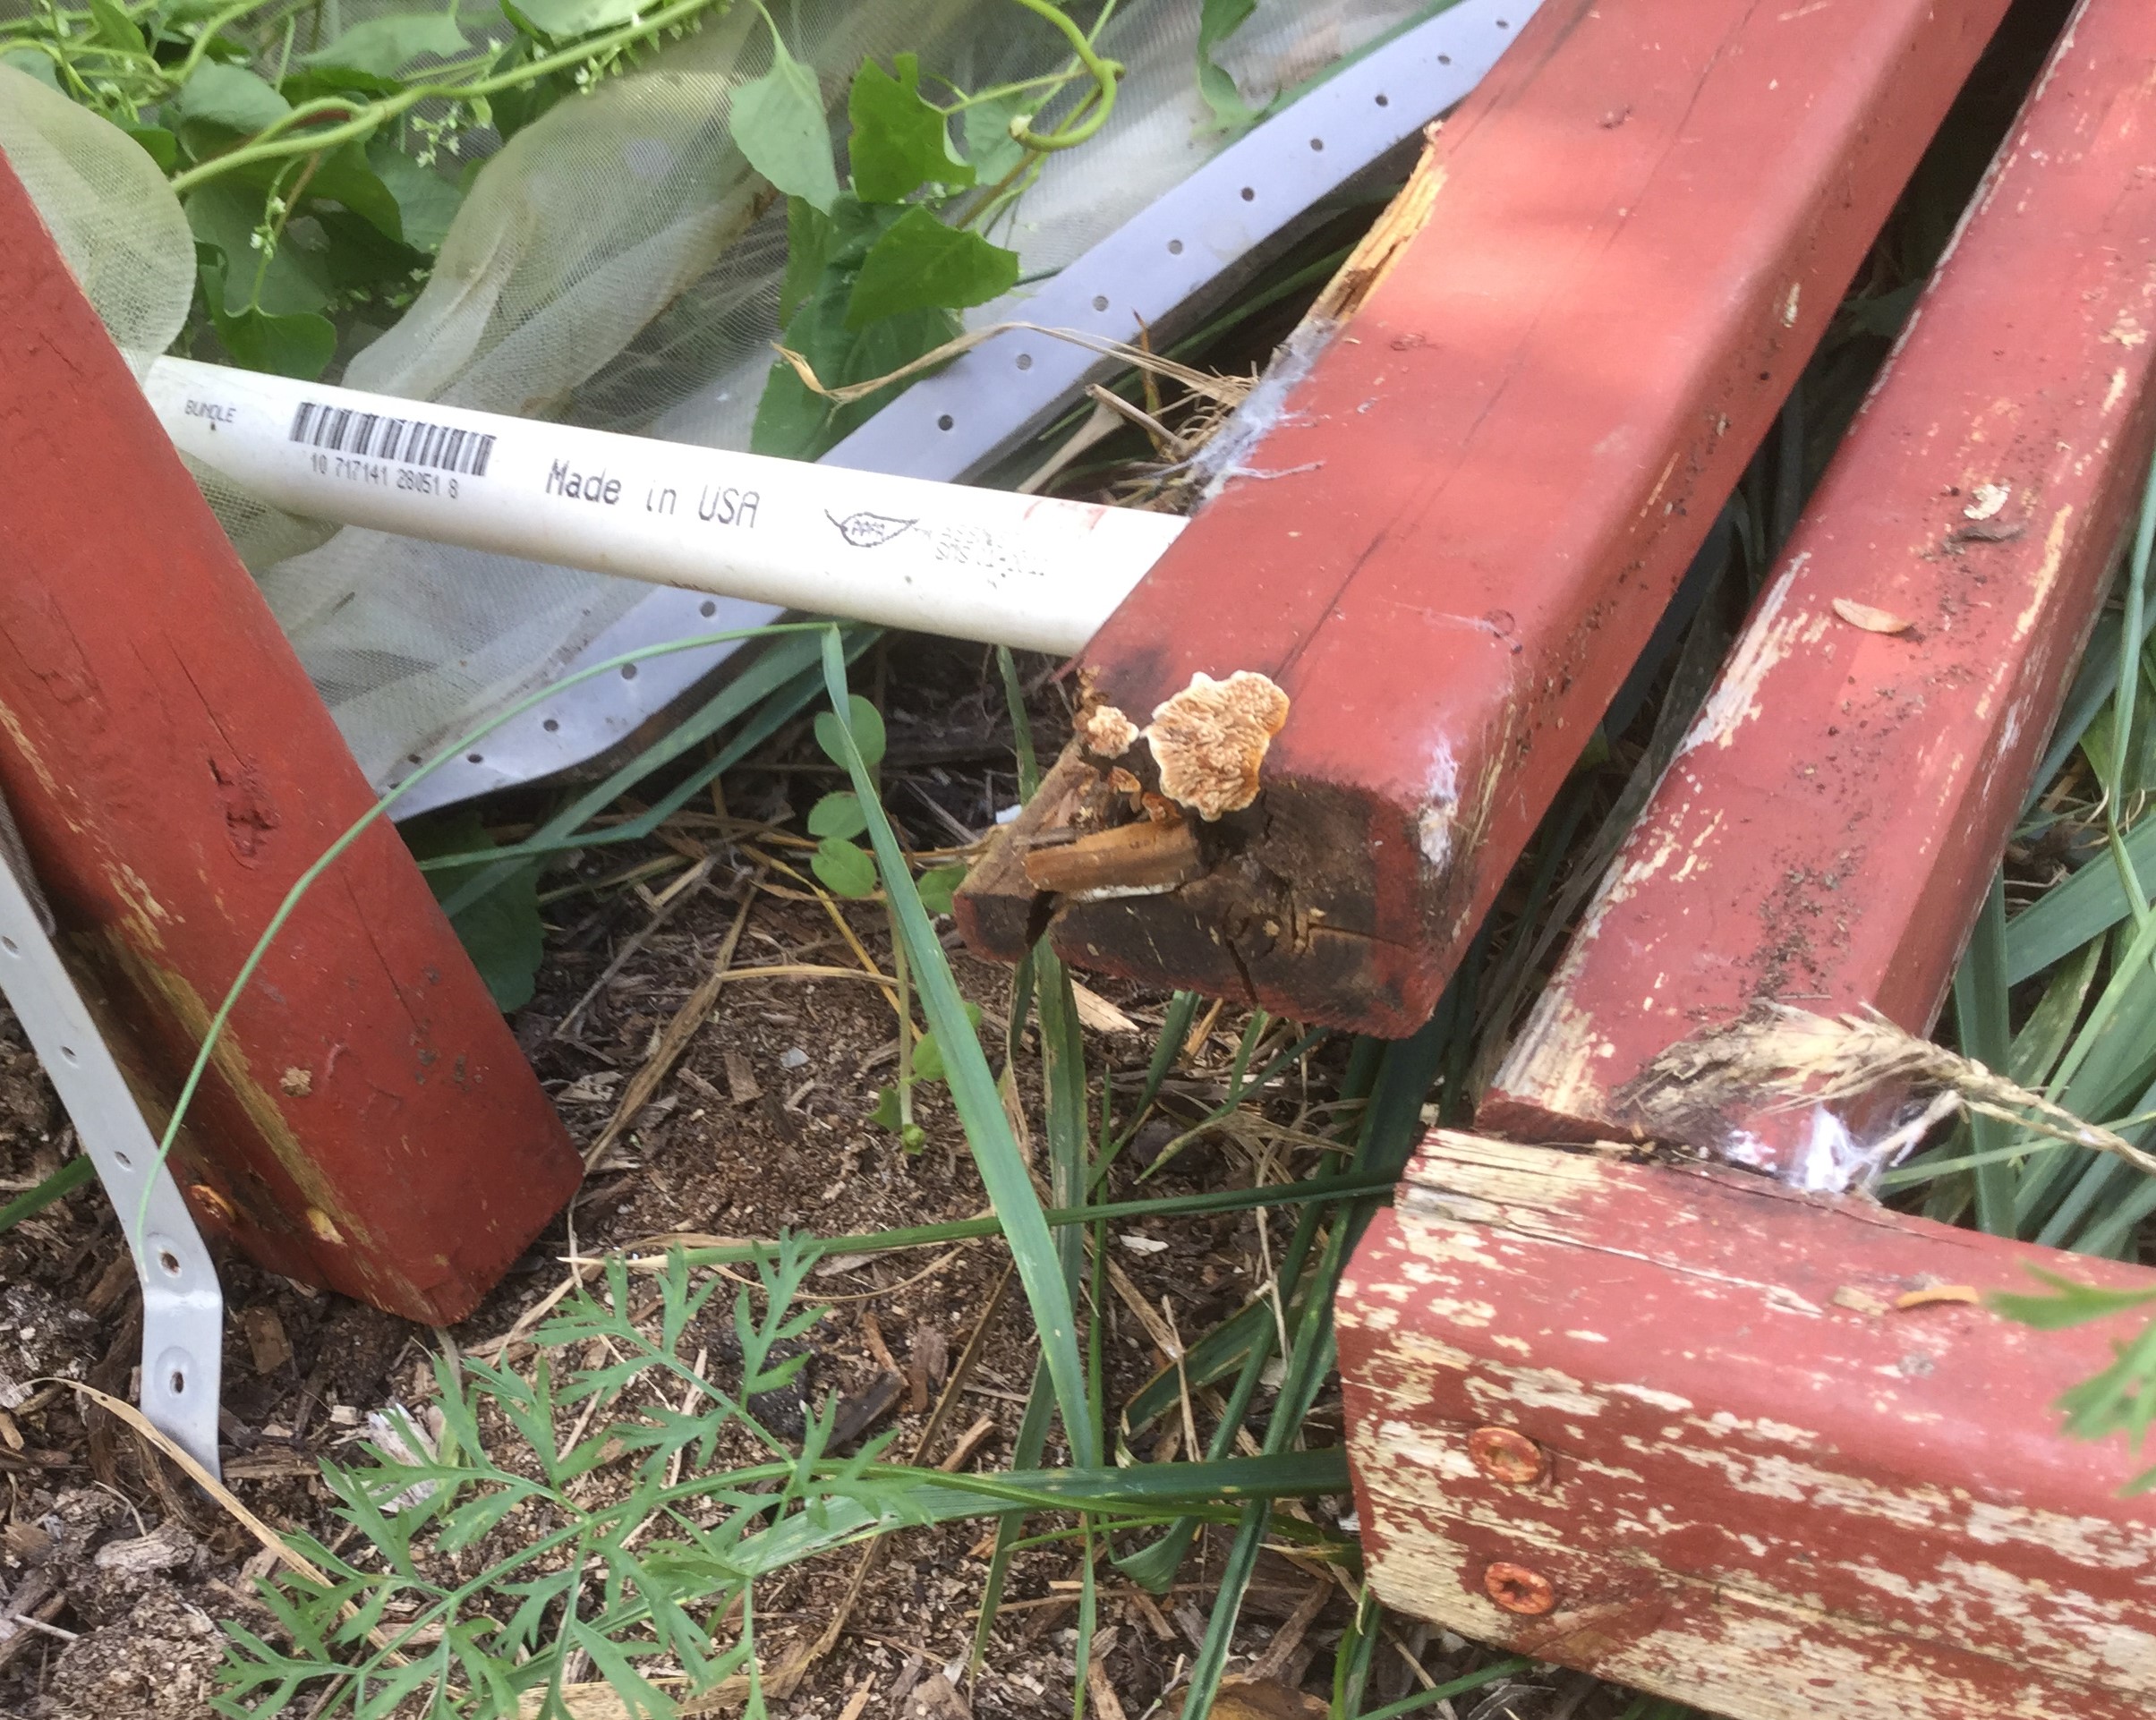
We now know this makes them a little too heavy and prone to decay faster than expected.

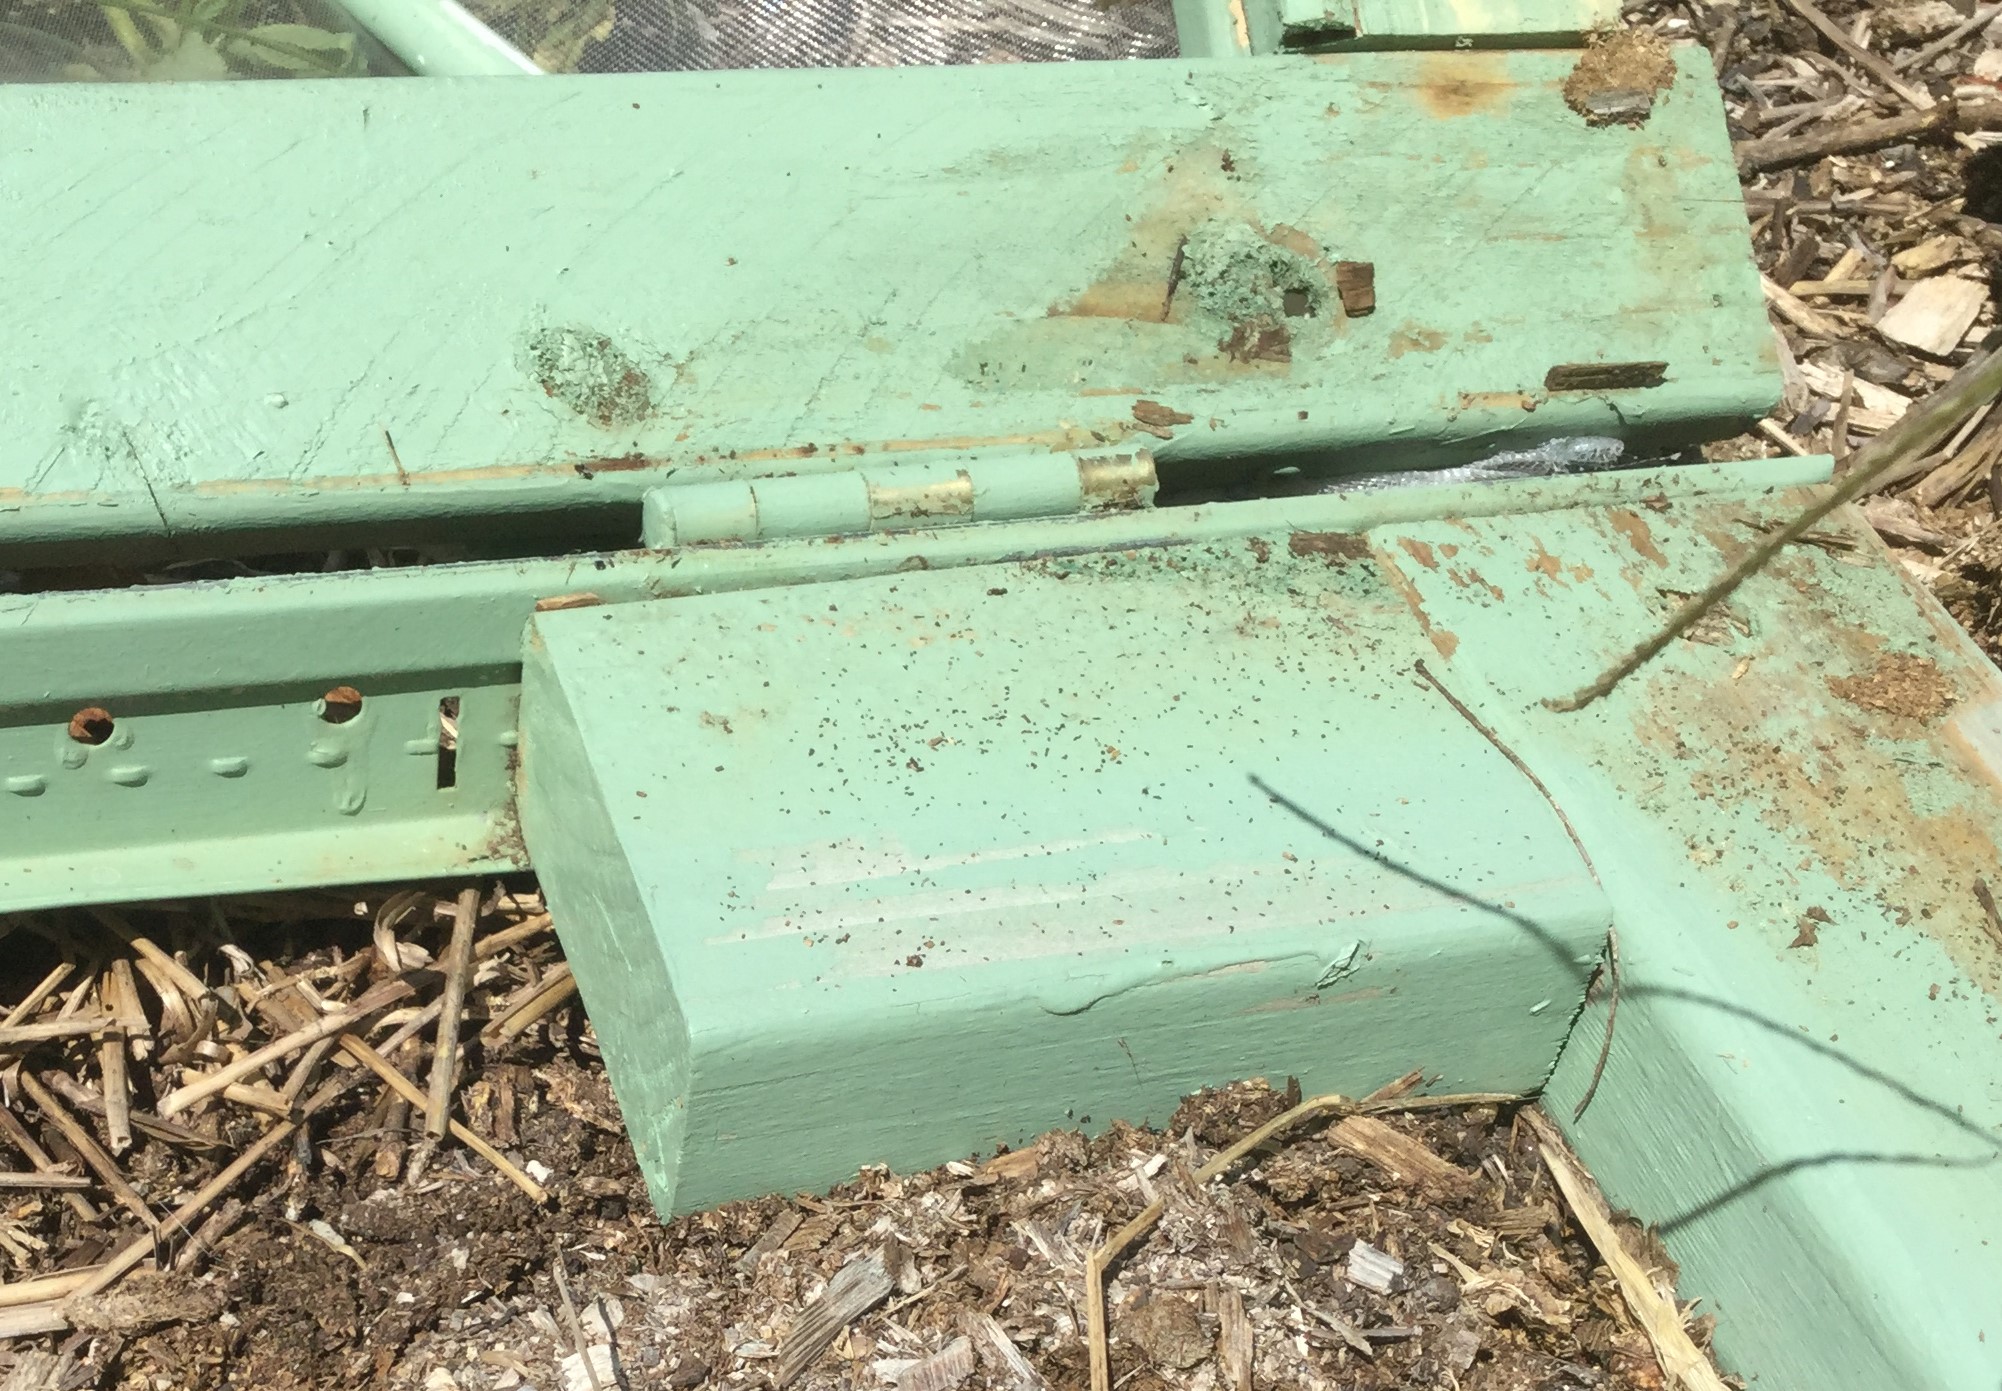
I was able to fix the problem with some brackets but needed a whole new design.

The new version takes advantage of the light and strong steel rails used to support ceiling tiles in big buildings.

I also decided that a smaller structure is easier to move and less prone to damage.

Stay tuned for a more detailed post on the smaller and better caterpillar tunnel after we’ve finished driving it around the block a few times this year.

Posted on

Propping up anti-bird netting

Propping up anti-bird netting

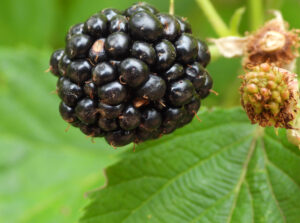
Blackberry

Our berry enclosure has been unsuccessful at keeping out chipmunks but successful at keeping out birds. So we moved our strawberries (aka chipmunk magnets) to a different setup and are using the space left behind for blackberries, raspberries, and gooseberries.

This year, we’ve had great harvests from all of our berries, which means I visit the berry enclosure a lot. And that also means bird netting rubbing against my head every time I take a step turned into a drag. Time to solve that problem once and for all!

My first step was to look back through old Walden Effect posts, where I found this great solution in another gardener’s berry area. Now, how to recreate it to mesh with our existing setup?

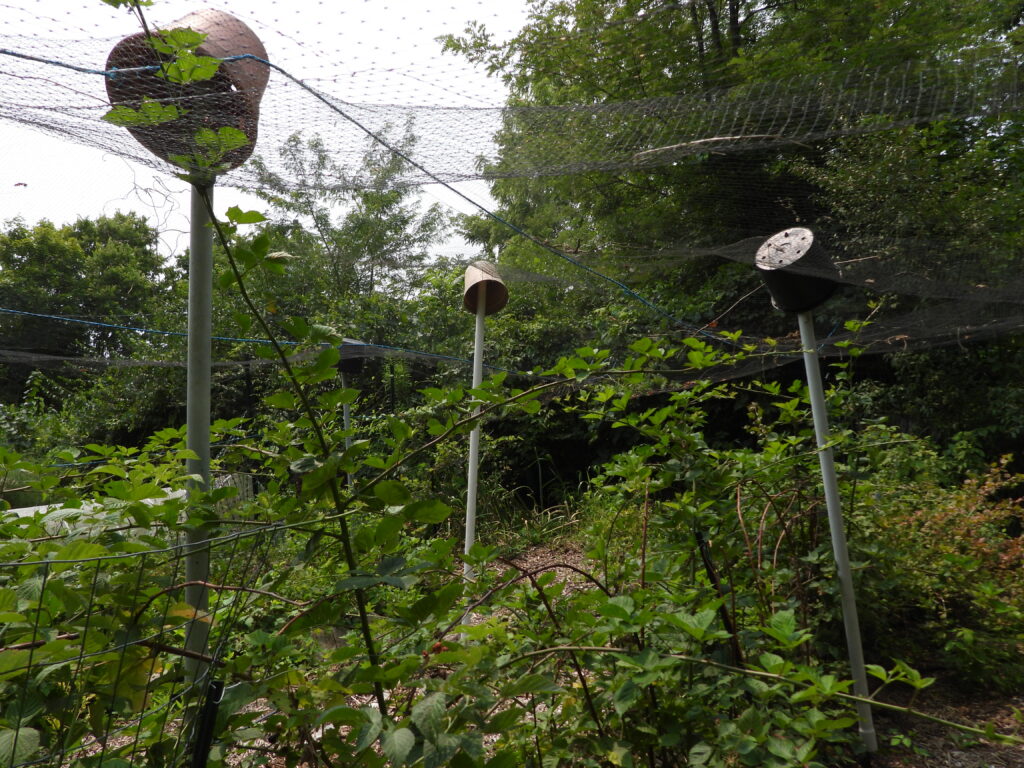
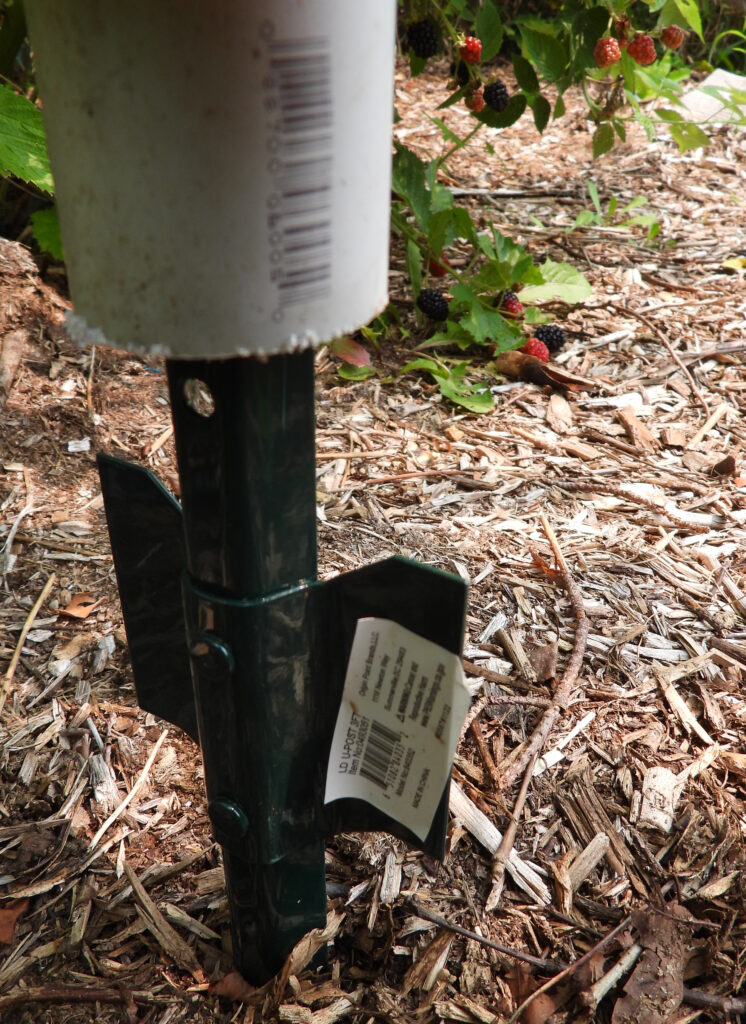
A PVC pipe on top of a fencepost

We had a lot of 10-foot PVC pipes lying around, purchased when we thought we’d need to extend our garden fence to 10 feet to keep out deer. That turned out to be unnecessary, so I decided to repurpose the pipes into berry-netting supports.

Next, we need to find a U-post that would slide easily inside the pipes. The cheapest, shortest ones were a fit!

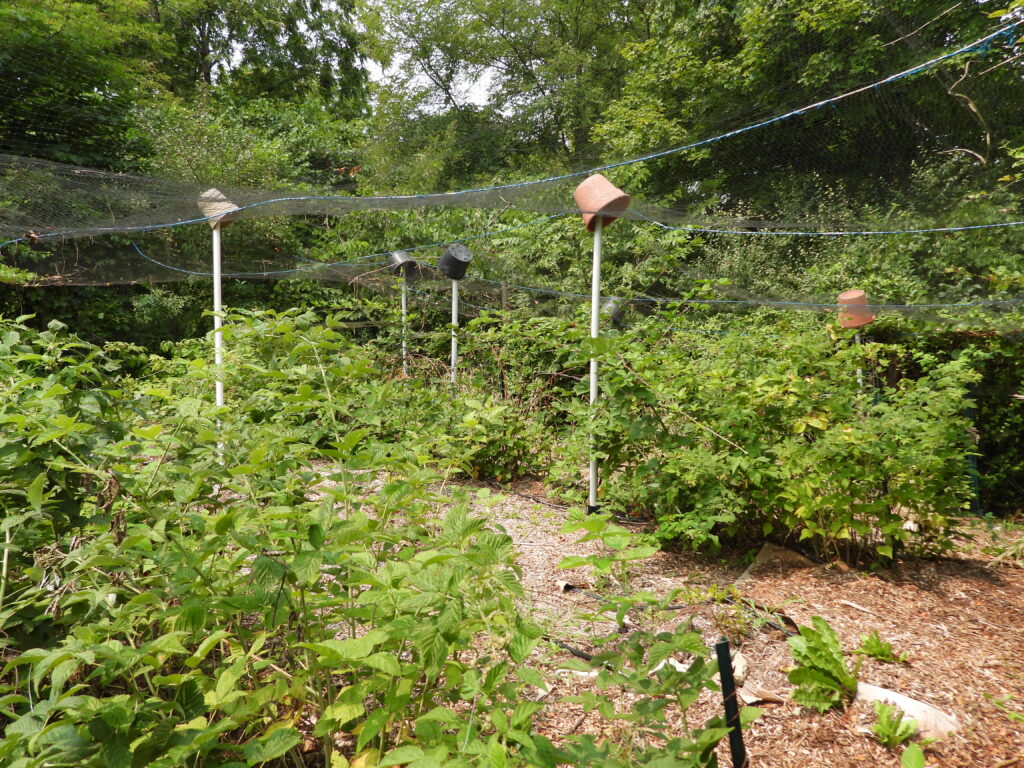
Berry enclosure

I ended up cutting a couple of feet off each PVC pipe before sliding it onto the post since there was only so much wiggle room in our existing system. If you’re starting from scratch, you can probably use the full height.

Last step was to plop old plastic flower pots on top of each pipe to spread out that pressure point and prevent pipes from poking through netting if leaves fall before we take our setup down. If you repeat this, be smarter than I was — don’t stare up at the flower pot as you raise the pole into place or you’ll end up with an almost black eye!

We’re thrilled with the result, although the enclosure still has one big flaw. Honeysuckle has taken over the fence edges and each season it expands to twine into our berry netting. We’re still working out solutions on that front. In the meantime, eating lots of berries is a great reward for not-so-hard work.

Posted on

Kohl Wheelbarrow update details

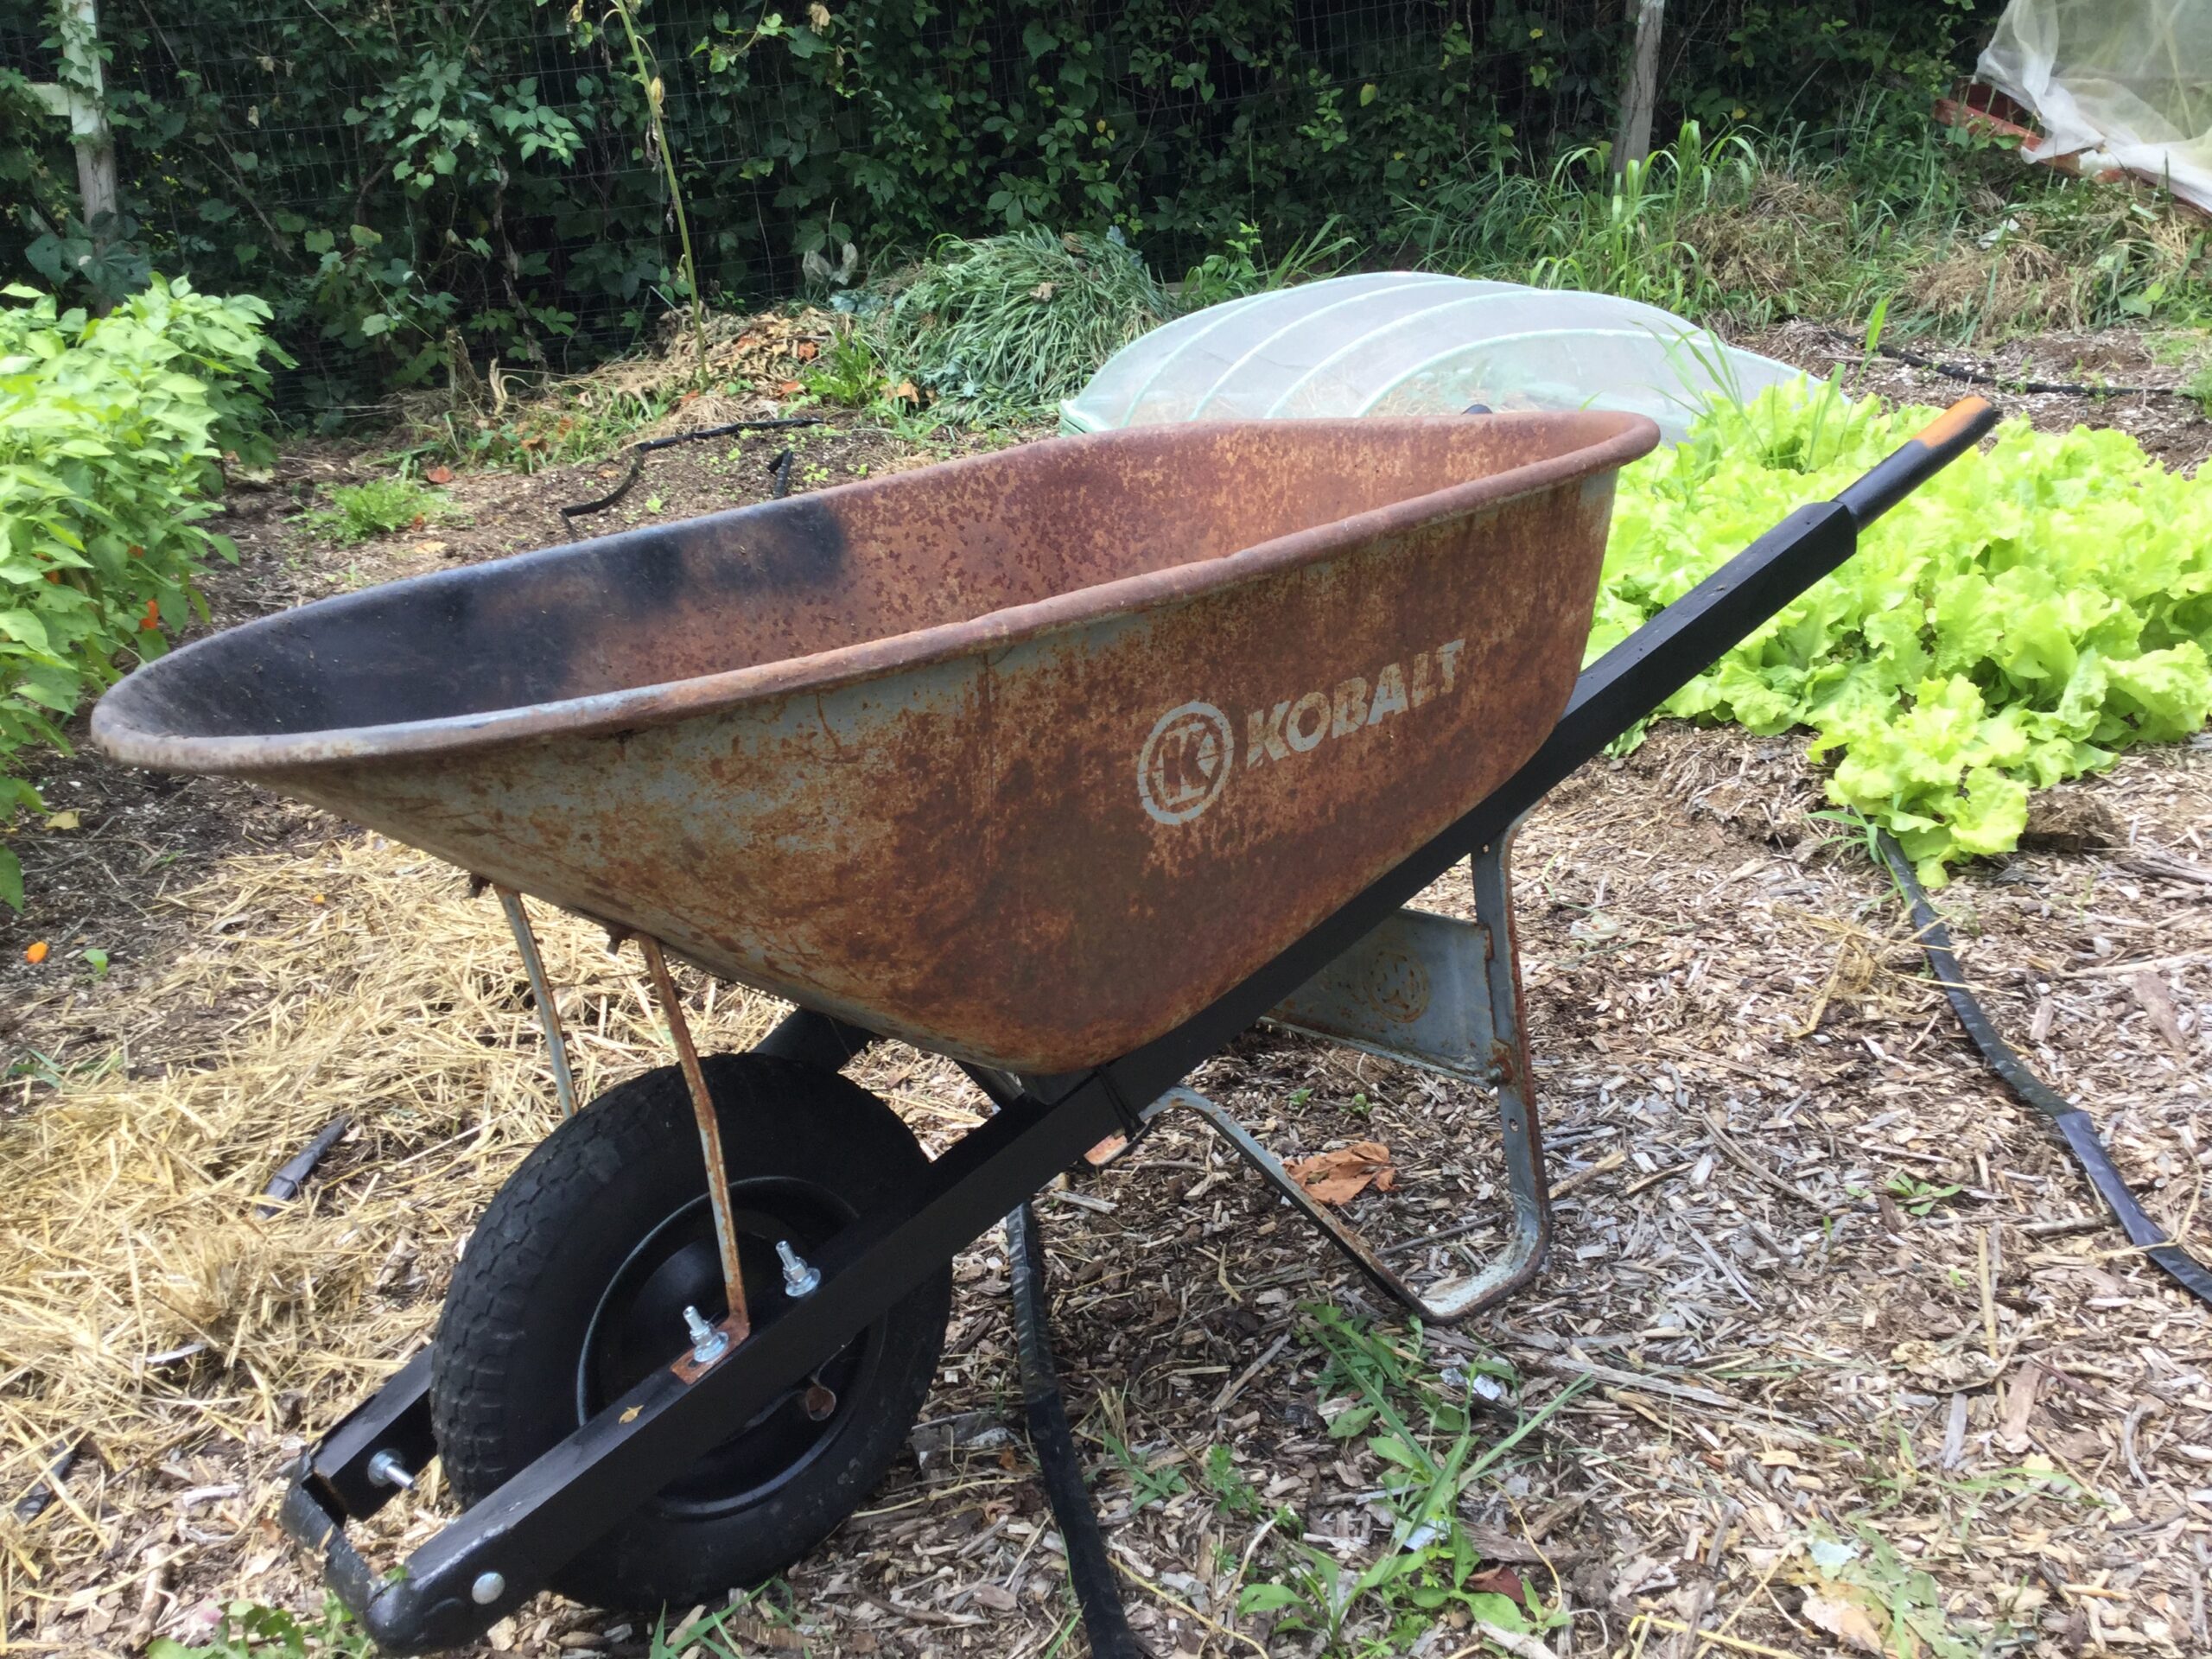
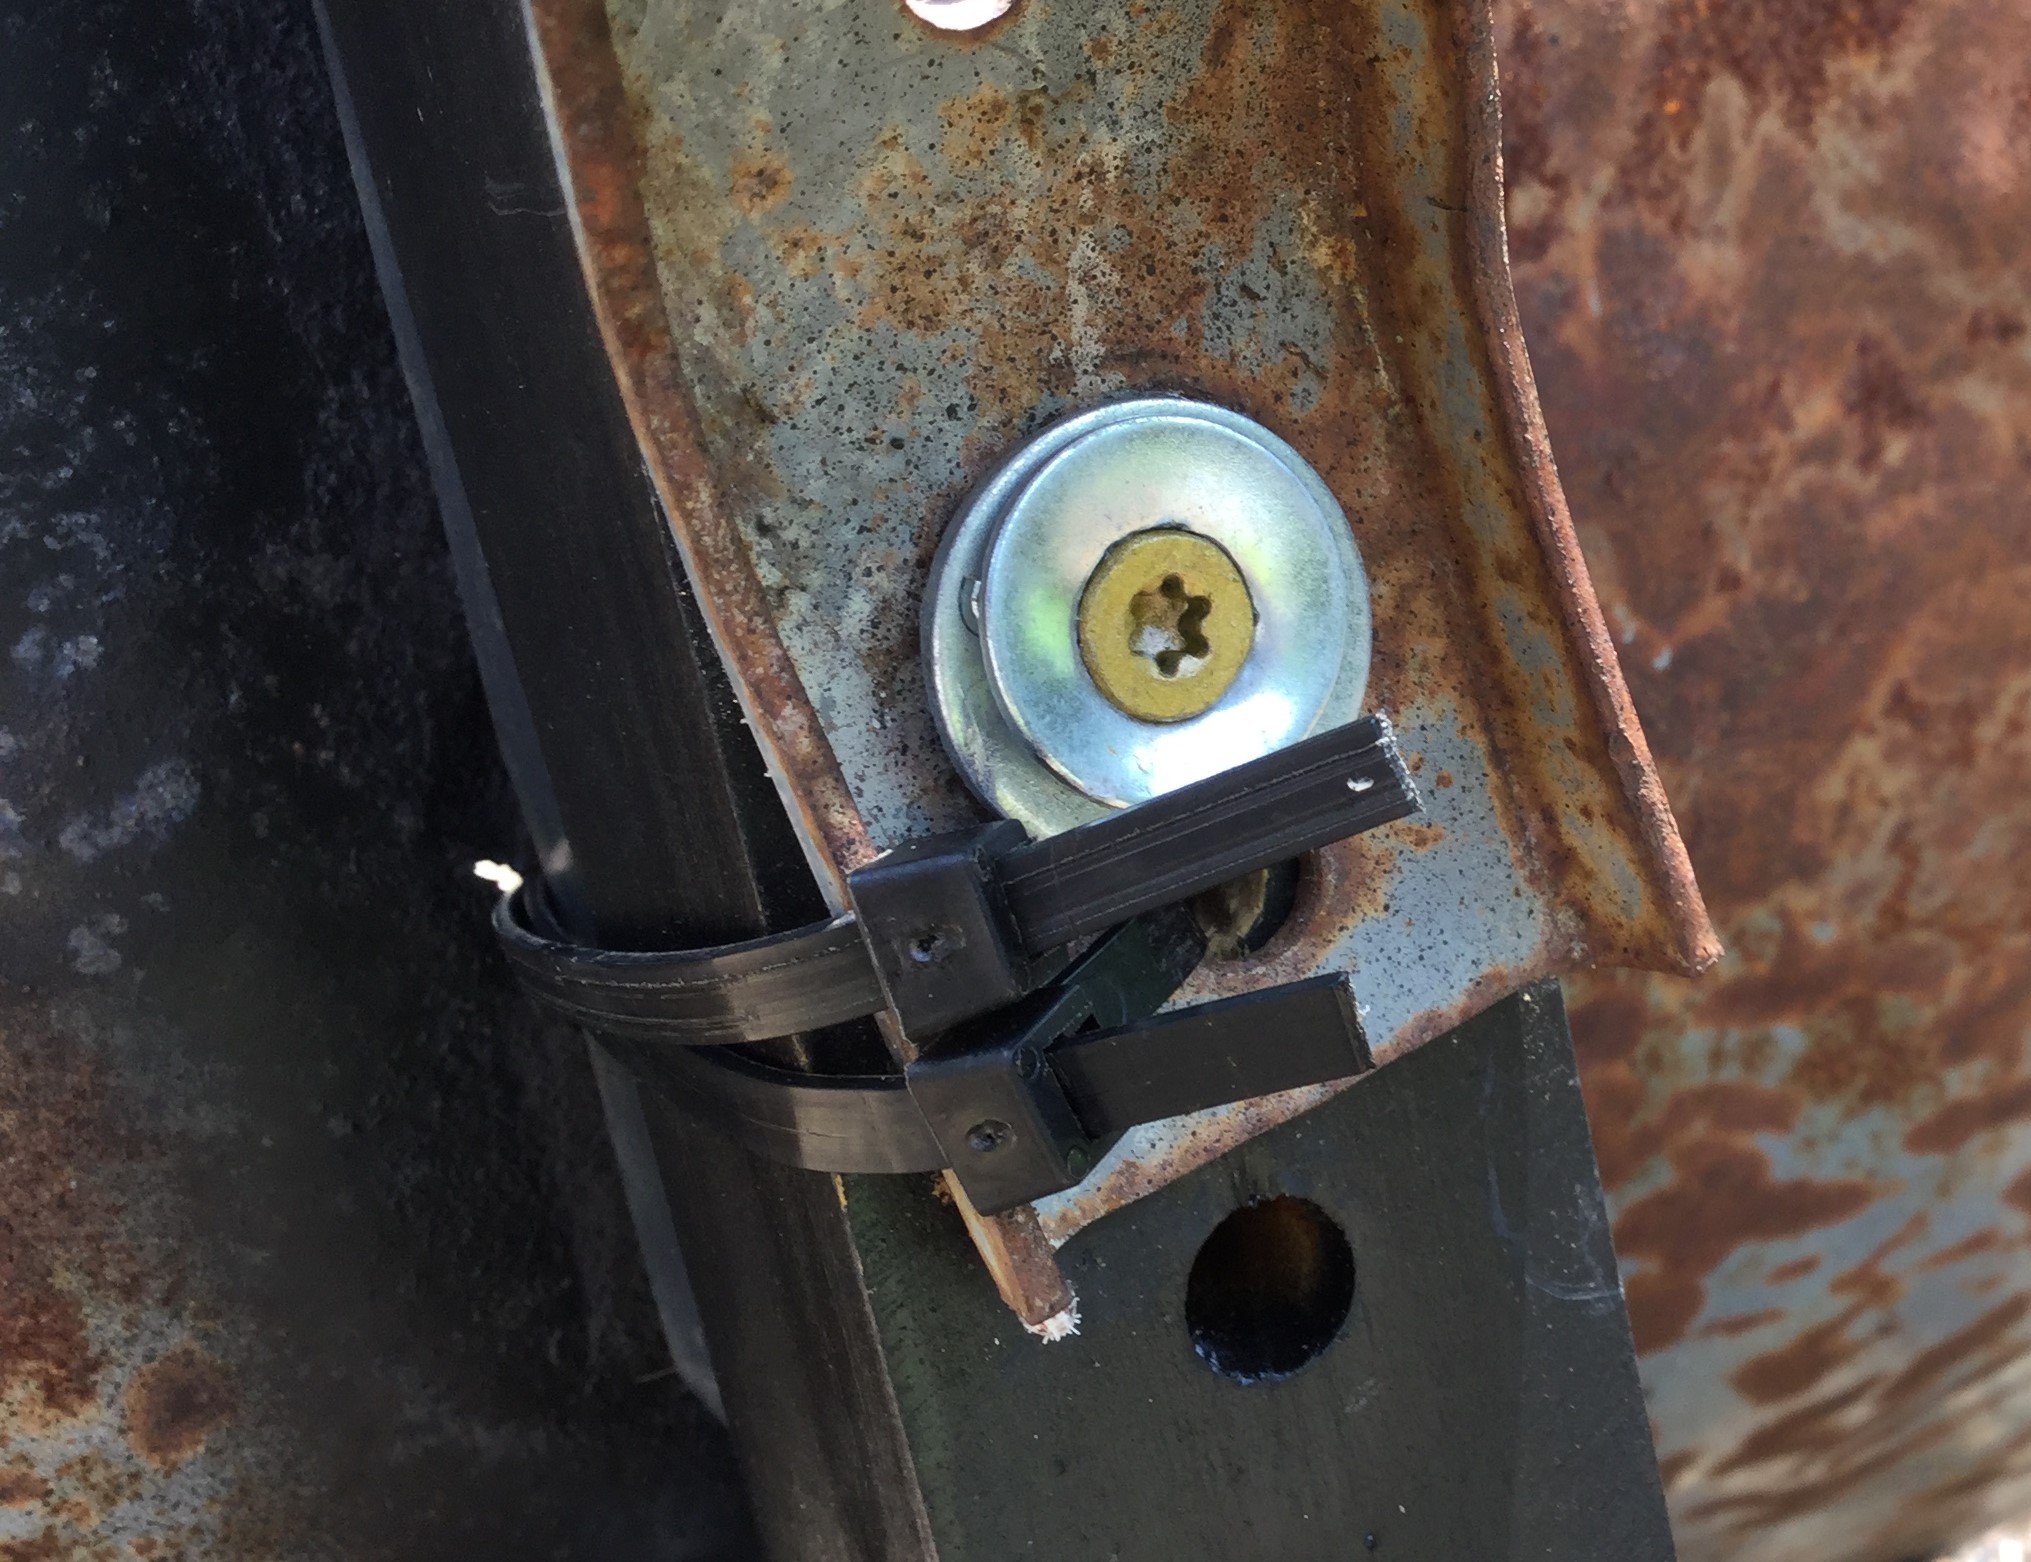
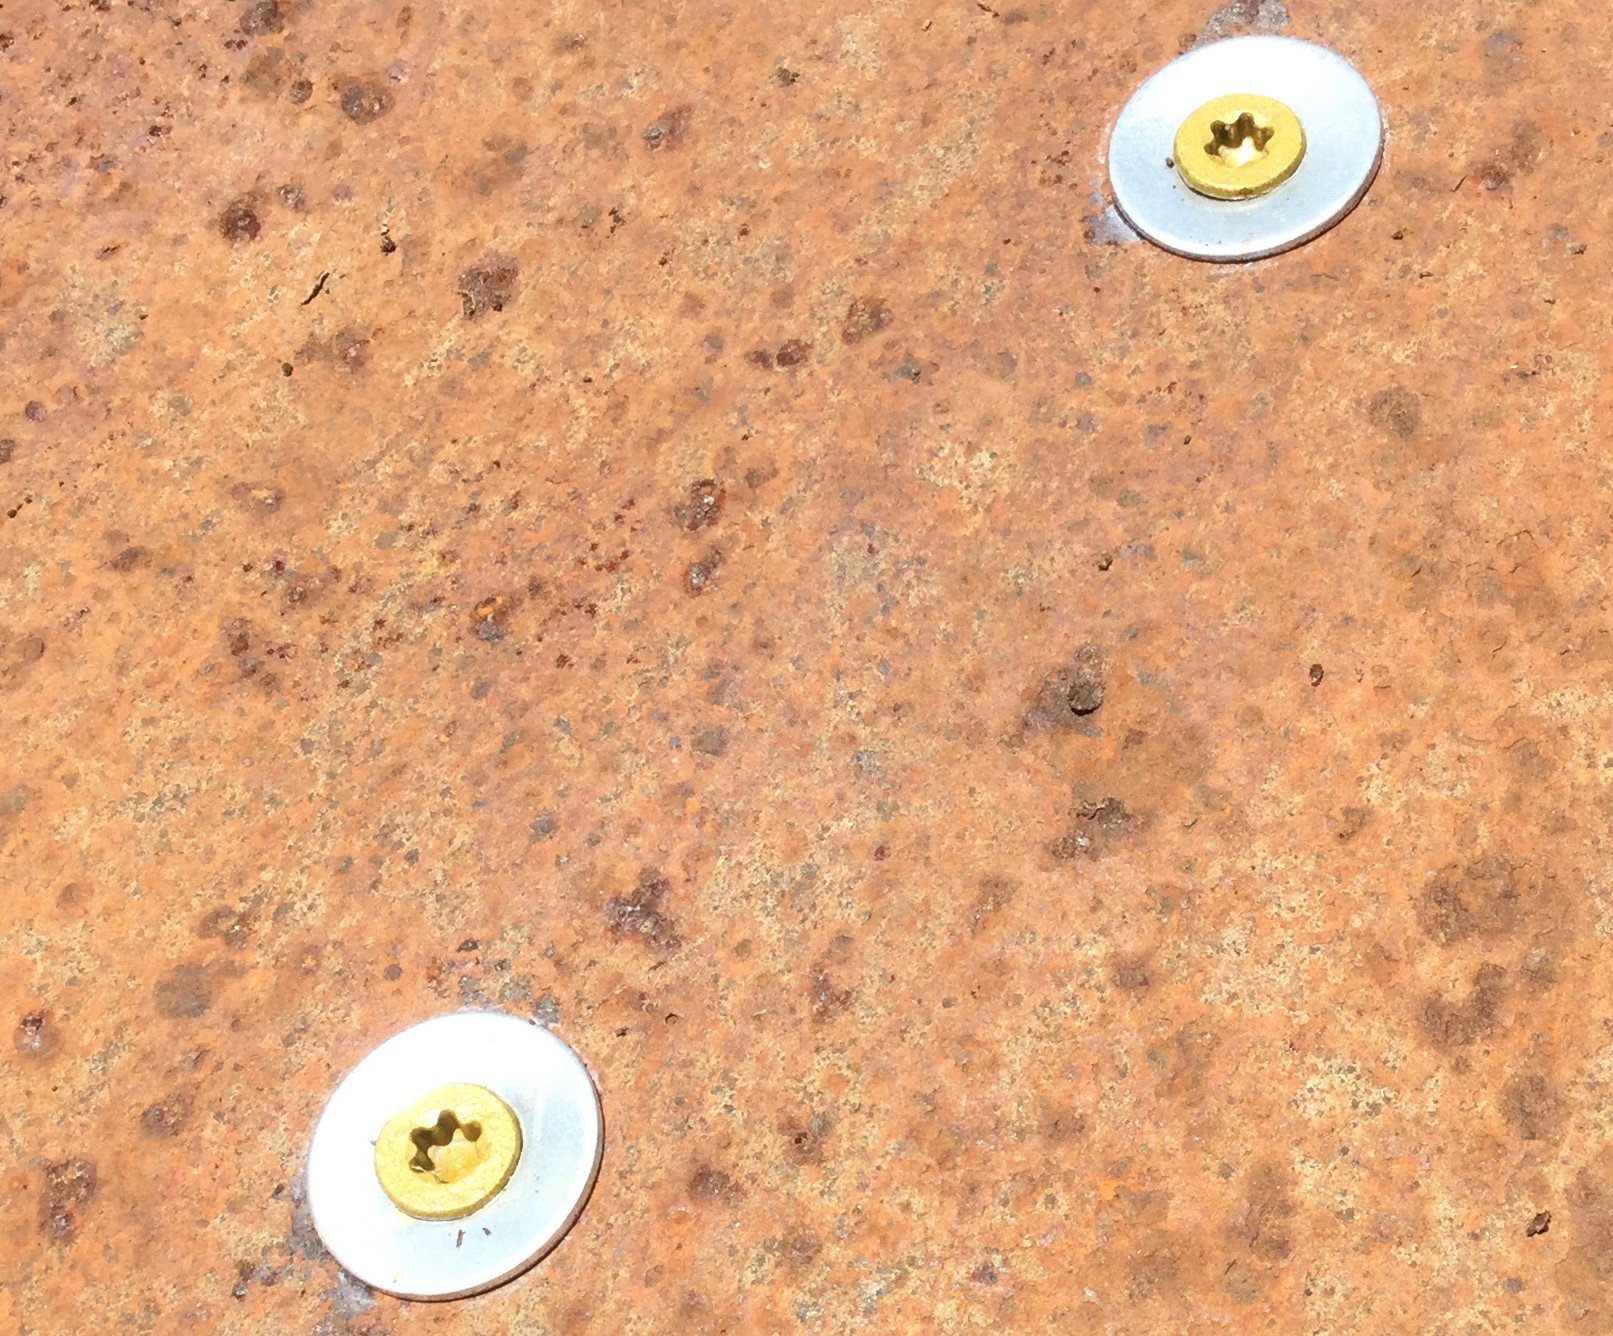
Some of the problems with restoring a wheelbarrow is the damage around bolt holes which prevents the round headed bolts from biting in so you can tighten them.

An exterior screw with a washer isn’t exactly flat but it seemed better than a traditional nut and fastened in nicely with the wood of the handles.

Zip ties helped me hold it all together without needing a second hand while I tightened everything down.

Posted on

Kohl wheelbarrow wooden handle repair

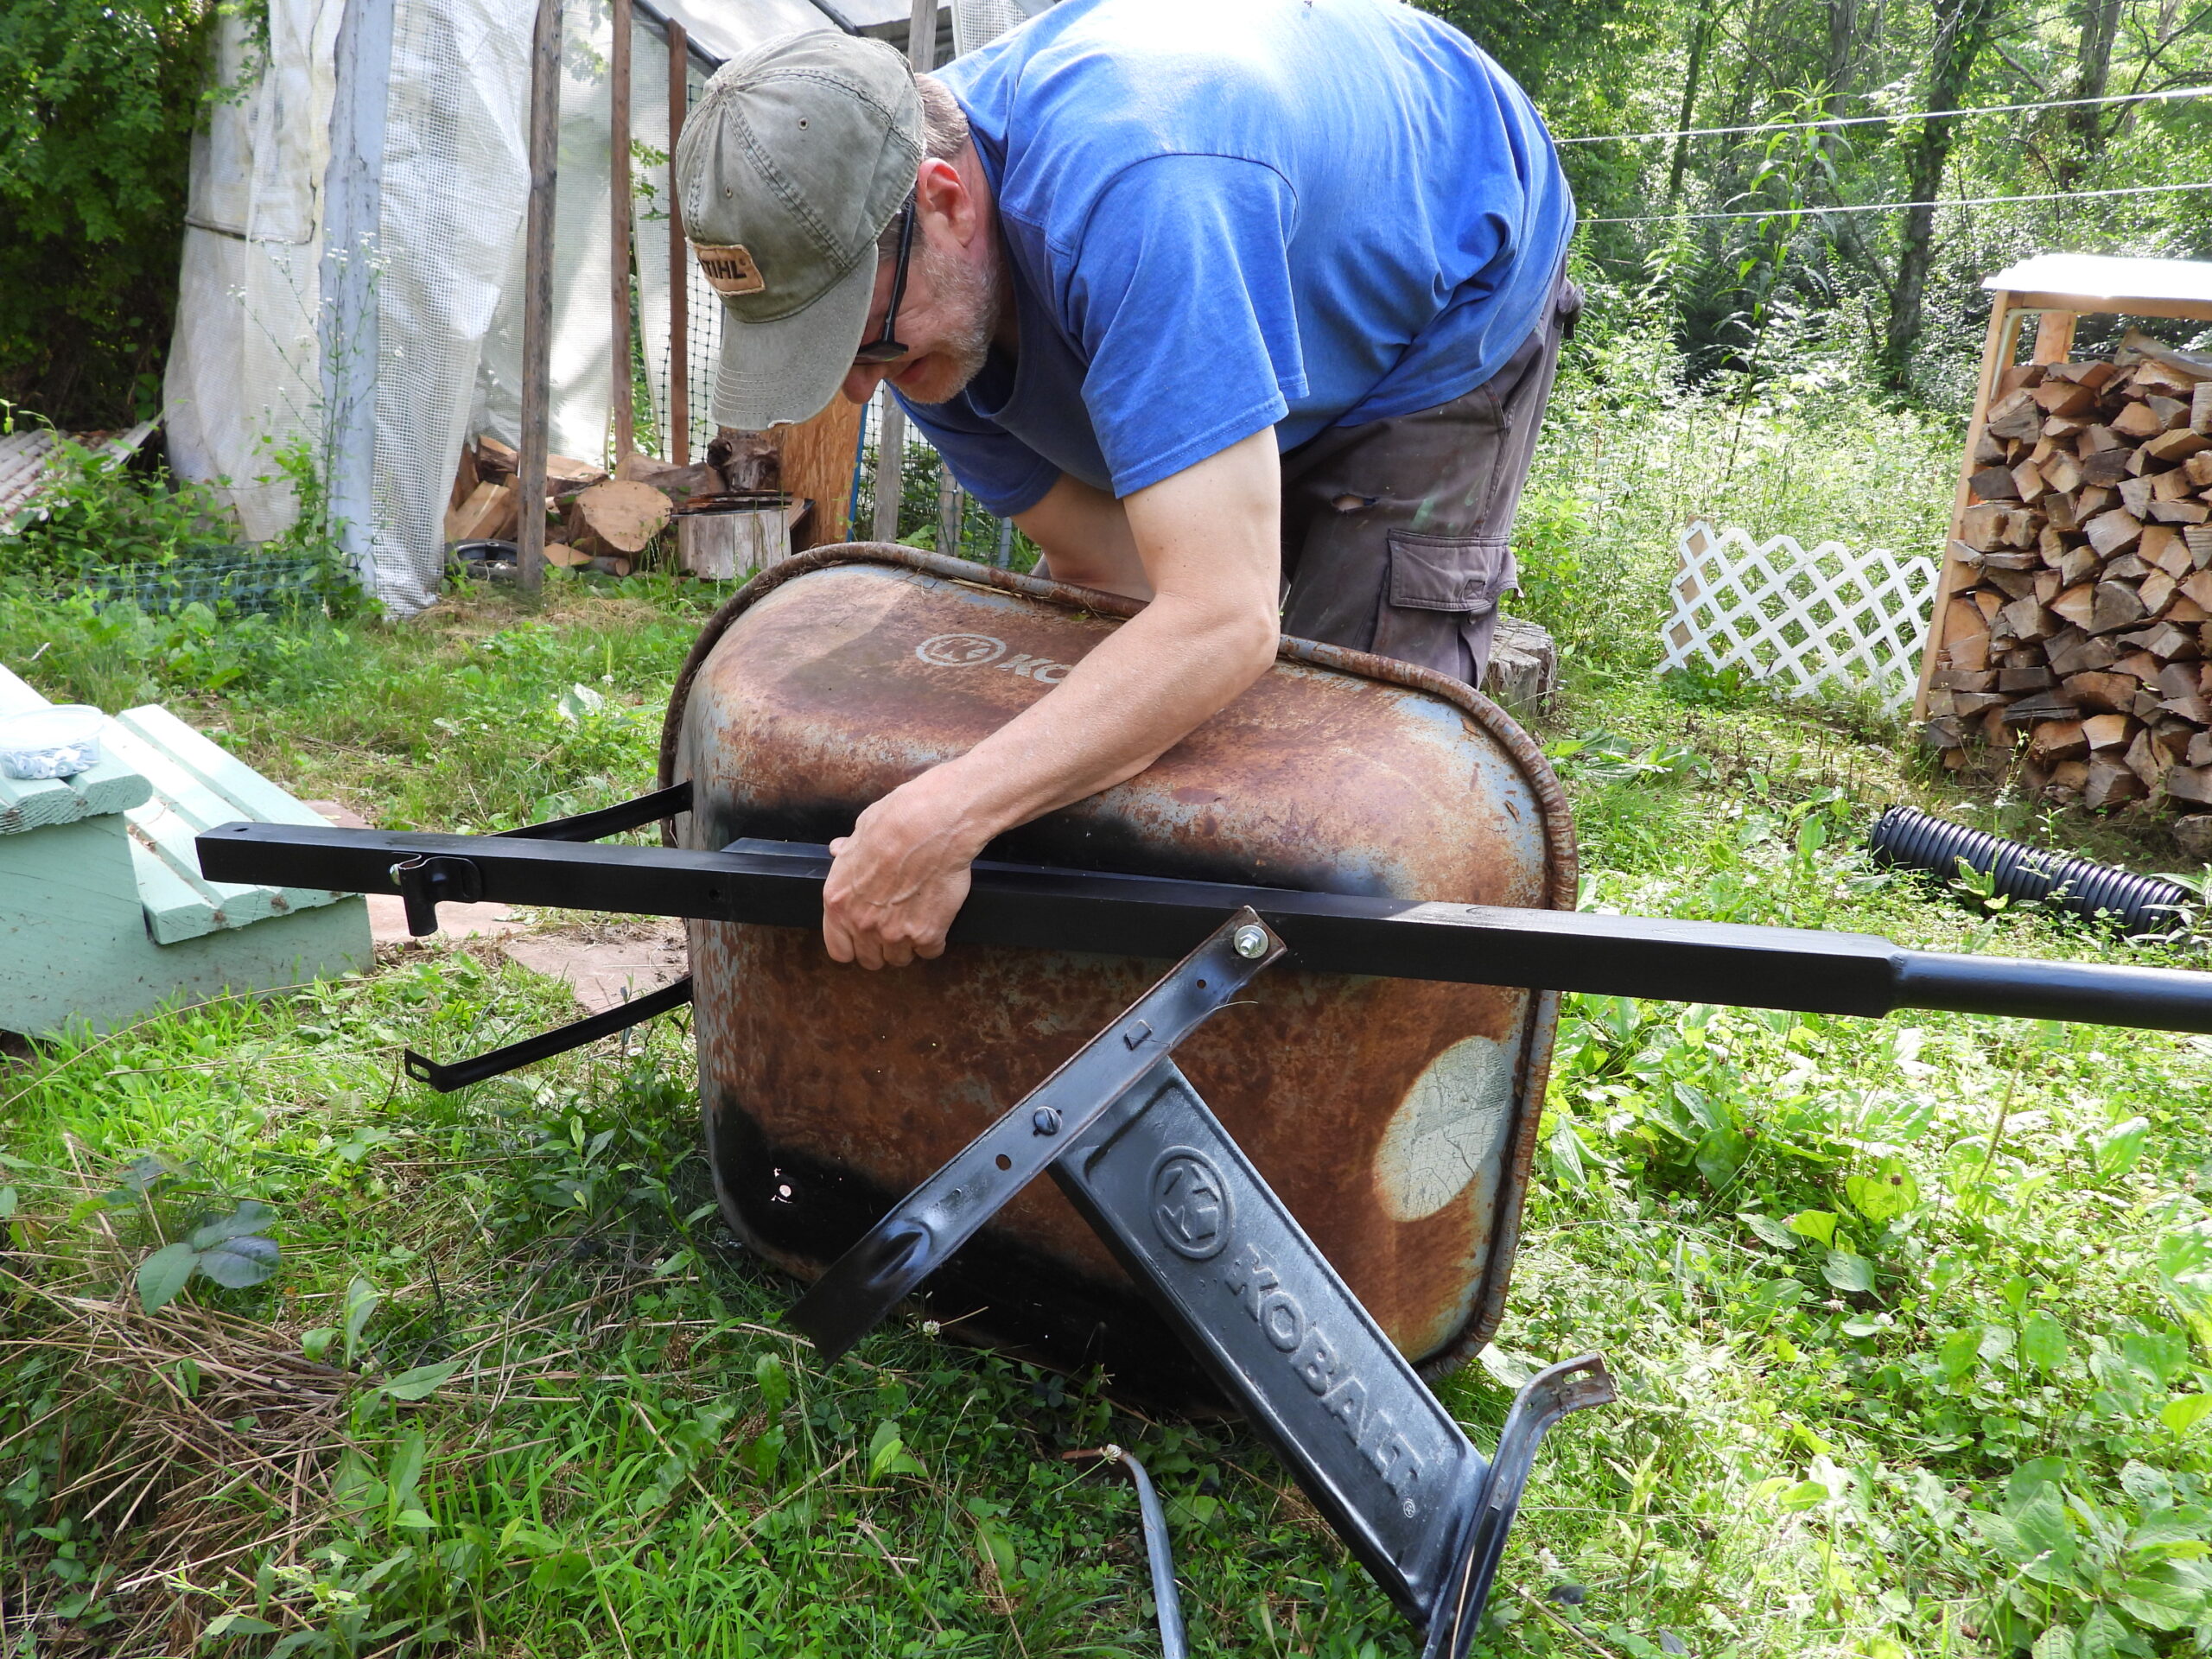
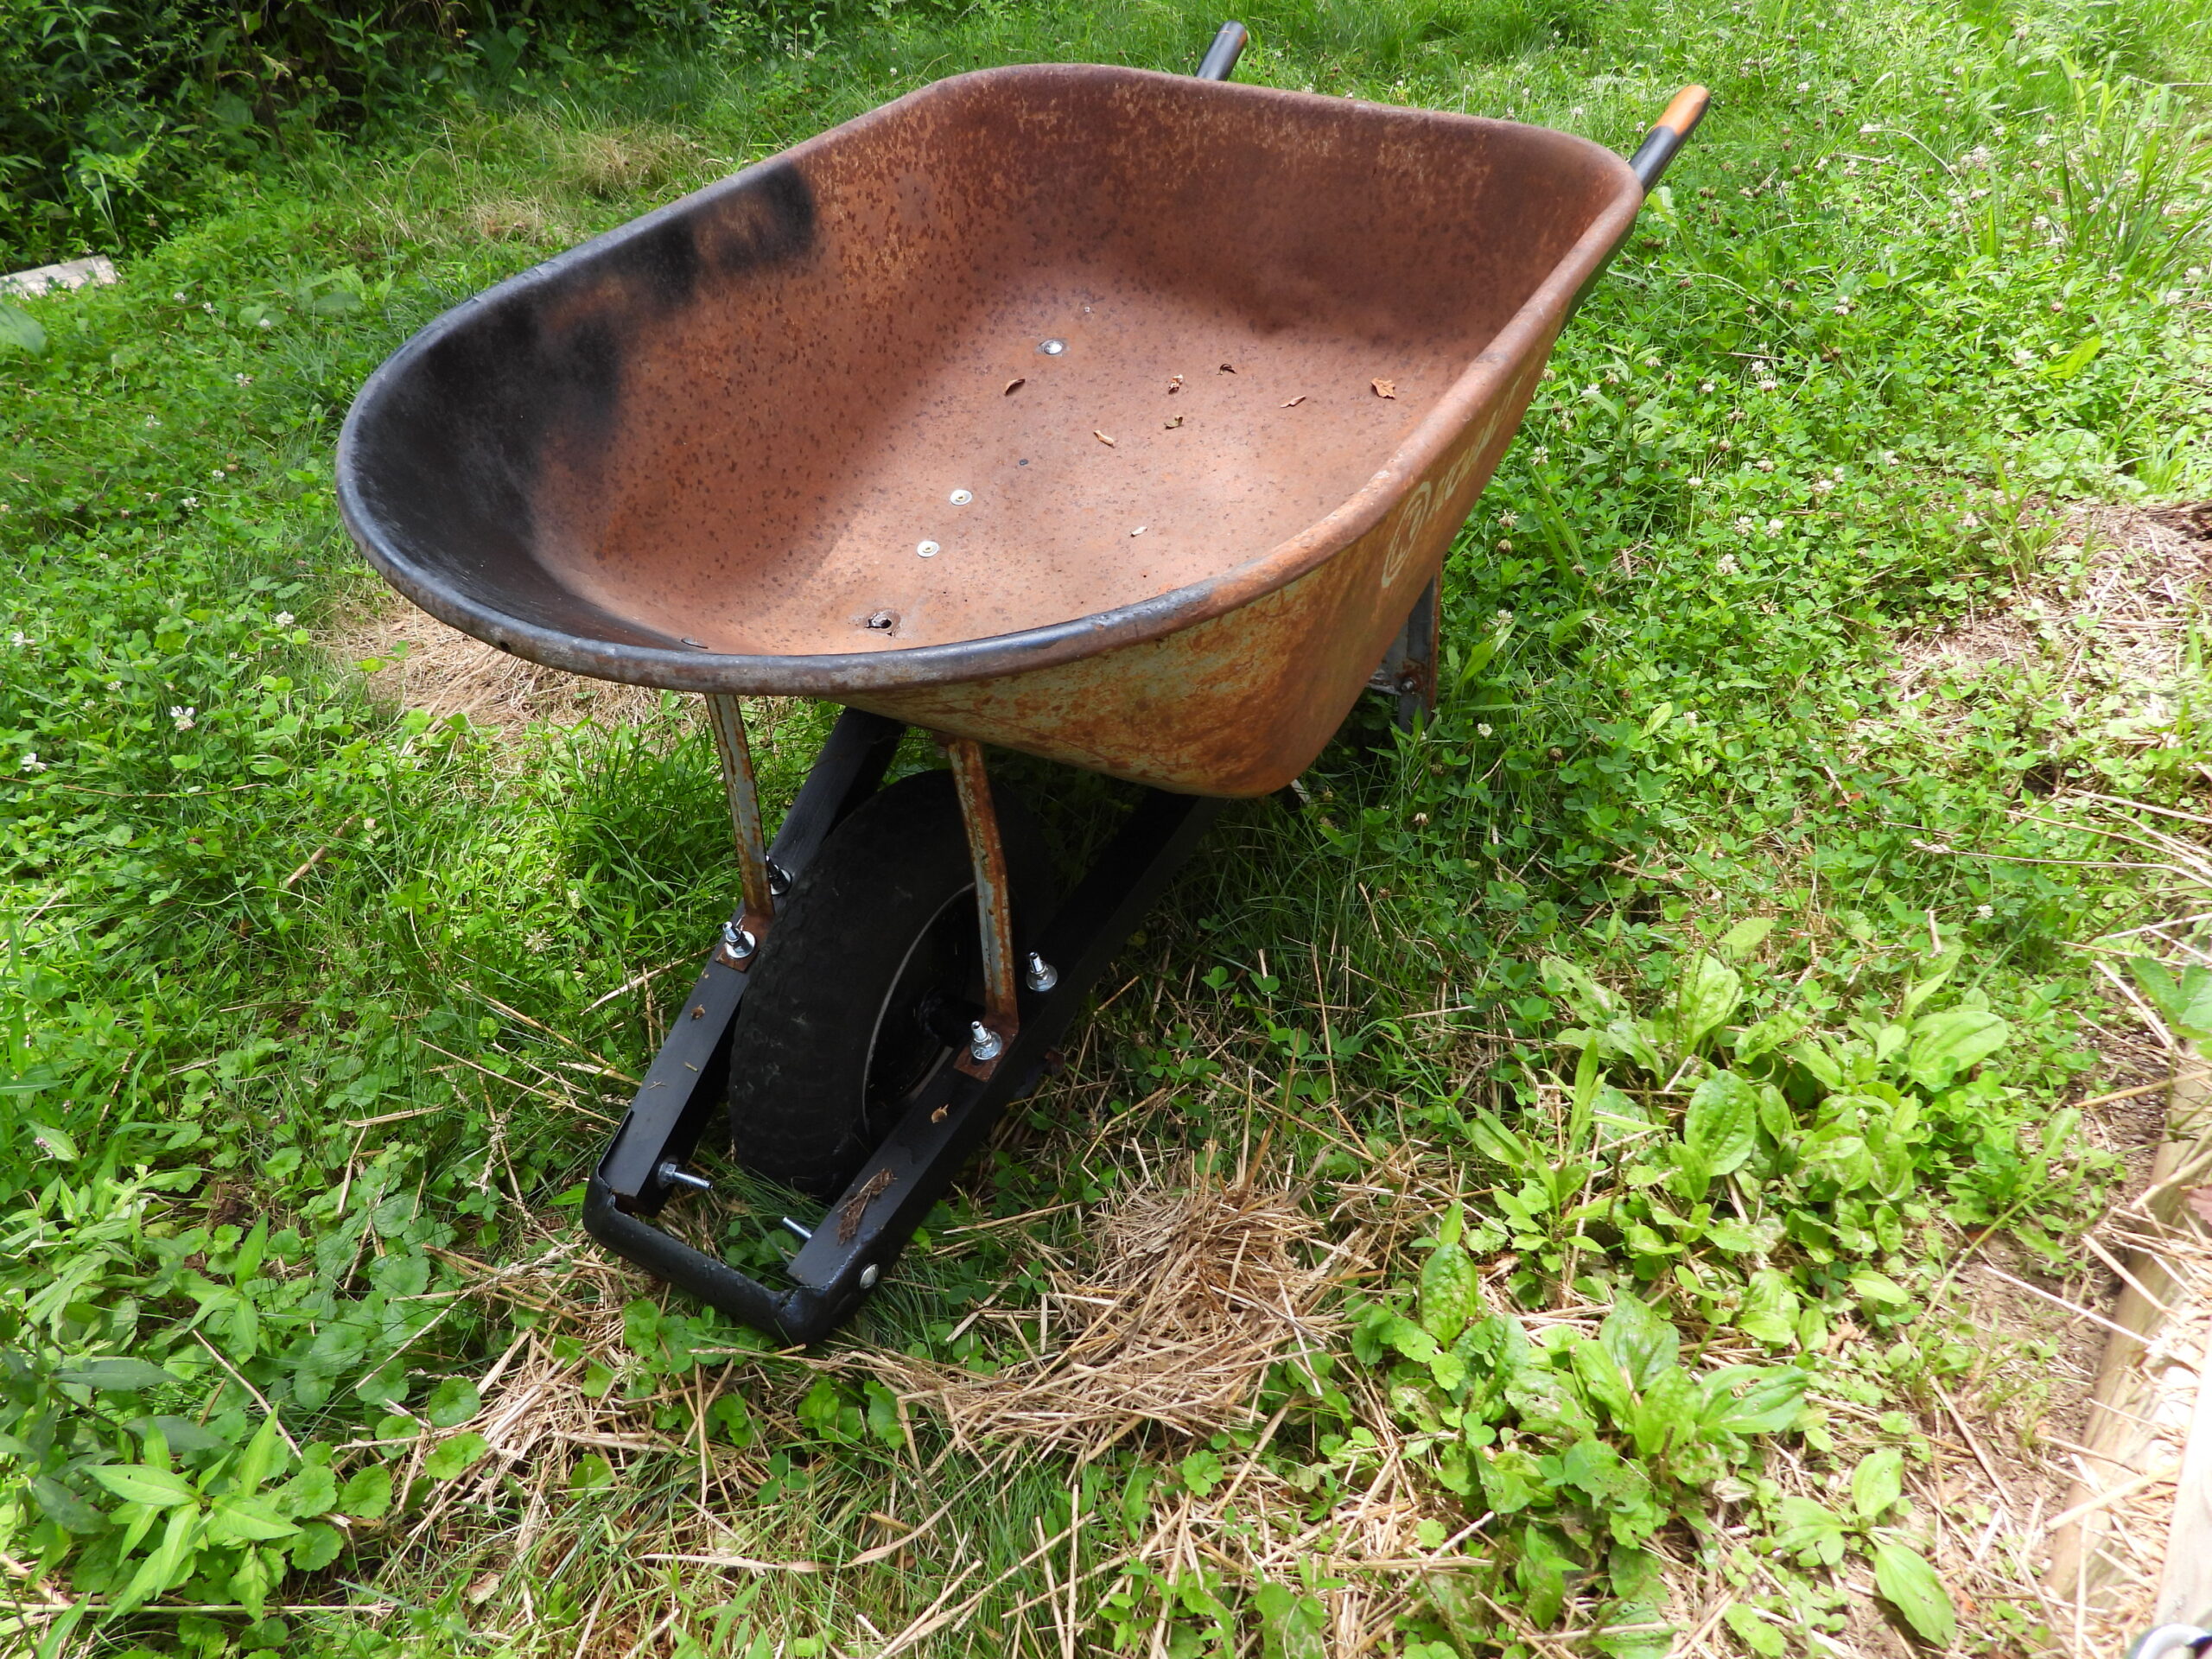
The wheelbarrow repair was not as easy as it first looked.

Holes in the wooden handles did not match up with the modern Kohl design.

Wooden Handles               19 dollars

Rustoleum Spray Paint    7 dollars

Nuts, Washers, Bolts        10 dollars

EvapaRust                              13 dollars

It also took more time than I originally planned for.

Prepare surface of parts for EvapaRust, Apply EvapaRust, Wait, Wipe off, Paint with spray paint.

Drill the additional holes, and put it all back together.

Would’ve been much smarter to buy the 79 dollar Truper wheelbarrow with a plastic tray at Menards.

I did discover that Evaparust was a useful product with zero toxic smell that does what it says.

Posted on

SharkBite connectors for amateur plumbers

Fixing a plumbing leak behind a washing meachine

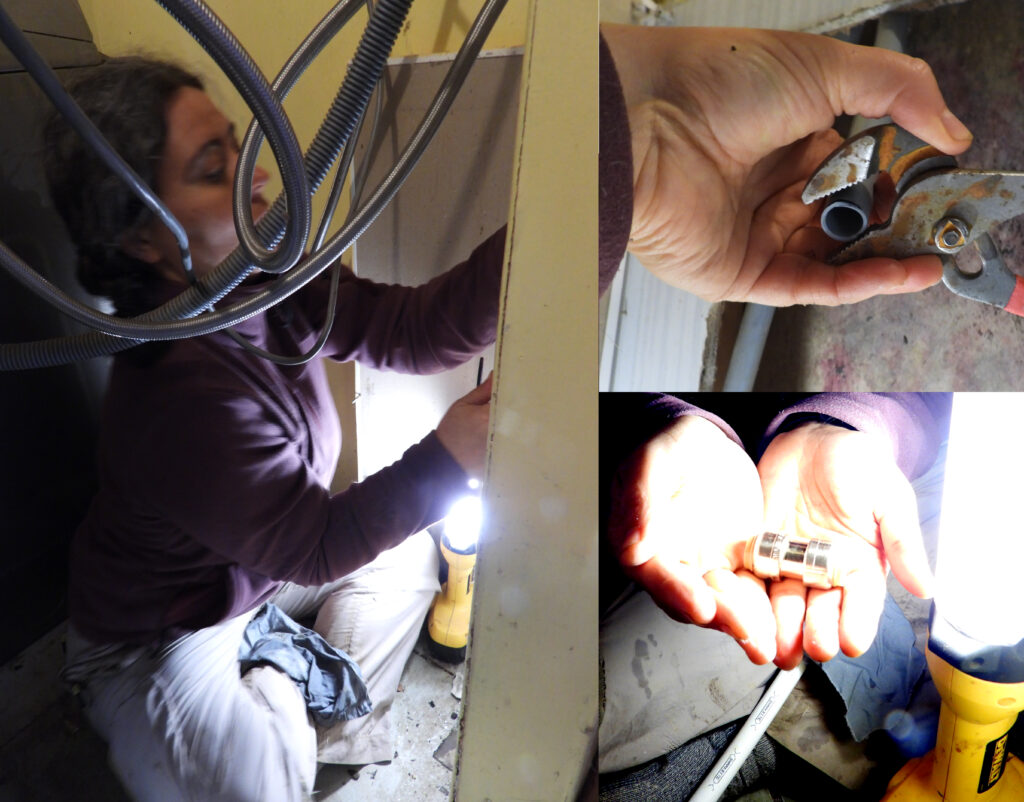
We got a good deal on our current trailer in part because the pipes had been allowed to freeze over the winter. Our first round of plumbing repairs seems to have held up great, but a new leak popped up behind the washing machine recently.

I love small spaces and Mark hates small spaces, but he’s the DIY pro while I’m a rank amateur. So he figured it was worth splurging on two SharkBite connectors to turn the project into child’s play.

This child didn’t push the new pipe into the top of the bottom connector hard enough the first time, so I got a big spray of water in my face. But a little more elbow grease did the job and, in the end, I was very proud of my accomplishment.

Posted on

Growing in the gutter

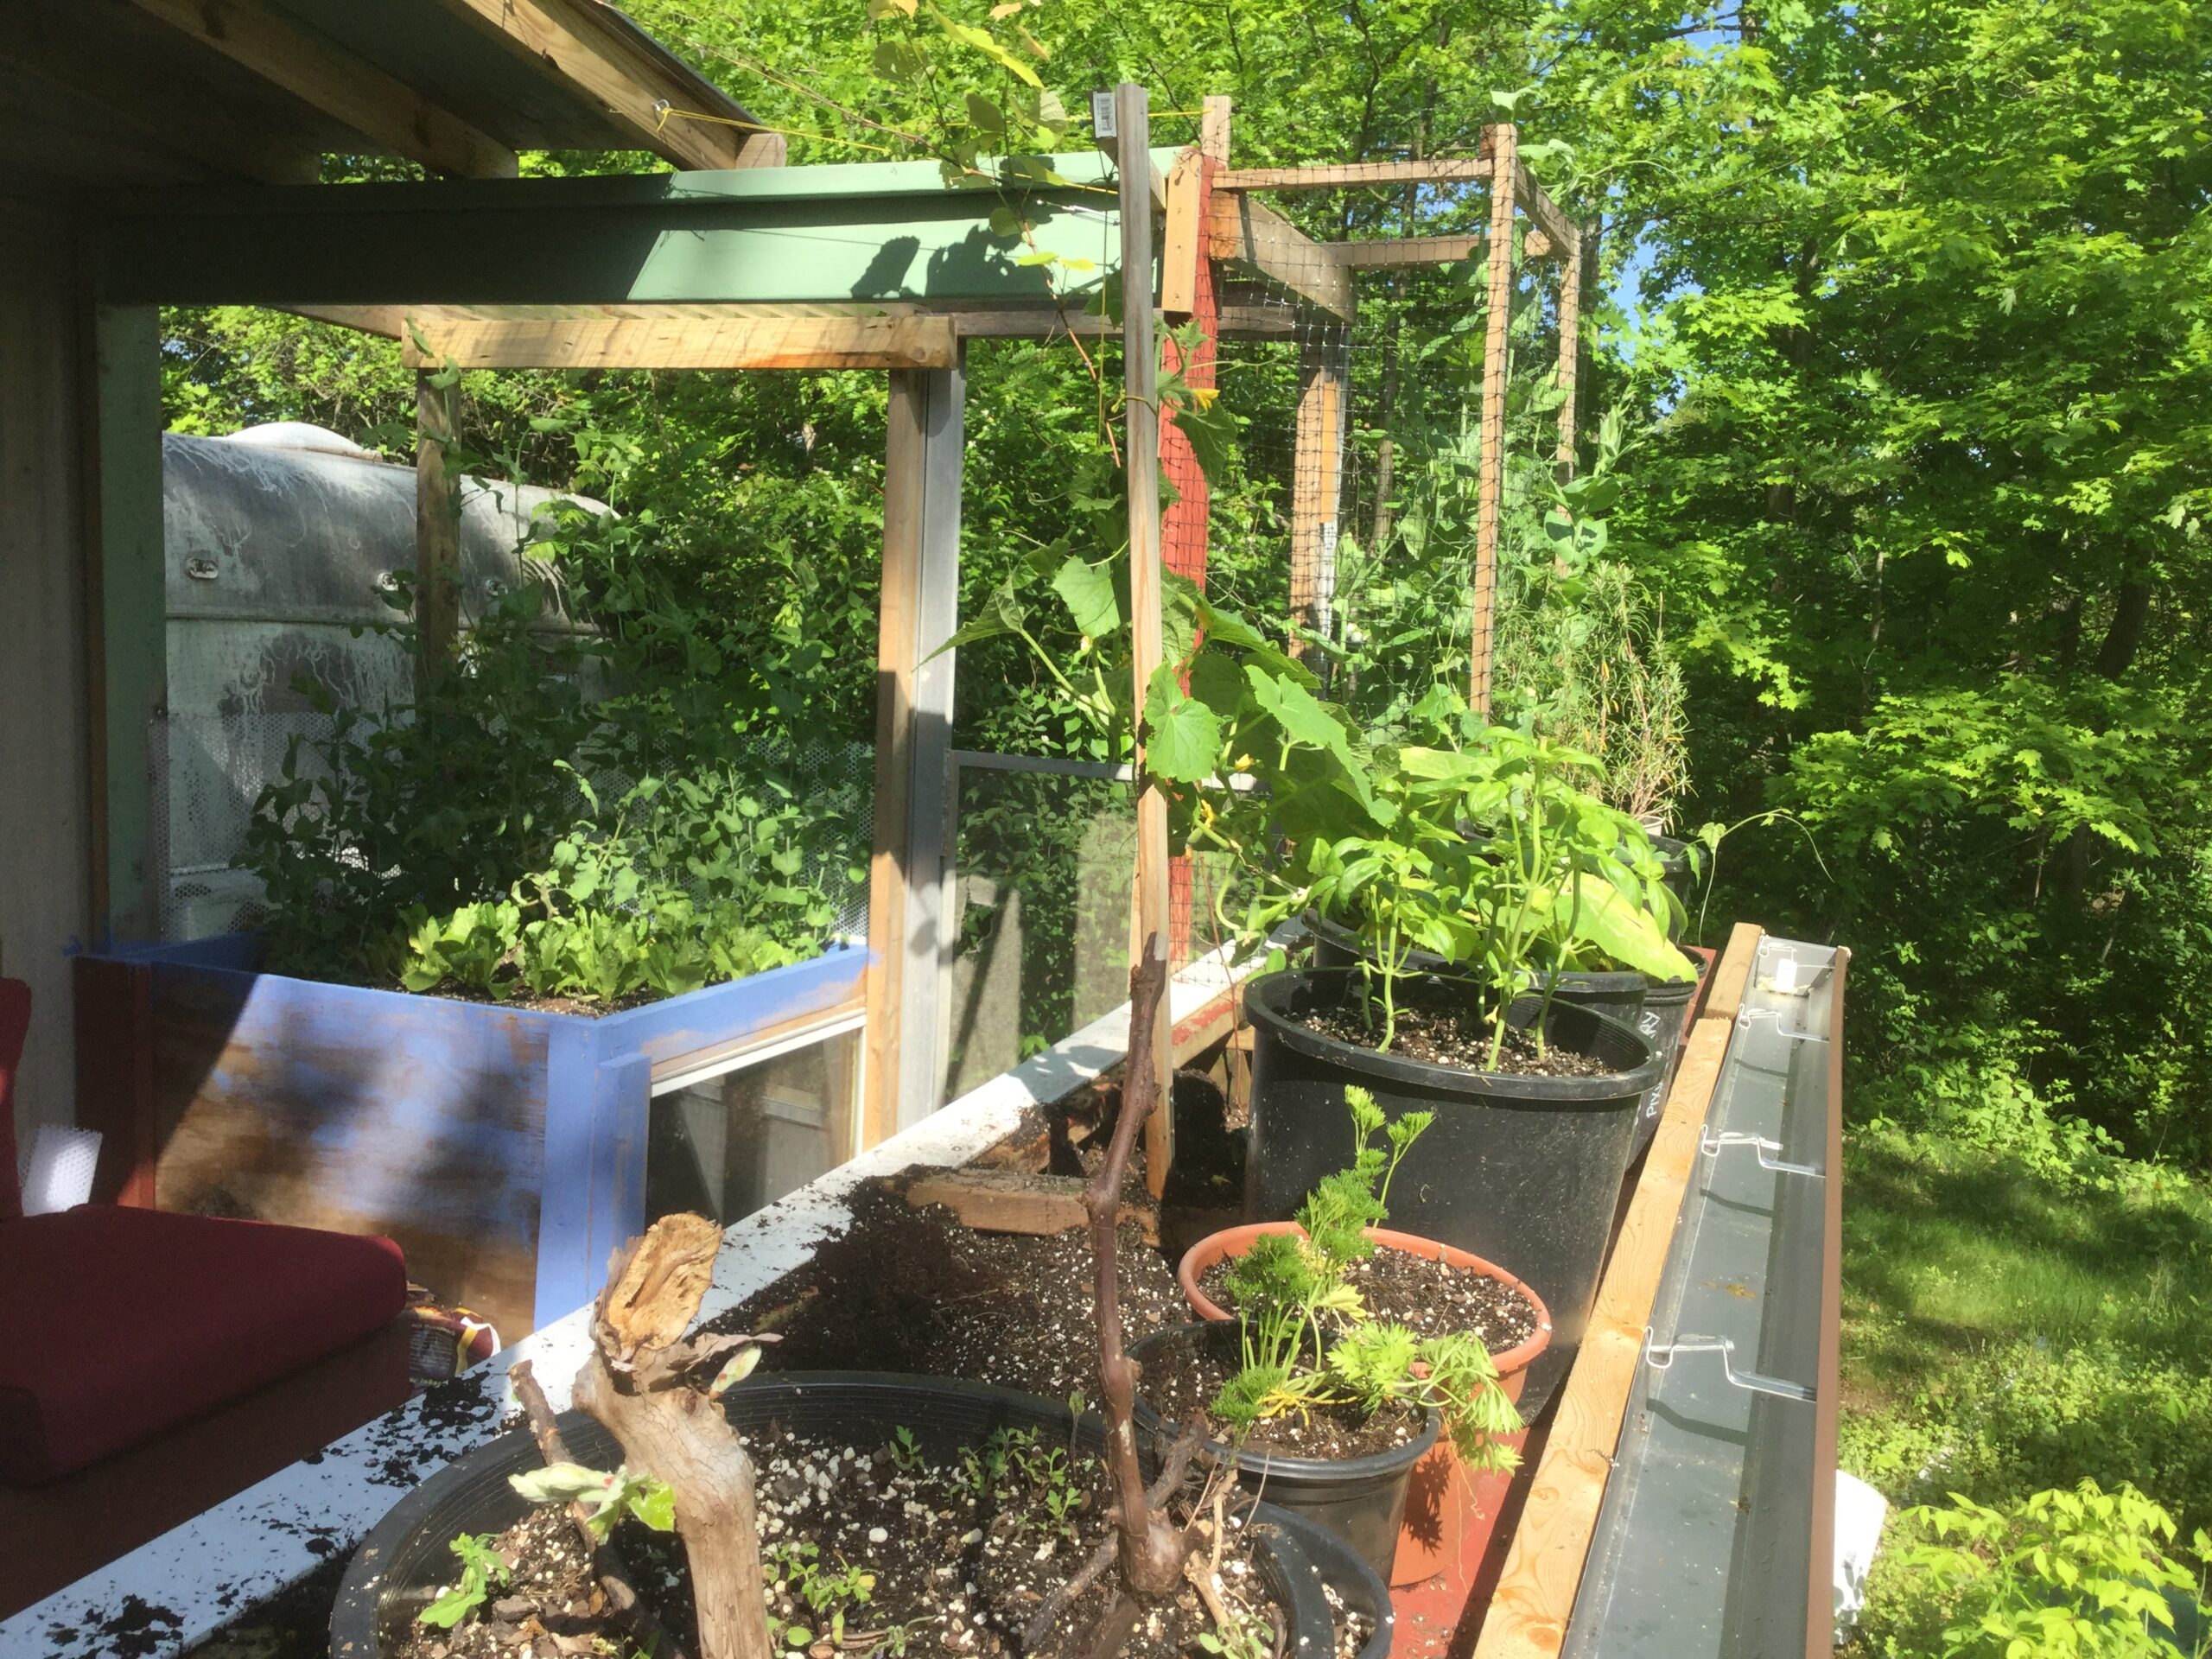
One challenge of our deck growing area is the shade it gets from close by structures.

The new experiment is to see what we can grow in this gutter area that escapes some of the shade.

A 10 foot section of aluminum gutter is about 15 dollars with another 15 on end caps and hardware.

Posted on

New chicken books

Proof copies of chicken books

Do you have friends jumping on the chicken bandwagon this spring? Then I hope you’ll point them toward my Getting Started With Your Working Chicken, entirely free in ebook form and dirt cheap even as a (brand new!) paperback. I think of this title as a bit like the bare-basics books at pet stores intended for folks impulse buying a new type of animal. The goal is to bring new chicken keepers up to speed in half an hour so they don’t get overwhelmed by the deluge of options right off the bat.

Want to help me out by spreading the word about the paperback release (and possibly win a copy)? You can enter our rafflecopter giveaway here.

Building a DIY Chicken Waterer

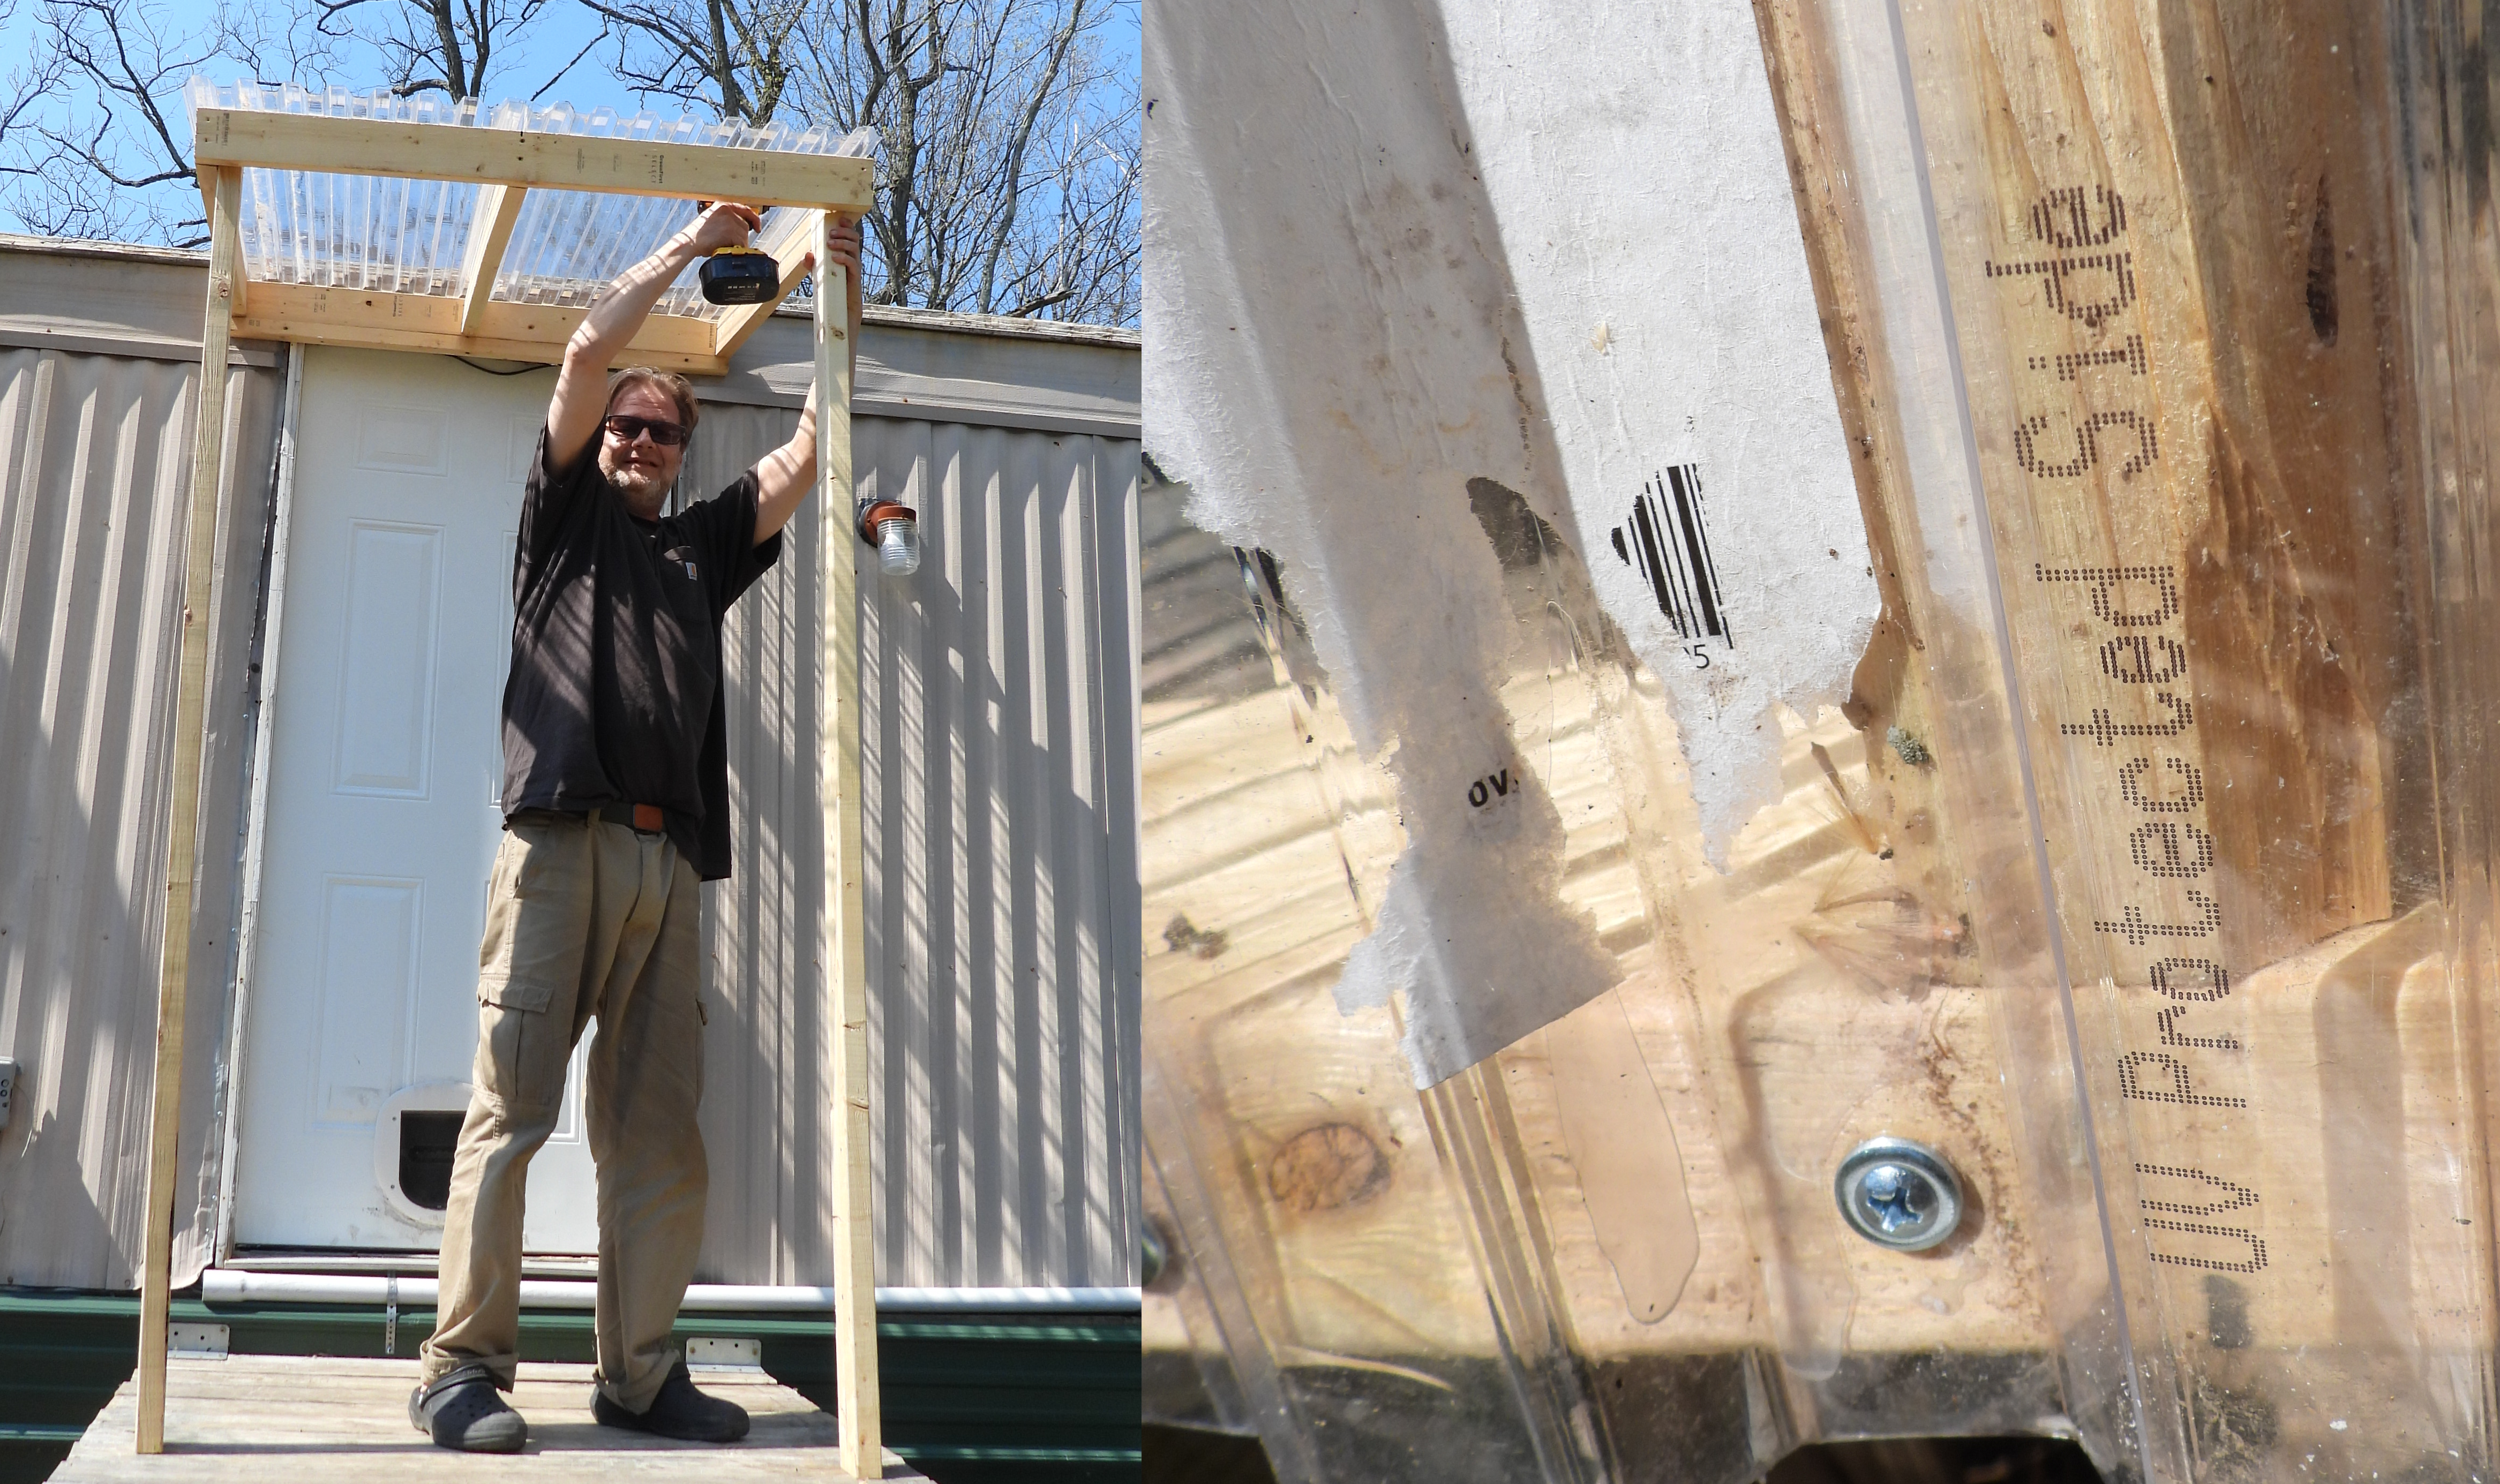
Adding a clear roof over a planter boxMeanwhile, we’ve been hard at work coming up with a new ebook in the Permaculture Chicken series. Building a DIY Chicken Waterer will launch next month, and you can preorder the ebook for a buck off. (There will be a paperback too, but I’m still working on it. As you can likely tell, the font size needs increased. Stay tuned for a preorder announcement soon!)

And, finally, the third chicken book on my plate this year is an update to Thrifty Chicken Breeds. Want to share your wisdom and win a free copy of the ebook? Just comment below with your favorite breed(s), a photo (which can be emailed to anna@kitenet.net if it’s hard to leave in the comment), and a short writeup of why you prefer the one(s) you prefer. If I use your info, you’ll get a free copy of the revised ebook once it’s ready to go.

(Oh, and in case you’re curious what Mark’s up to this photo, it has nothing to do with chickens. He’s adding a clear roof to his newest porch planter box to prevent roof runoff from swamping our crops. I’m hoping this will also make for an even lower-blight situation for tomatoes this summer. Stay tuned to find out if it works!)

DIY chicken waterers

Update: Building a DIY Chicken Waterer is now live in print and available to preorder as an ebook!