I’m sure you’ve been waiting with baited breath to hear how various experiments panned out. Wait no longer! Results are in.
Quirk cucumbers
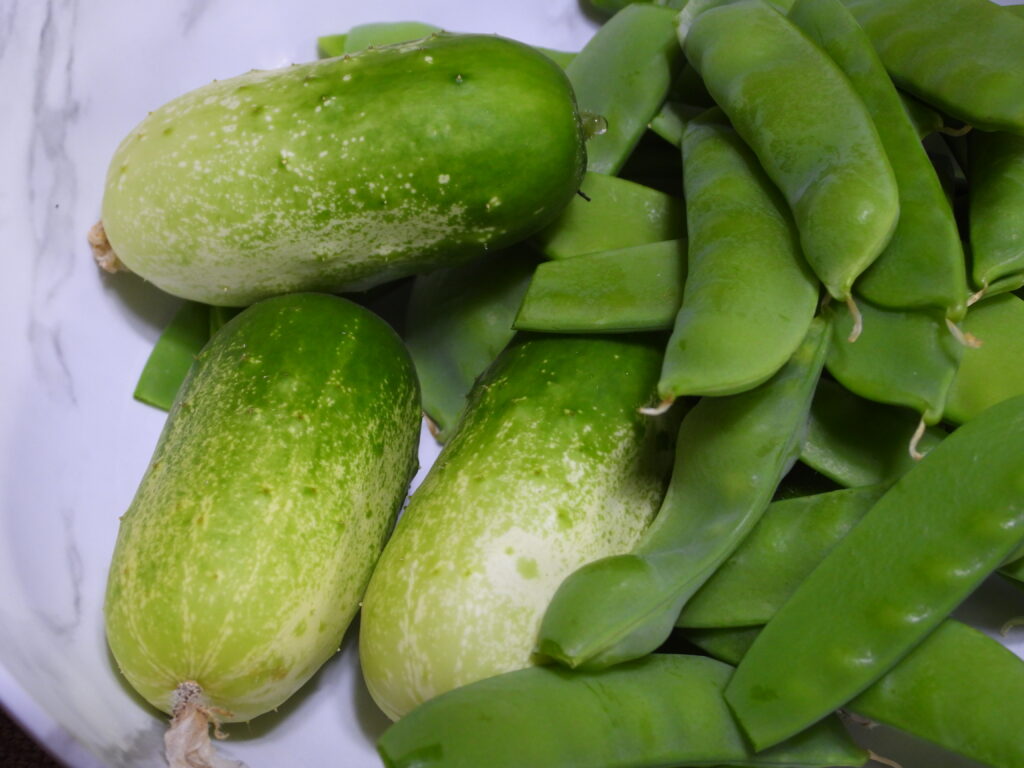
Of the new vegetable varieties we’re trying this year, the Quirk cucumber, has already proven itself a winner. They’re sweet and tender and at least as productive as our other cucumber types. Just keep in mind that they mature quite small, so pick when you can still see the dried-up blossoms on the end.
Highly recommended! We’ll definitely be growing these again next year.
Overwintering a garden under a pool cover
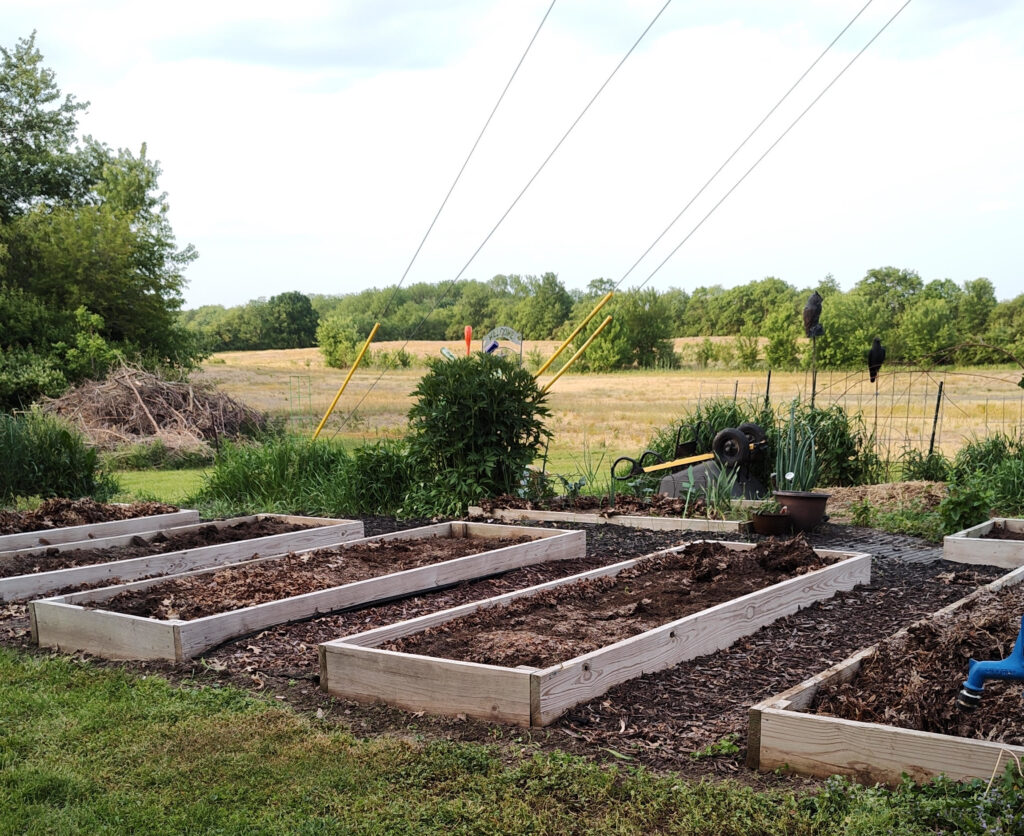
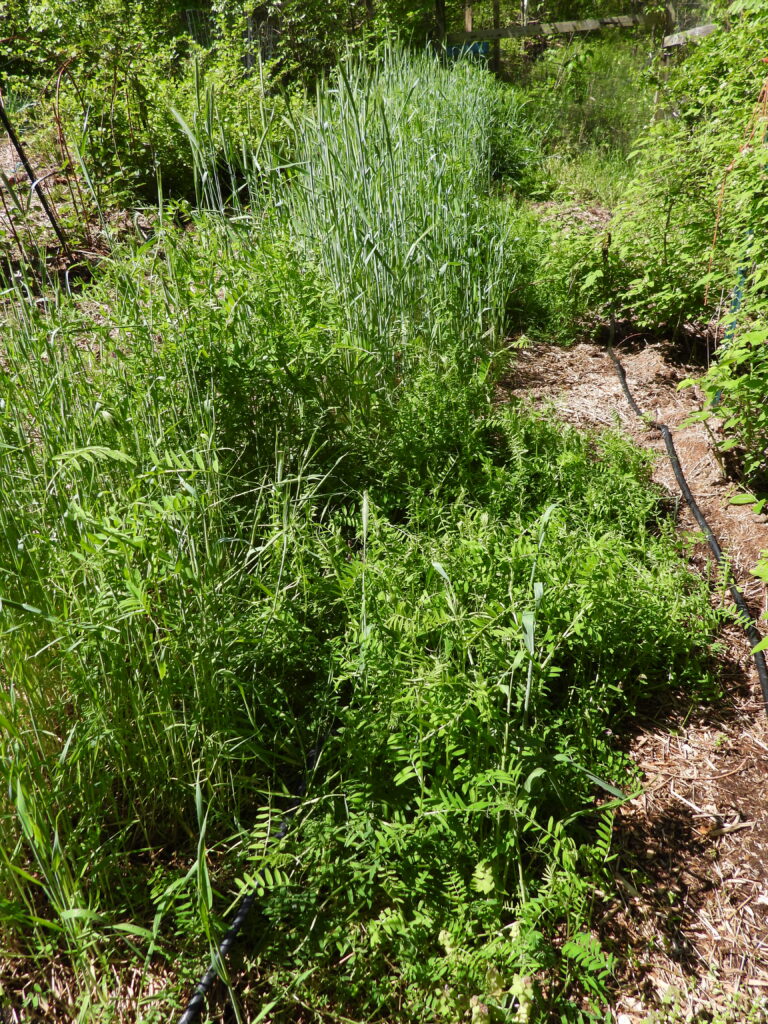
Remember how my mothers-in-law laid down an old solar pool cover over their garden beds last fall? They didn’t plant until around the frost-free date this spring and left the pool cover on until just before planting.
By the time they took it off, nearly all of the maple leaves they’d topdressed the beds with had melted into the soil and the entire area was completely weed-free. Even weeks later, they’re only seeing very mild weed pressure, suggesting that seedlings sprouted under the pool cover then died. (My mind is blanking on which garden writer recommends a similar technique, but using black plastic. Maybe you can refresh my memory in the comments?)
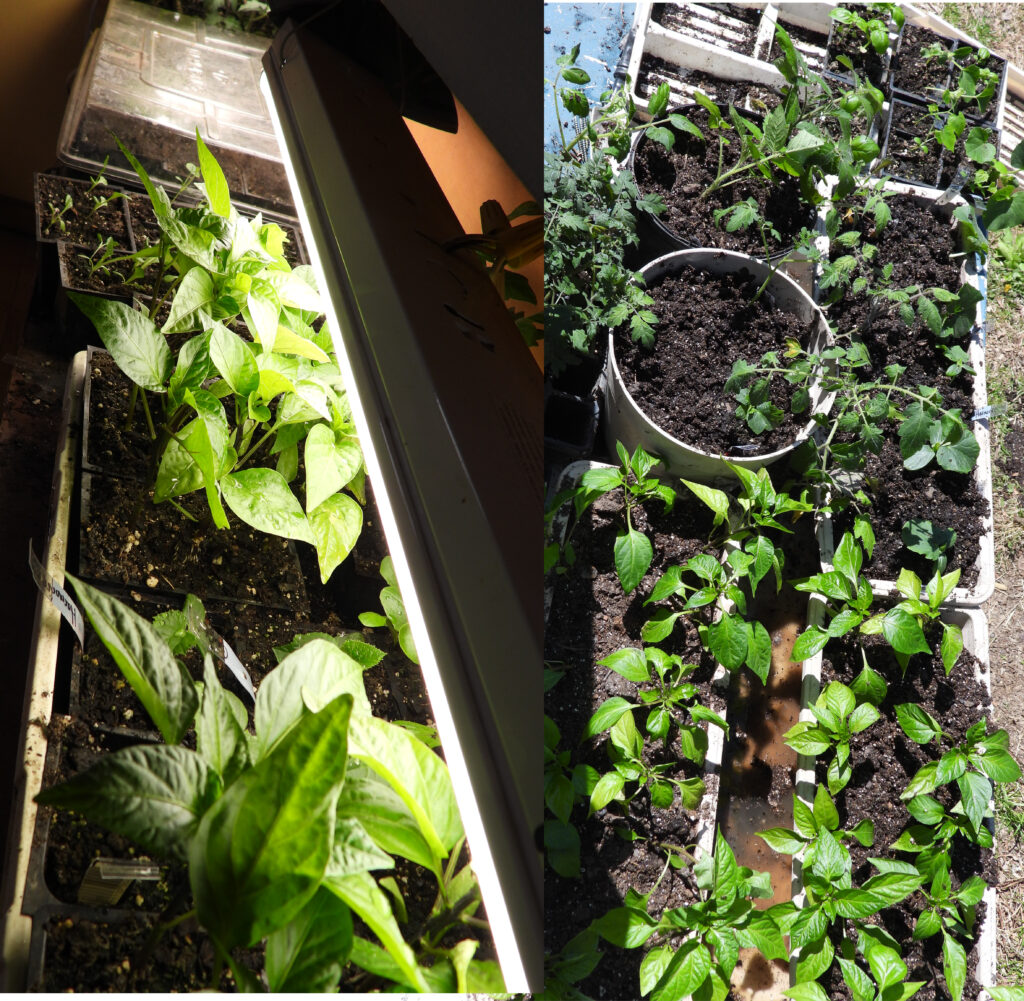
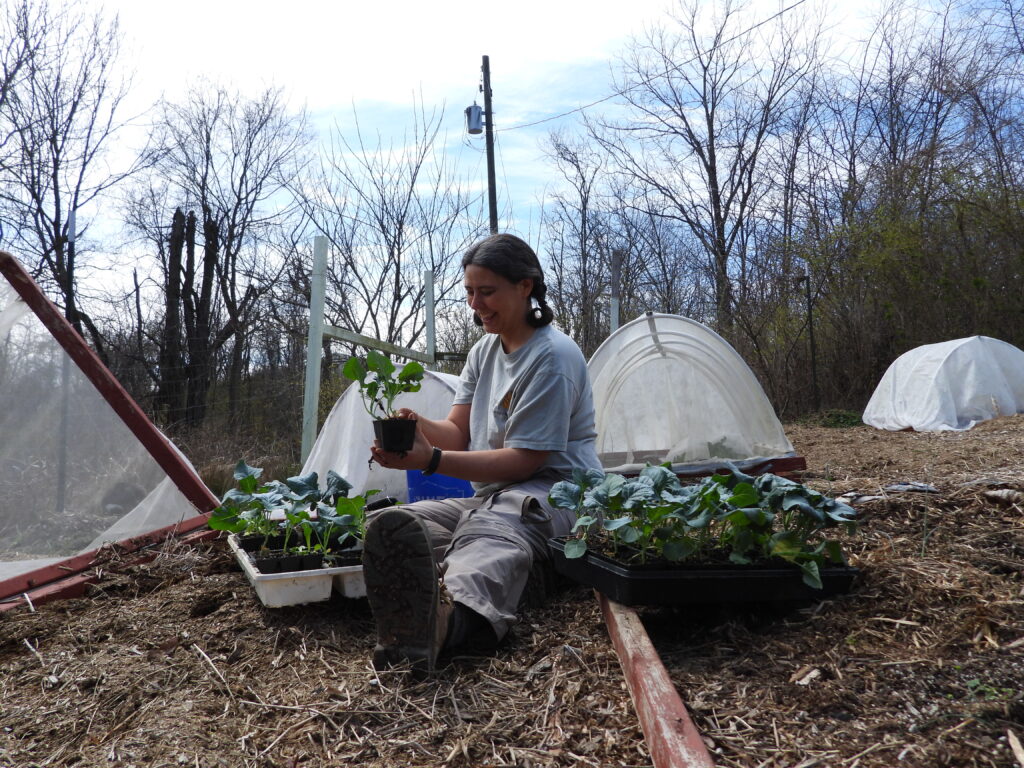
Planting spring vegetables early vs. late
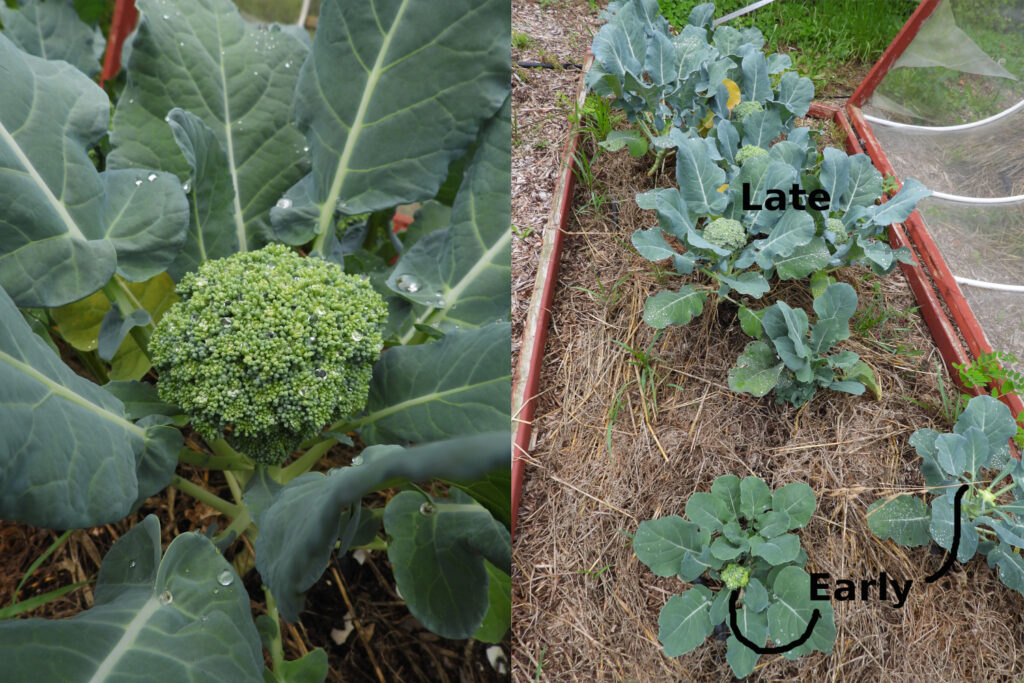
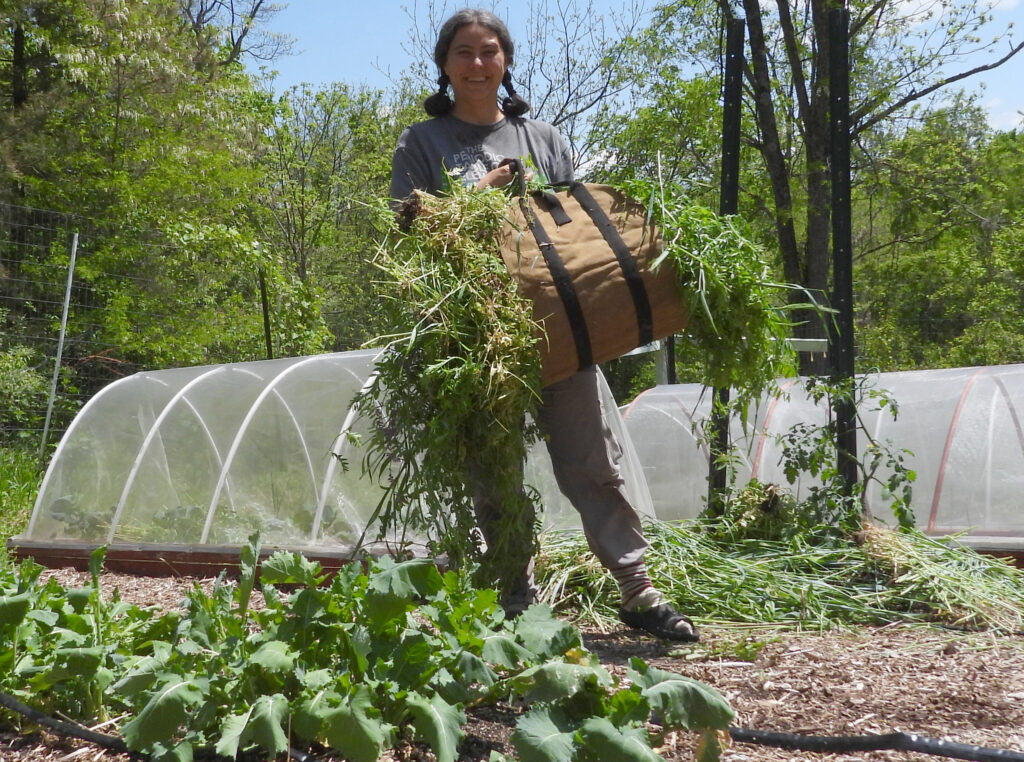
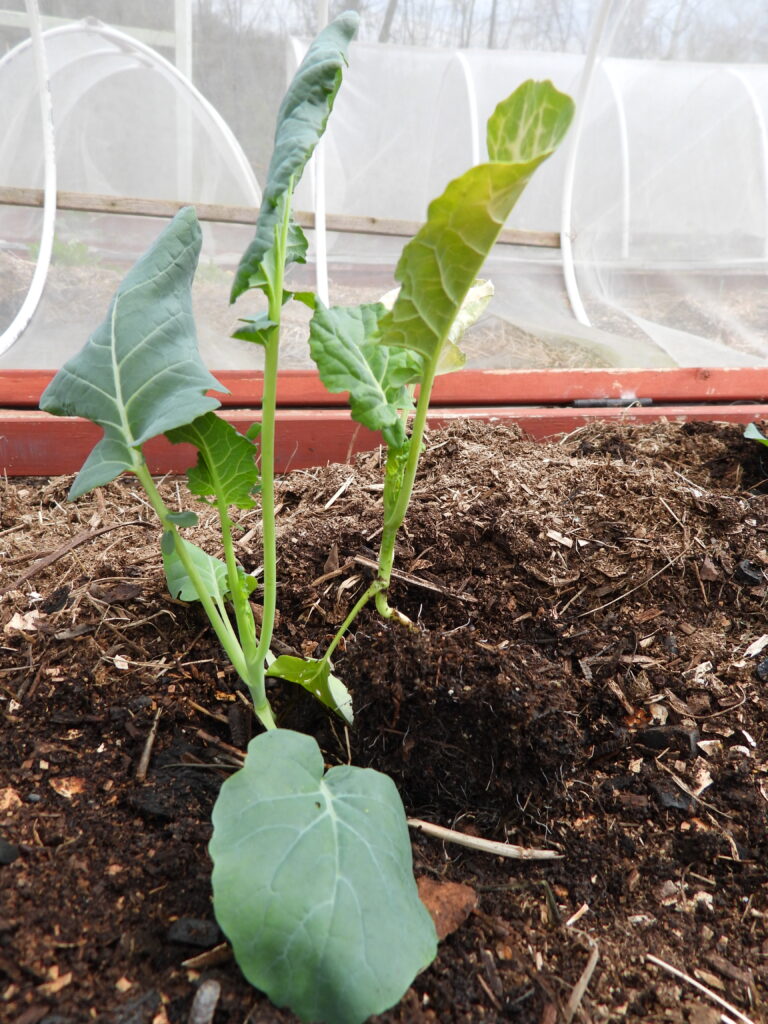
This experiment involved planting some broccoli seedlings early enough that their tops got a little nipped then setting out seedlings started inside at the same time considerably later. The expected tradeoff was that the early planted broccoli would grow more roots at the expense of their tops while the later planted broccoli would grow more tops at the expense of their roots.
The results are a little more mixed on this one. The early planted broccoli gave me the results I always get (because I usually plant at the first possible moment). They headed up at various sizes — some huge, some tiny, many medium. In contrast, the late-planted broccoli were more regular in size — all on the small side of medium — and they headed up one to two weeks later than the early planted broccoli.
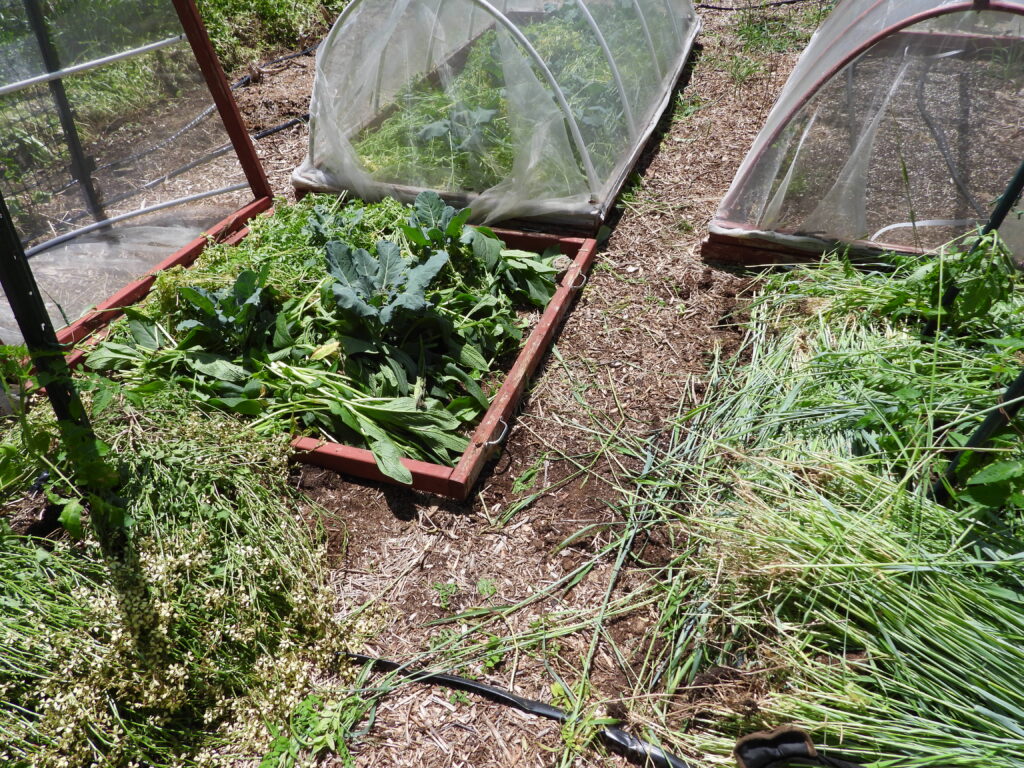
When thinking of this in terms of overall yield, it’s important to note that we keep picking side shoots for a long time from our spring broccoli. That’s a data point in favor of the early planting, even though some of the early broccoli made teensy little initial heads.
That said, it’s nice not to have all of my excess broccoli needing to be frozen at once. Which is an argument for hedging my bets by planting both ways in future.
How about you?
Any garden experiments you’d like to share results of with the with the world at large?