Hazelnuts have a lot of potential as a low-work garden plant, but blights make straight-up European hazelnuts problematic in the eastern United States. Luckily, various institutions have been experimenting with combining the disease-hardiness of American hazelnuts with the productivity of European hazelnuts over the last decade, and we jumped on the bandwagon very early on.
Our previous hazel experiments
I used Google to search through our old posts to refresh my memory, and they actually got the facts right. But what’s most relevant to this post is:
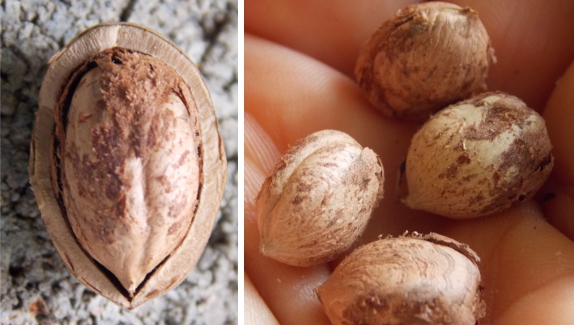
- Our very first try at hybrid hazelnuts was an unnamed variety from the Arbor Day Foundation. It bore fruit after five years, but the nuts were so small and the shells so thick, they weren’t really worth cracking! (Even my mom agreed…)
- Our second try was two named varieties planted in Virginia. For all, I know, they may still be going strong. But we moved away. No data there!
Which brings us to…
A new hope
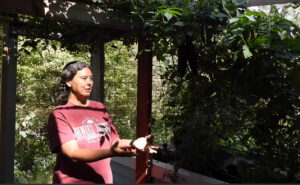
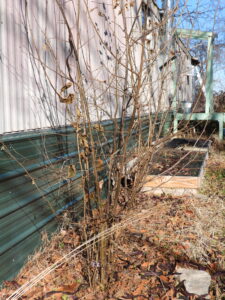 In April 2020, we planted two hybrid hazel bushes here in Ohio: Yamhill and Dorris, both from Burnt Ridge Nursery. As expected, both have grown well with very minimal attention — I think I’ve kill-mulched under them every other year. Both are shaping up to look much more like European hazelnuts (tall and less bushy) than like American hazelnuts (shorter and with lots and lots of trunks). But what about the nuts?
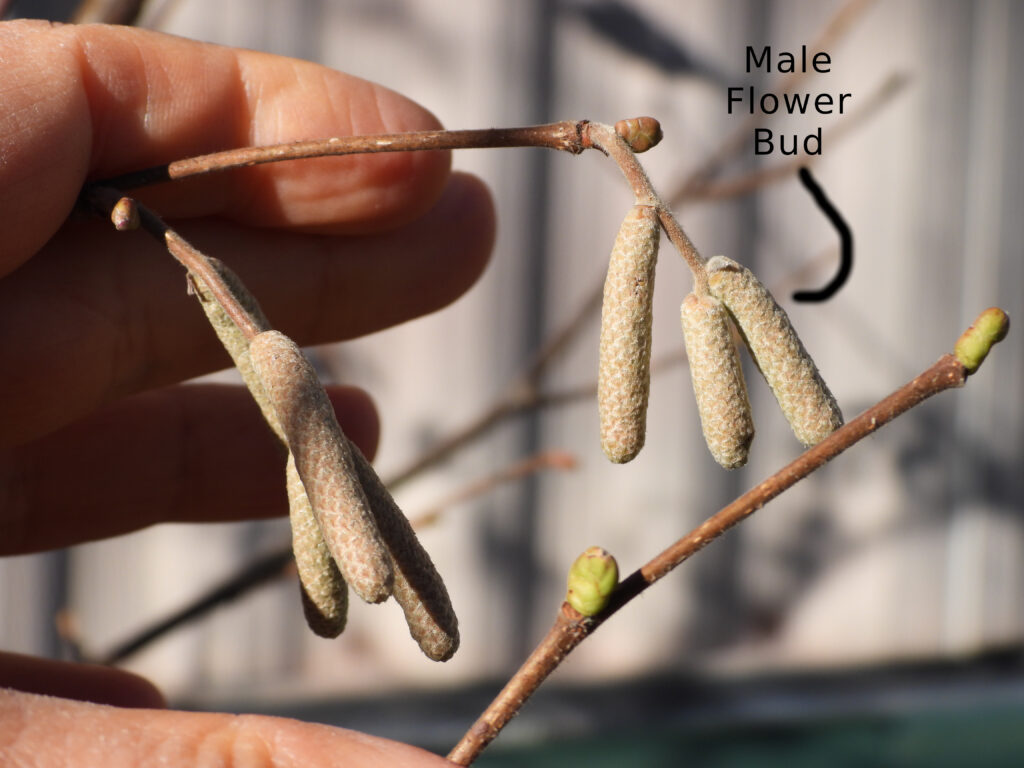
Many plants with separate male and female flowers start out male only as they mature since it’s a lot less work to produce pollen than fruit. Sure enough, in spring of this year (2023), the Yamhill produced its first male flowers. Now, the Dorris is following suit while the Yamhill is completely coated in both male and (I think) female flower buds.
So it looks like 2024 will be the test! Do these more carefully selected hybrid hazels produce nuts with shells thin enough so I don’t have to pull out my hammer? Stay tuned for a taste test this coming fall!
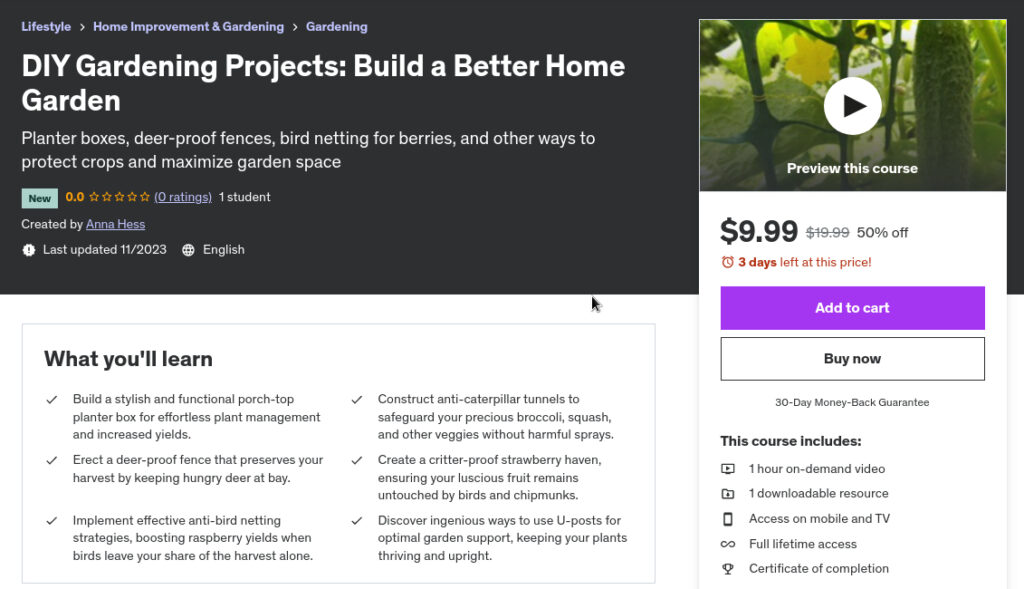
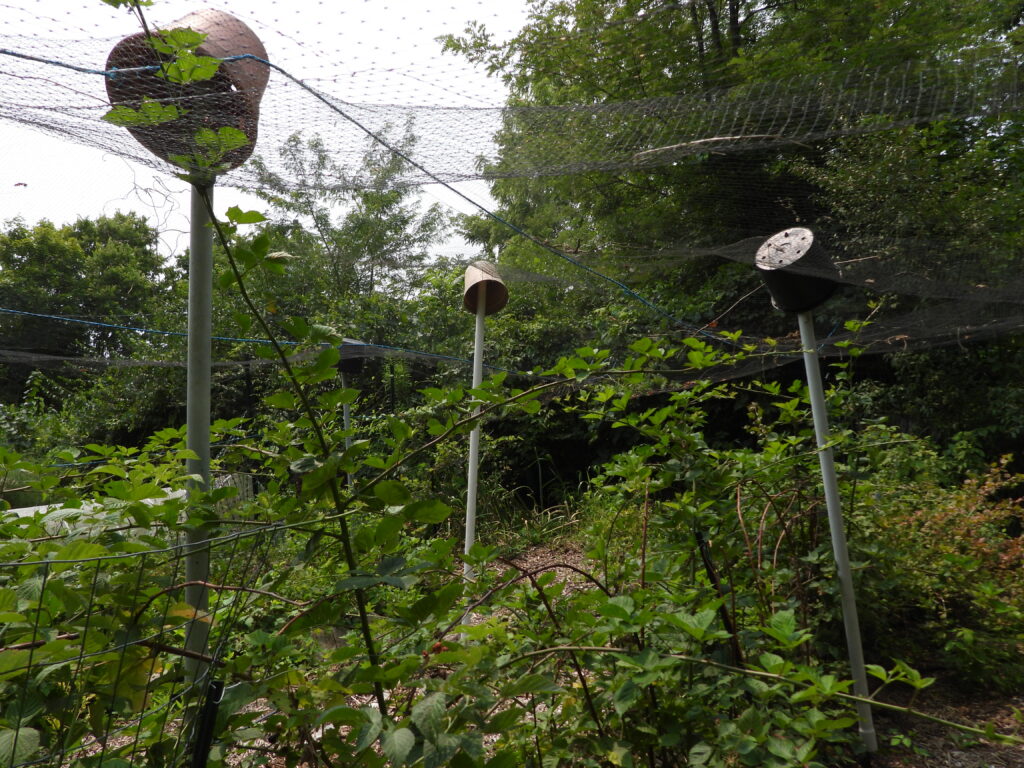
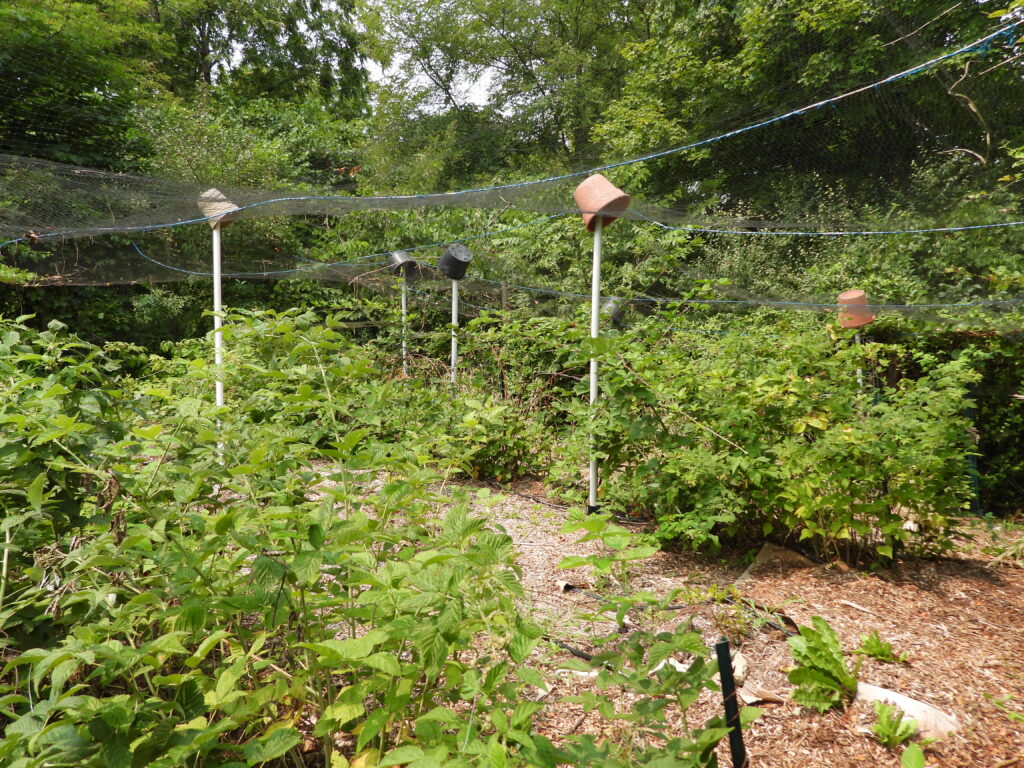
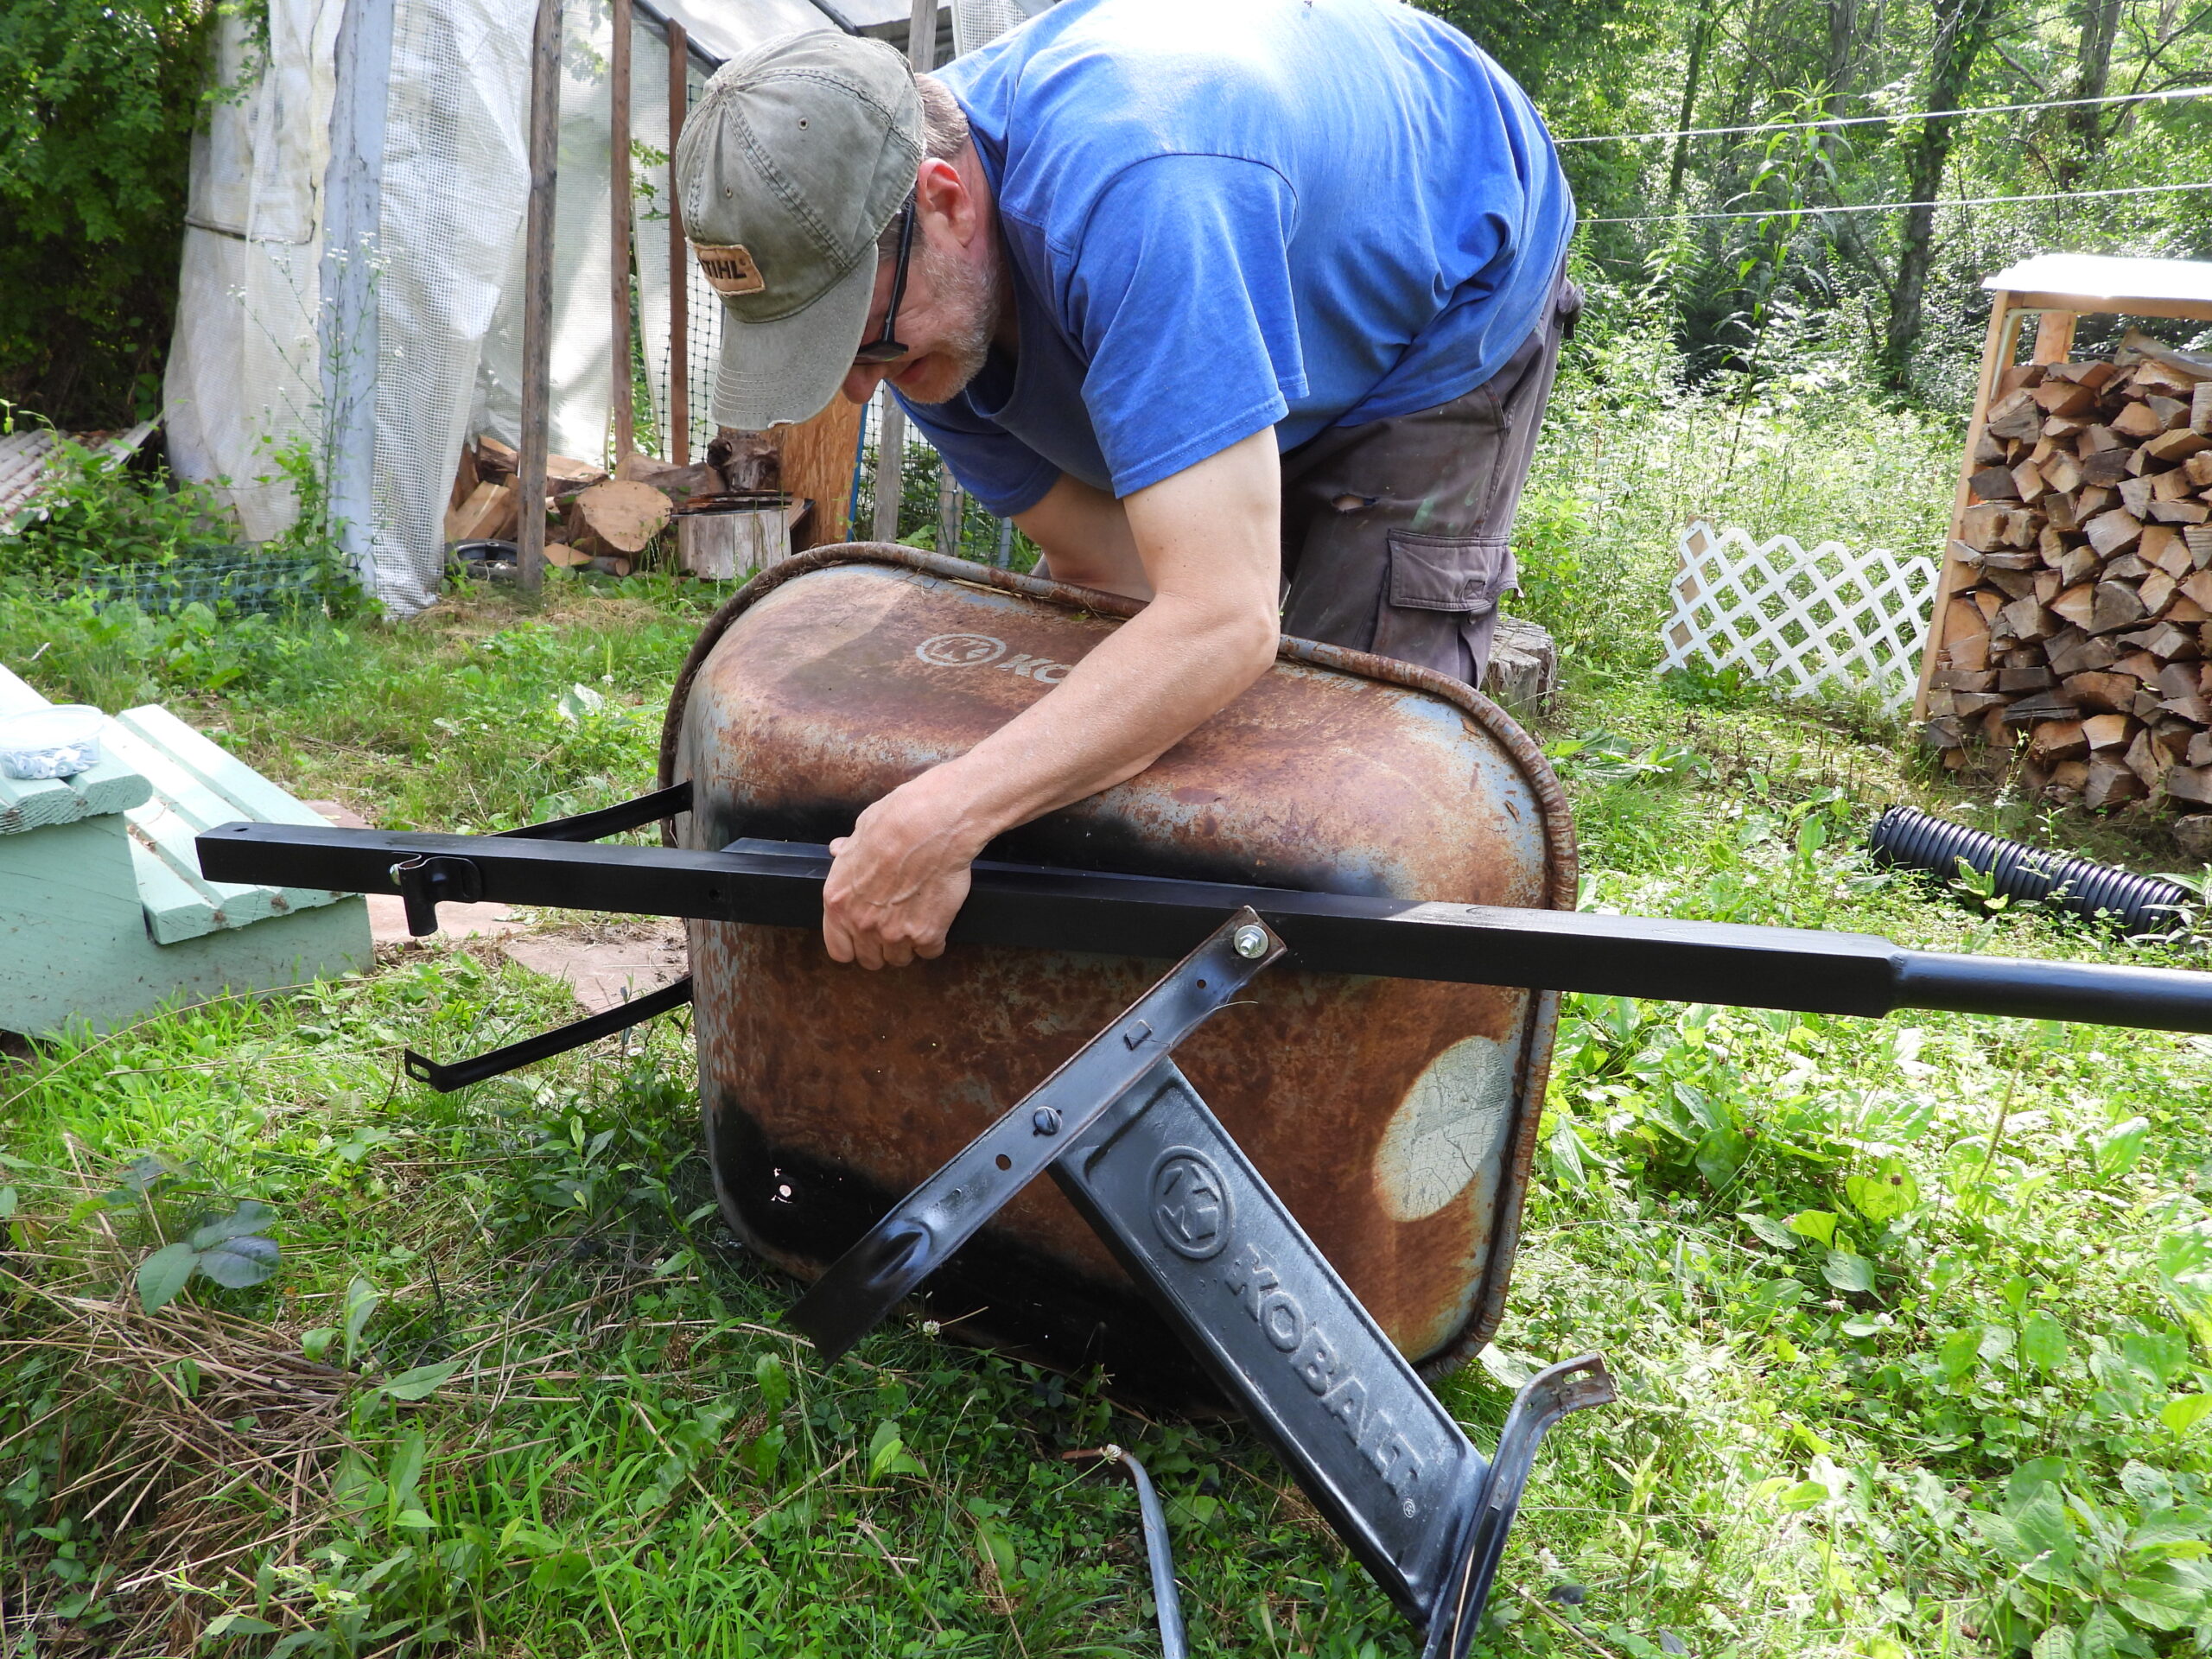
 As long-time readers are aware, Mark’s a big believer in building your way out of repetitive or unpleasant homesteading tasks. So I get to enjoy his amazing caterpillar tunnels, porch-top planter boxes, anti-chipmunk strawberry beds, anti-bird raspberry area, and deer-proof garden fence.
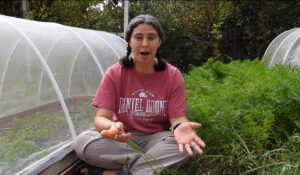 As a bonus, Udemy courses come with a lifetime subscription to updates. For example, folks in our Soil-First Gardening Course paid up front for an hour-long course just like this one, then got a bonus half hour of cover-crop information a few months later totally free even though the course increased in price by $10 at the same time.
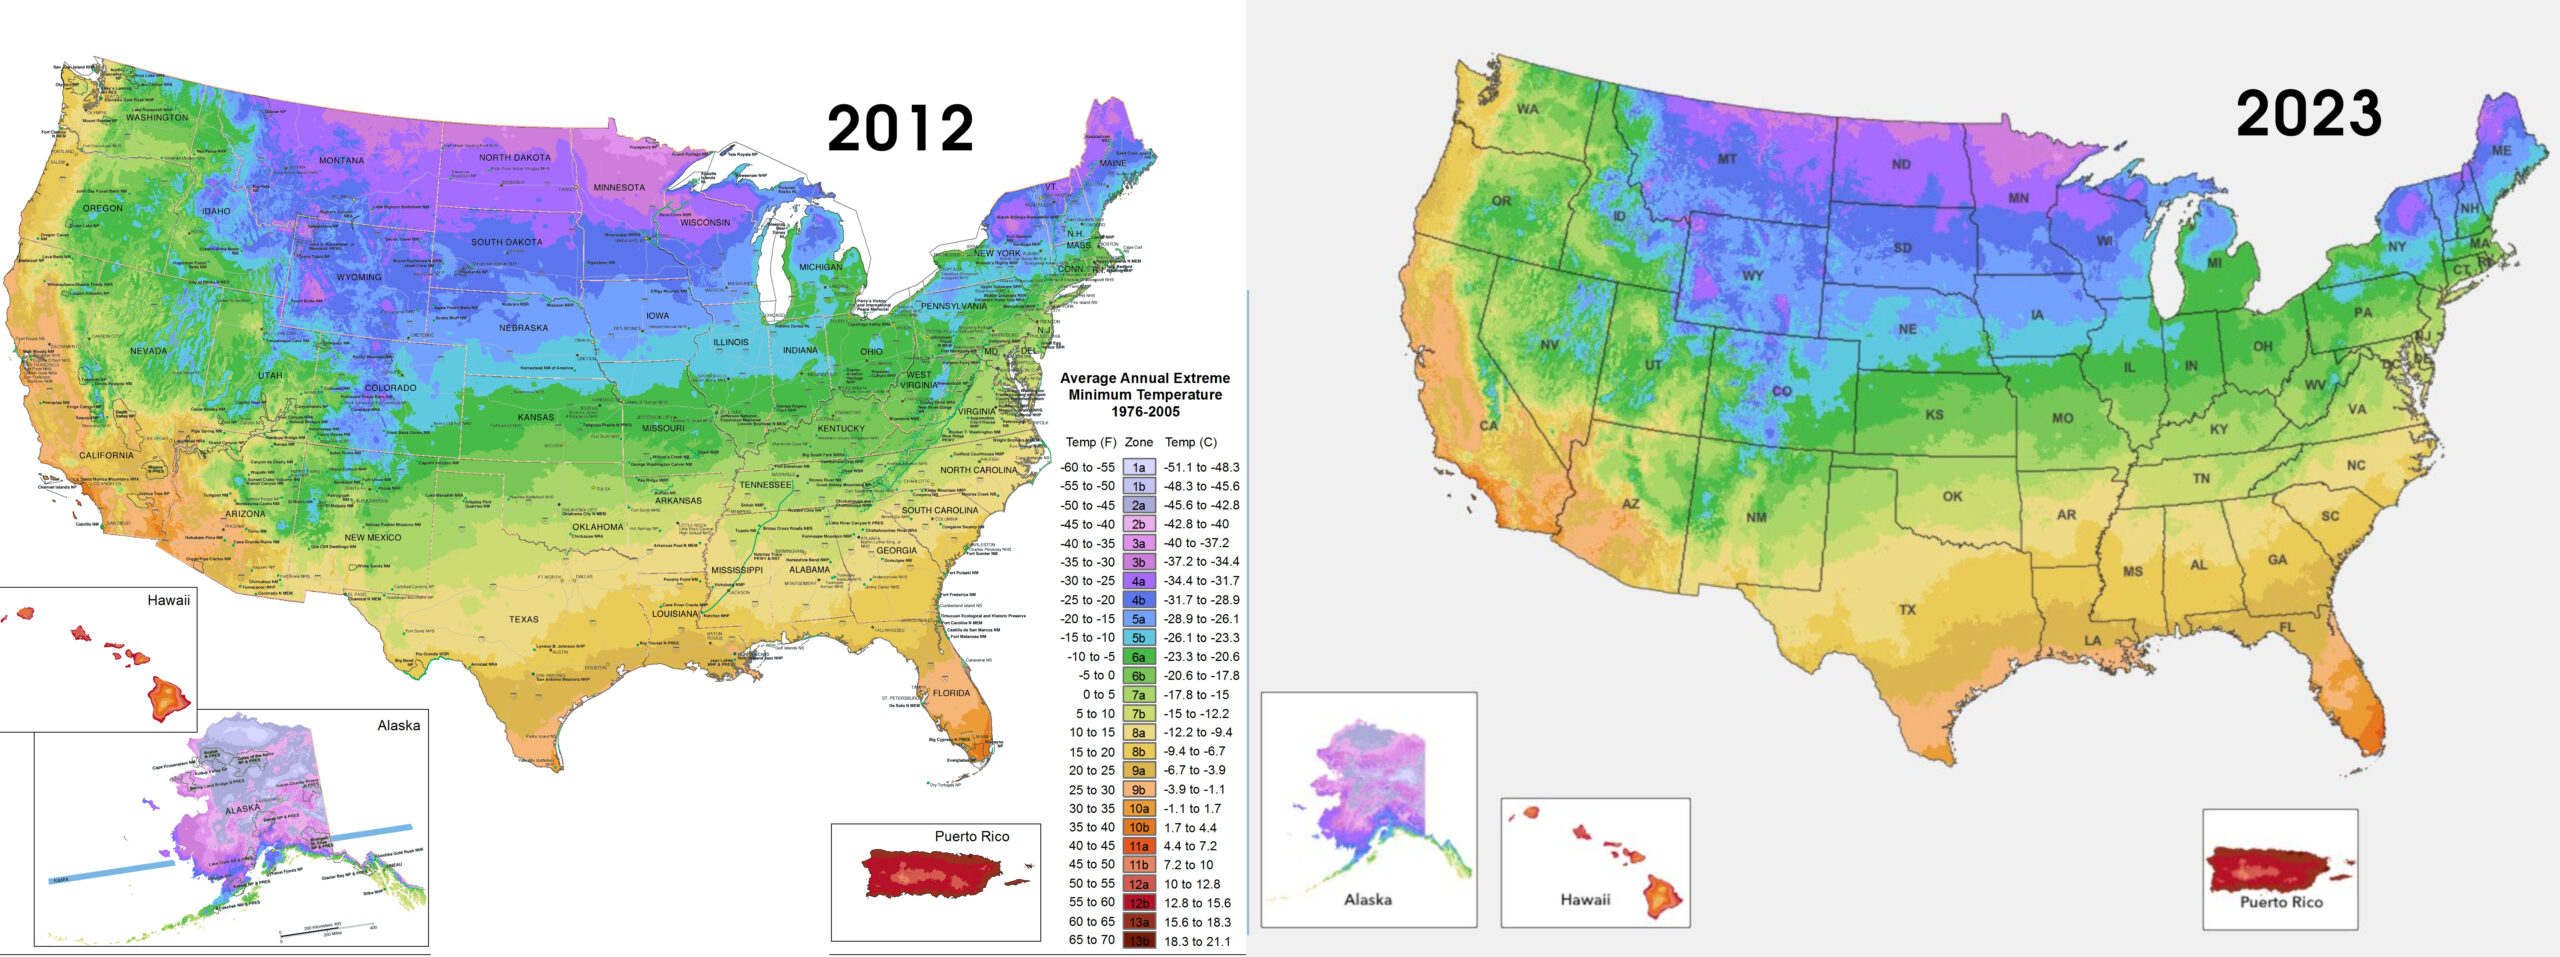
 First, you need to understand what the zone map really means. It’s a thirty-year average of annual extreme low temperatures in your location.
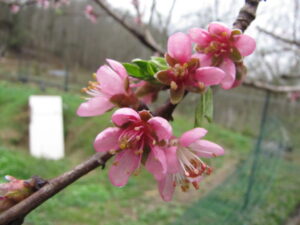 While you’re planning smart, be sure to consider microclimates. Even though the area we moved from is technically half a zone warmer than the one we’re in now (meaning we moved from zone 6b to zone 6a…which is now zone 6b!), our hilltop tends to evade early and late freezes that would have definitely struck our previous deep-valley pocket.
 Finally, it’s worth looking at the flip side of the coin. The hardiness zone maps don’t say anything about annual high temperatures or droughts, but for many of us both of those climate concerns are increasingly relevant in our gardens.