Are you itching for homegrown vegetables, but your garden soil temperature is still far too cold to start any new crops? Did you buy too many pea seeds last year and aren’t sure whether the holdovers have enough vitality to germinate in chilly soil?
Why not solve two problems at once by sprouting some pea seeds indoors?
Choosing seeds to sprout
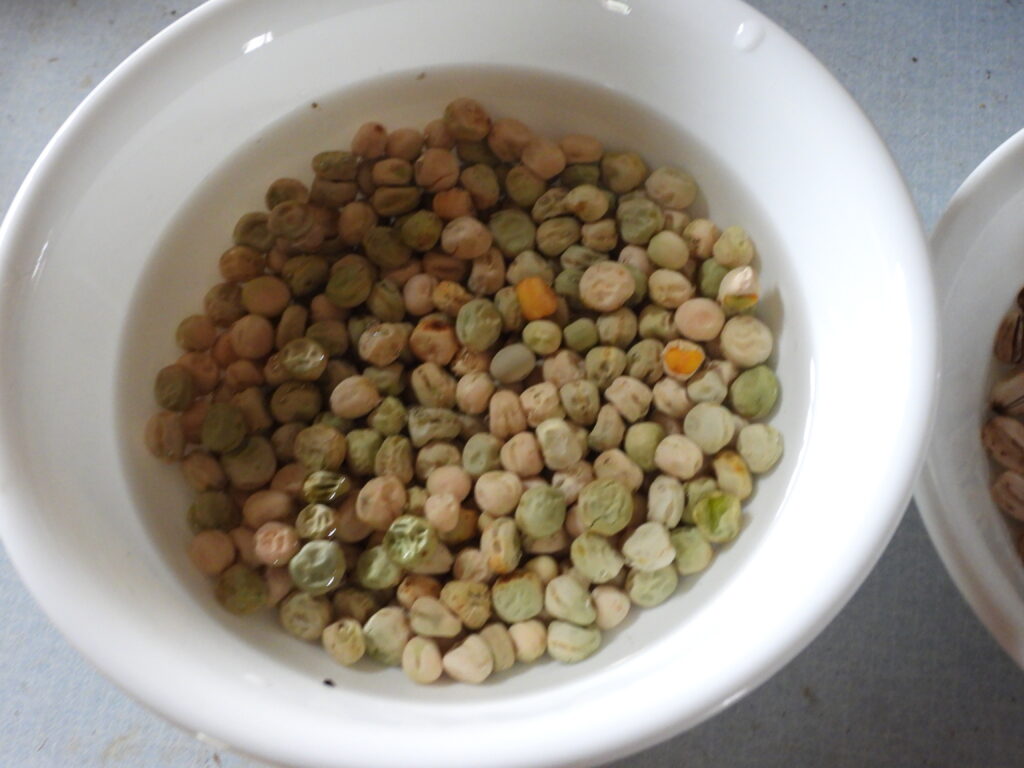
First a note on choosing seeds — I always buy untreated pea seeds and those are the only type I’d use to grow pea sprouts for the table. If you’re not sure whether your peas are treated, shake some out of the packet. Are they pink? Treated! Are they tan or pale green? Untreated!
The next step is related. Treated seeds are engineered to be less likely to rot while they slowly soak up enough water to germinate. The way to bypass this issue when using untreated seeds is to soak the seeds overnight or until they plump up and lose their wrinkles. Even though you’ll be sprouting your seeds inside where rotting is less likely, you might as well soak your seeds.
Setting up your sprouting trays
The next question is — what should you plant your pea seeds into?
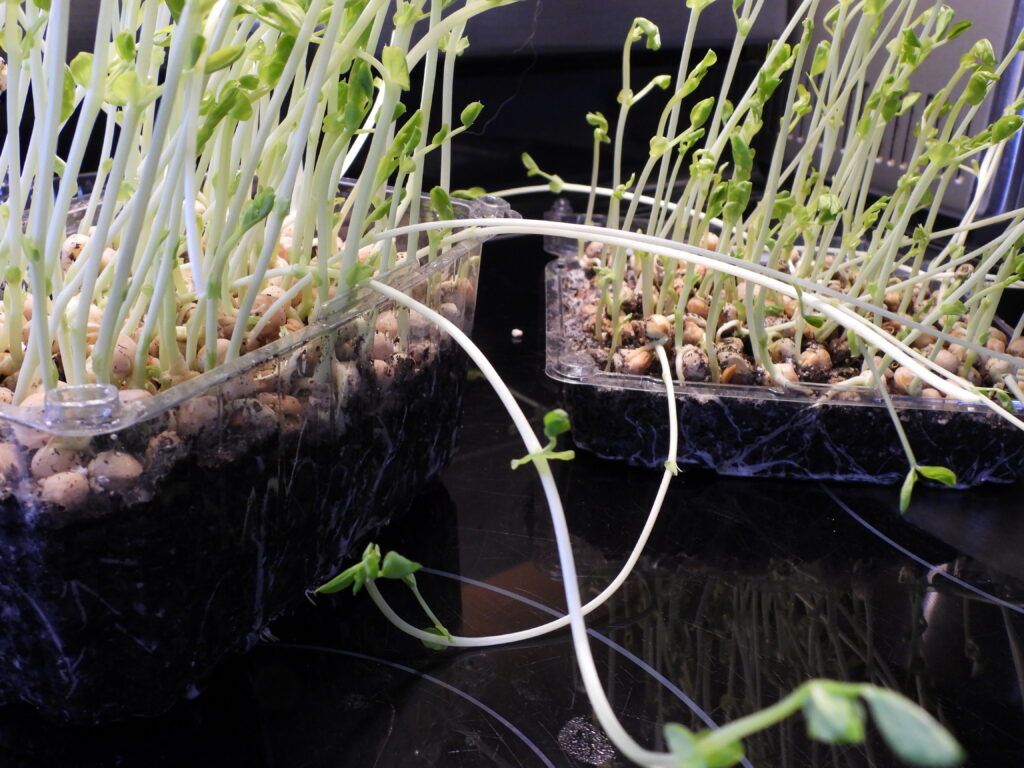
I was experimenting and didn’t want to commit to an entire flat to pea seedlings, so I dug into the recycling bin for potting containers. Clamshells from the grocery store are great since they have drainage holes in the bottom and a lid you can close to keep the soil surface damp during germination.
I tried out two depths of clamshells and highly recommend you choose the deepest tray possible. A 1.5-inch tray barely gave us two cuttings of sprouts while a 3.5-inch tray gave us at least three. (More on that later.)
Once you’ve chosen your planting container, fill it up with potting soil, then spread the soaked seeds in a layer along the top. I packed them in so the seeds were touching, which maximized the planting space.
Harvesting pea sprouts
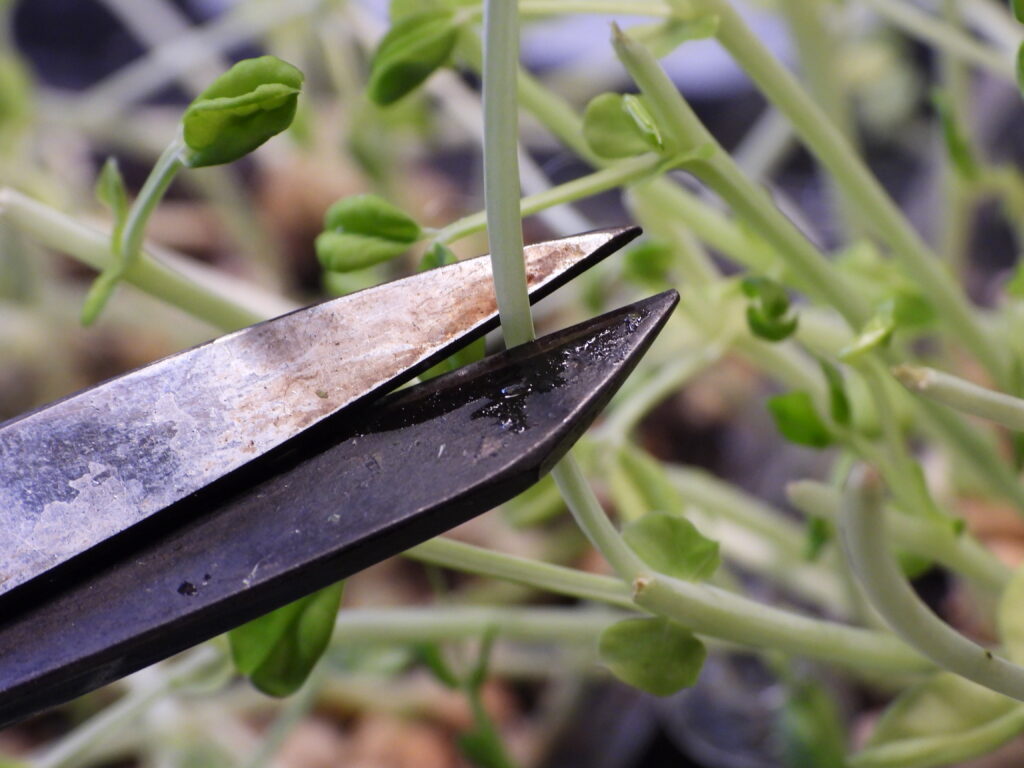
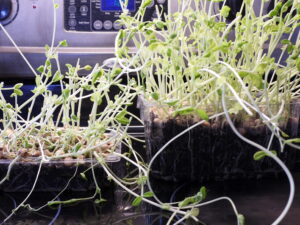
Now it’s a waiting game. Once your peas send up shoots that are multiple inches long, cut each sprout just above the bottom leaf.
The photo above shows a pea plant at its second cutting. Notice how it resprouted from the same point (which it will do again and again). Don’t cut below all the leaves, though, or you’ll only get a single harvest!
How many harvests to expect

Our first harvest was small (but tasty!). The photo above shows the total yield from both planting containers.
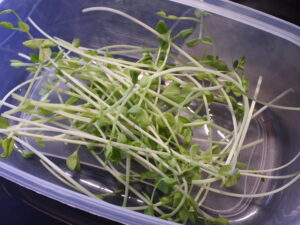
The second and third cuttings were larger. The images here show the plants and their yield after the third cutting.
After that, I realized I’d made a bit of a mistake. Our pea plants kept sending out new shoots even though I hadn’t put them in a window or under artificial lighting, so I figured they were fine in low light. But after the third cutting, it became clear that the seeds had used up all of their stored energy.
Which is a long way of saying, harvest four from the deep pot was scanty. Harvest four from the shallow pot was nonexistent and a lot of the plants died all the way back.
I put the deeper pot on a windowsill after that and am hoping we’ll see enough growth to get a fifth harvest. But even if this is the end, sprouting leftover pea seeds was definitely a low-work and nearly free way to add something fresh to our winter diet. (Plus, greenery inside in January makes me smile.)
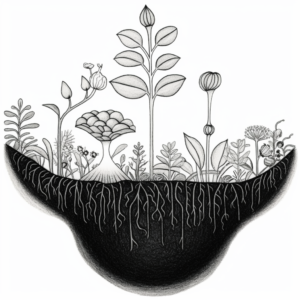 What’s a pit garden?
 How to build a pit garden
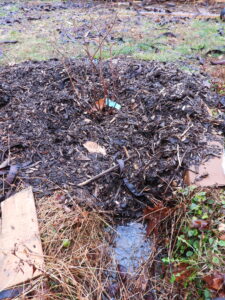 What we did
 Winter break
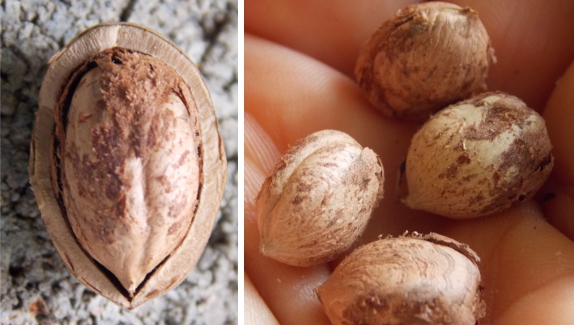
 In April 2020, we planted two hybrid hazel bushes here in Ohio: Yamhill and Dorris, both from Burnt Ridge Nursery. As expected, both have grown well with very minimal attention — I think I’ve kill-mulched under them every other year. Both are shaping up to look much more like European hazelnuts (tall and less bushy) than like American hazelnuts (shorter and with lots and lots of trunks). But what about the nuts?
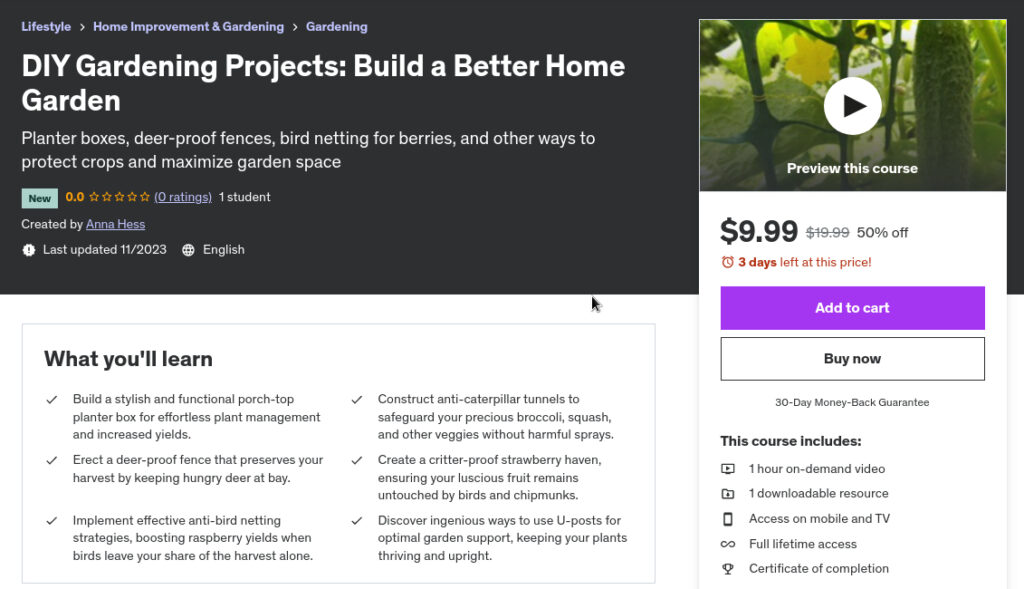
 As long-time readers are aware, Mark’s a big believer in building your way out of repetitive or unpleasant homesteading tasks. So I get to enjoy his amazing caterpillar tunnels, porch-top planter boxes, anti-chipmunk strawberry beds, anti-bird raspberry area, and deer-proof garden fence.
 As a bonus, Udemy courses come with a lifetime subscription to updates. For example, folks in our Soil-First Gardening Course paid up front for an hour-long course just like this one, then got a bonus half hour of cover-crop information a few months later totally free even though the course increased in price by $10 at the same time.
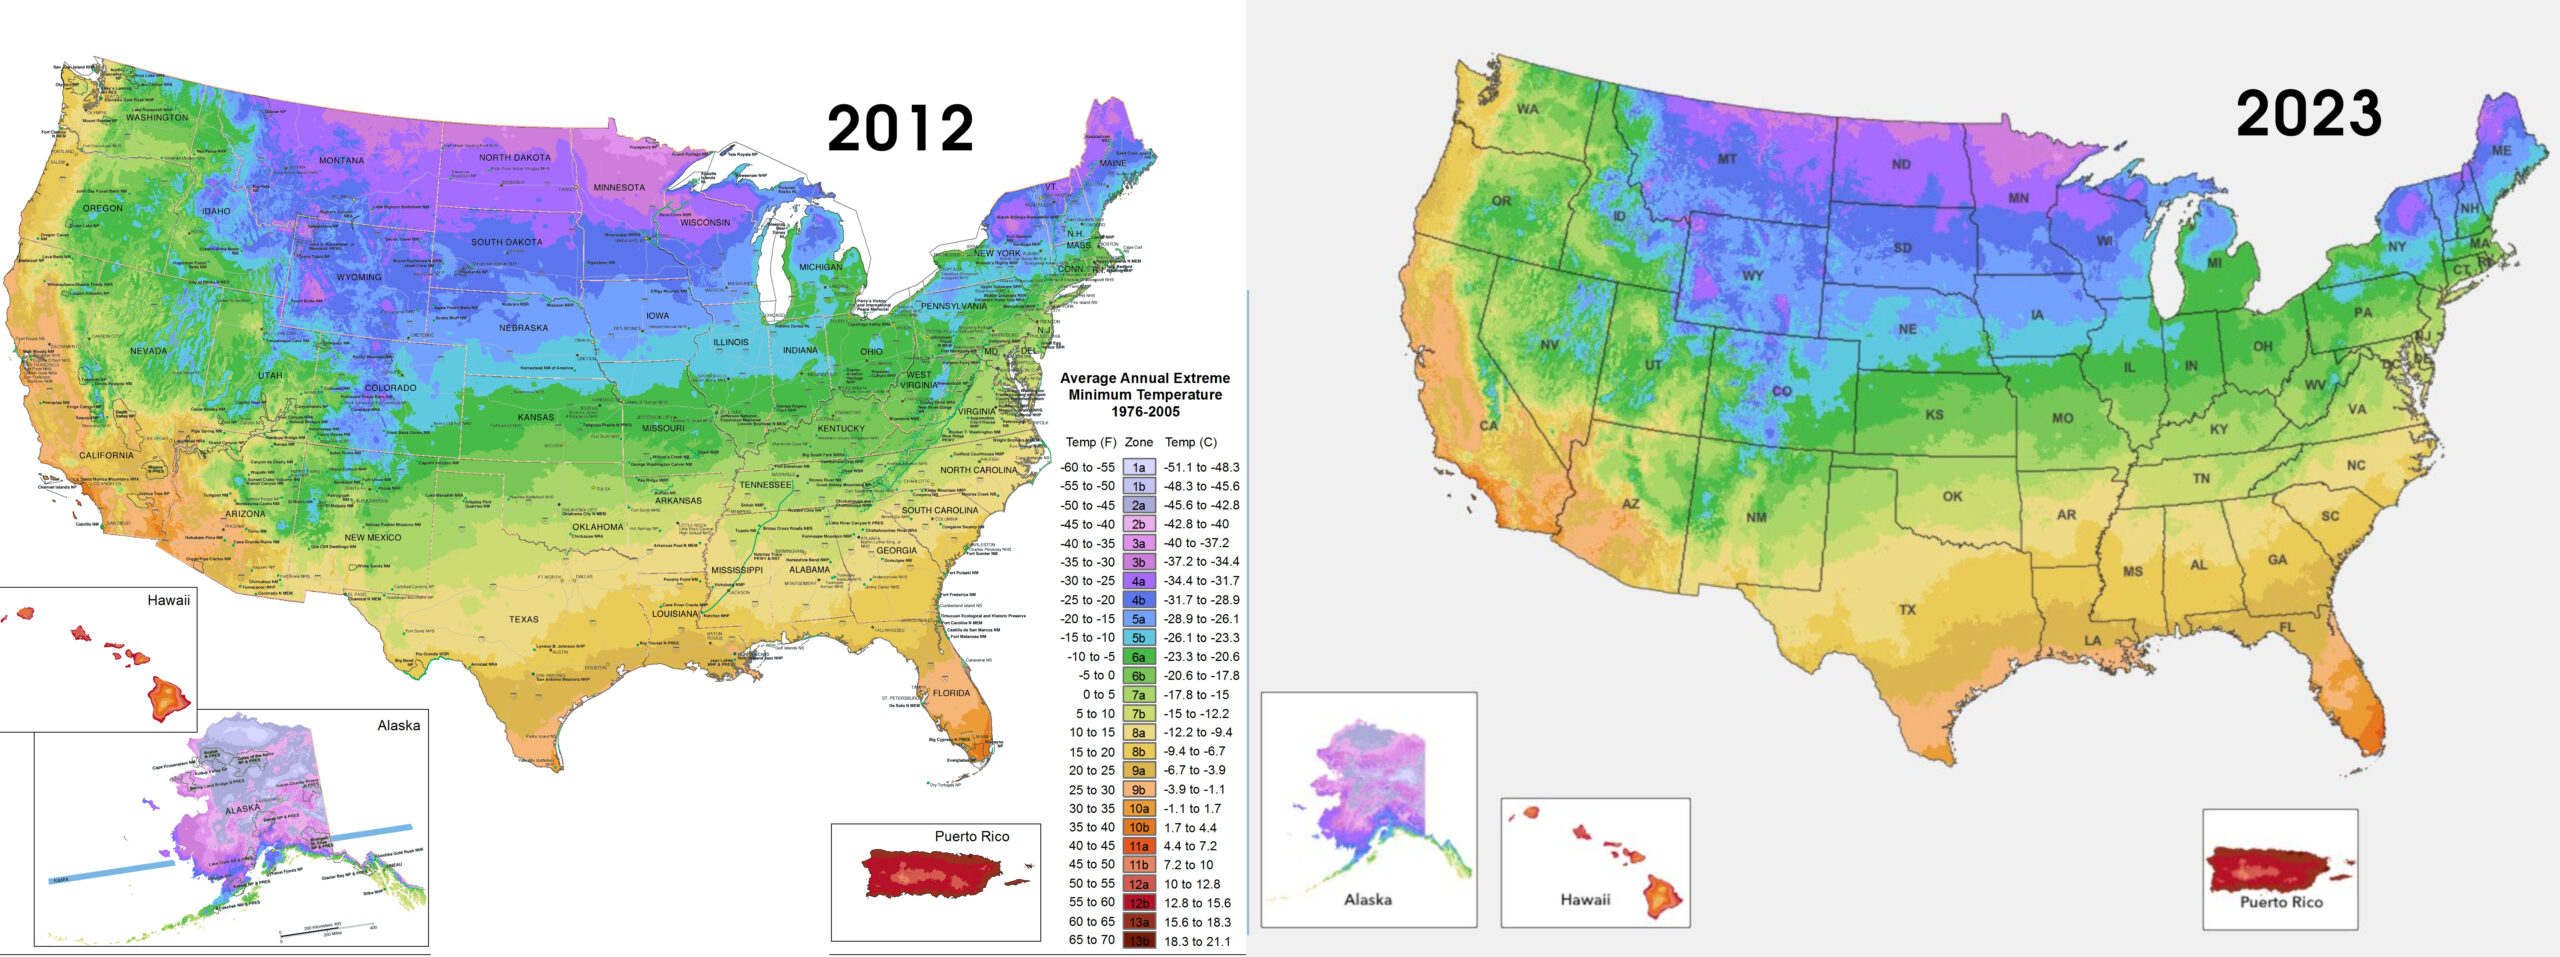
 First, you need to understand what the zone map really means. It’s a thirty-year average of annual extreme low temperatures in your location.
 While you’re planning smart, be sure to consider microclimates. Even though the area we moved from is technically half a zone warmer than the one we’re in now (meaning we moved from zone 6b to zone 6a…which is now zone 6b!), our hilltop tends to evade early and late freezes that would have definitely struck our previous deep-valley pocket.
 Finally, it’s worth looking at the flip side of the coin. The hardiness zone maps don’t say anything about annual high temperatures or droughts, but for many of us both of those climate concerns are increasingly relevant in our gardens.