In 2012, Mark and I invested in two solar flashlights for camping and power outages. They lasted an amazingly long time, but eventually the batteries stopped holding a charge. Rather than crack open the plastic to try to replace the batteries, I decided to see how much a decade has improved the technology.
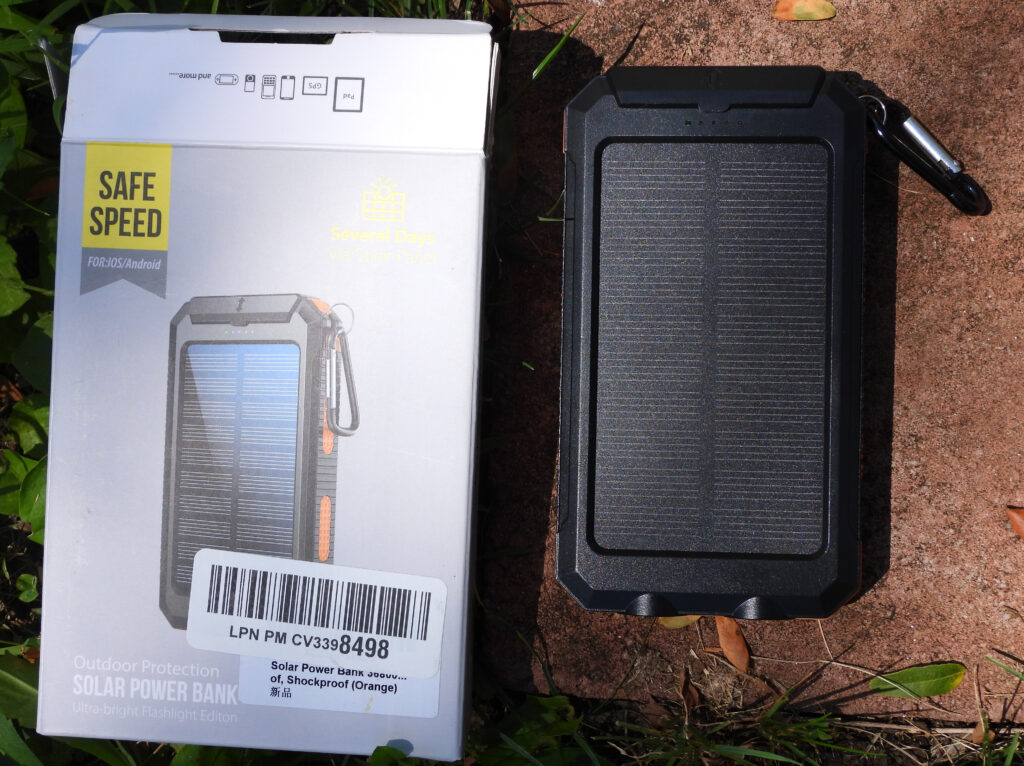
After poking around on Amazon for a while, I settled on the TOMETC Solar Power Bank. It had a lot of good reviews, a large battery capacity, and a large solar panel…all for under twenty bucks. Sounds like a winner, right?
Wrong! I’m guessing something about the frosting they put over the solar panel to waterproof it blocks light. Whatever the reason, two full days in the sun resulted in absolutely no change in the charge level of the battery. When I dug deeper into the reviews, it turned out I wasn’t the only one who had this problem, so it wasn’t a defective unit.
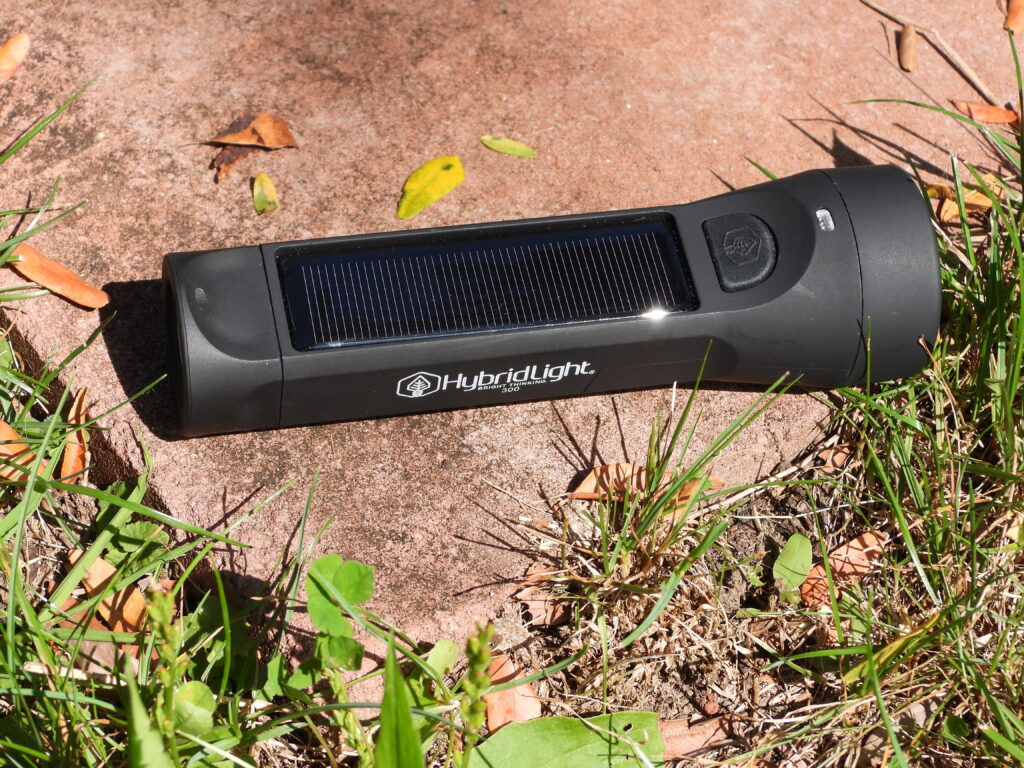
Meanwhile, the flashlight is way too bright for what I usually use it for (reading in my tent). An overpowered light drains the battery faster than it should. I estimate I got about eight hours of use out of a full charge. To cut a long story short, I sent this one back.
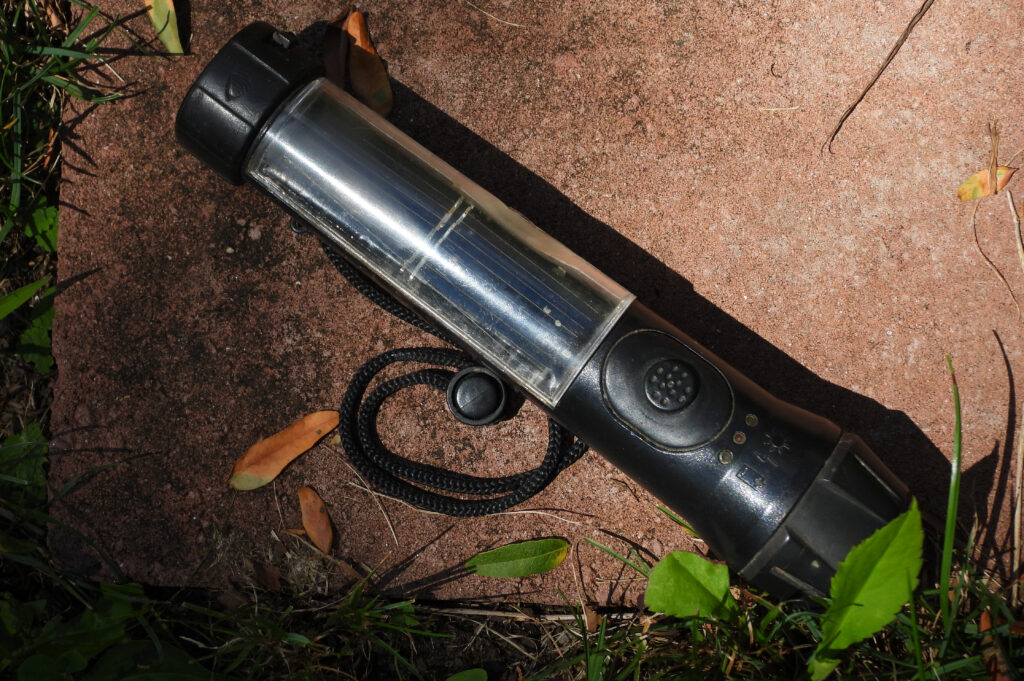
Next up, I decided to return to the model that served us so well for eleven years. Unfortunately, the original flashlight had been discontinued, but HybridLight has a replacement available. Their offering doesn’t look as flashy as some of the alternatives and costs $10 more than the competition. But they wisely included the option of a low-light setting so I won’t drain the battery bank too quickly while reading and their longevity track record speaks for itself.
How did the actual flashlight do in the field? I wasn’t as thrilled as I’d hoped to be. On low, I estimate I’ll get about twelve hours of use out of a full charge, far less than the fifty hours they promise but still better than the competition. Meanwhile, a day in the sun did little to top the battery up.
I’m starting to suspect that my goal — being able to set a flashlight in the sun for the day then read for a couple of hours at night using that solar energy — is a pipe dream. But perhaps I just haven’t found the right solar flashlight yet. Have you tried a different model with better results?
(For the record, I decided to keep the HybridLight flashlight. It works well charged from the wall and will presumably help us through power outages if left in the sun to trickle charge when grid electricity is available.)
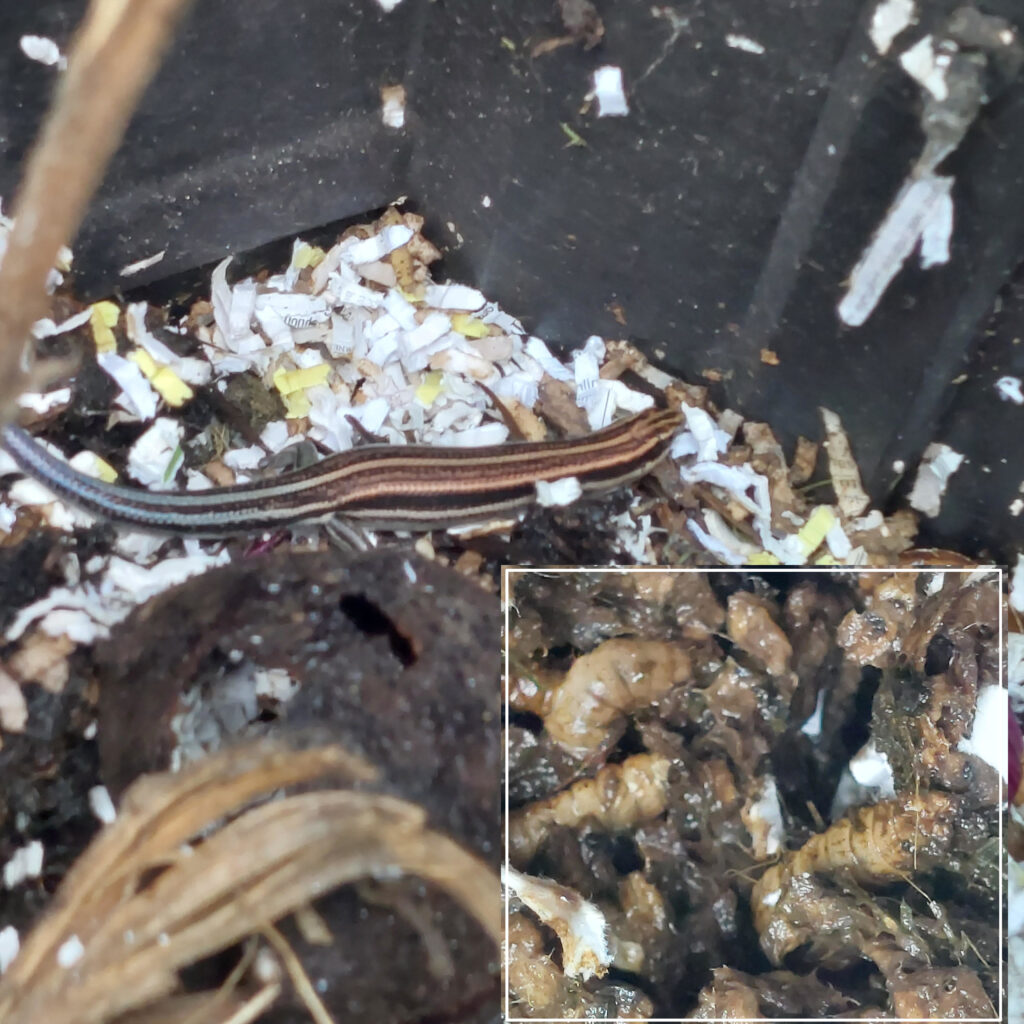
 My favorite thing about black soldier flies is the way they turn kitchen scraps into worm-casting-quality black gold at lightning speed. Mark loves the way his pets greet him with their roiling excitement whenever he makes a compost deposit. Chicken keepers love black soldier flies for the high quality protein they offer as a feed addition. And your skinks are clearly in the chickens’ camp!