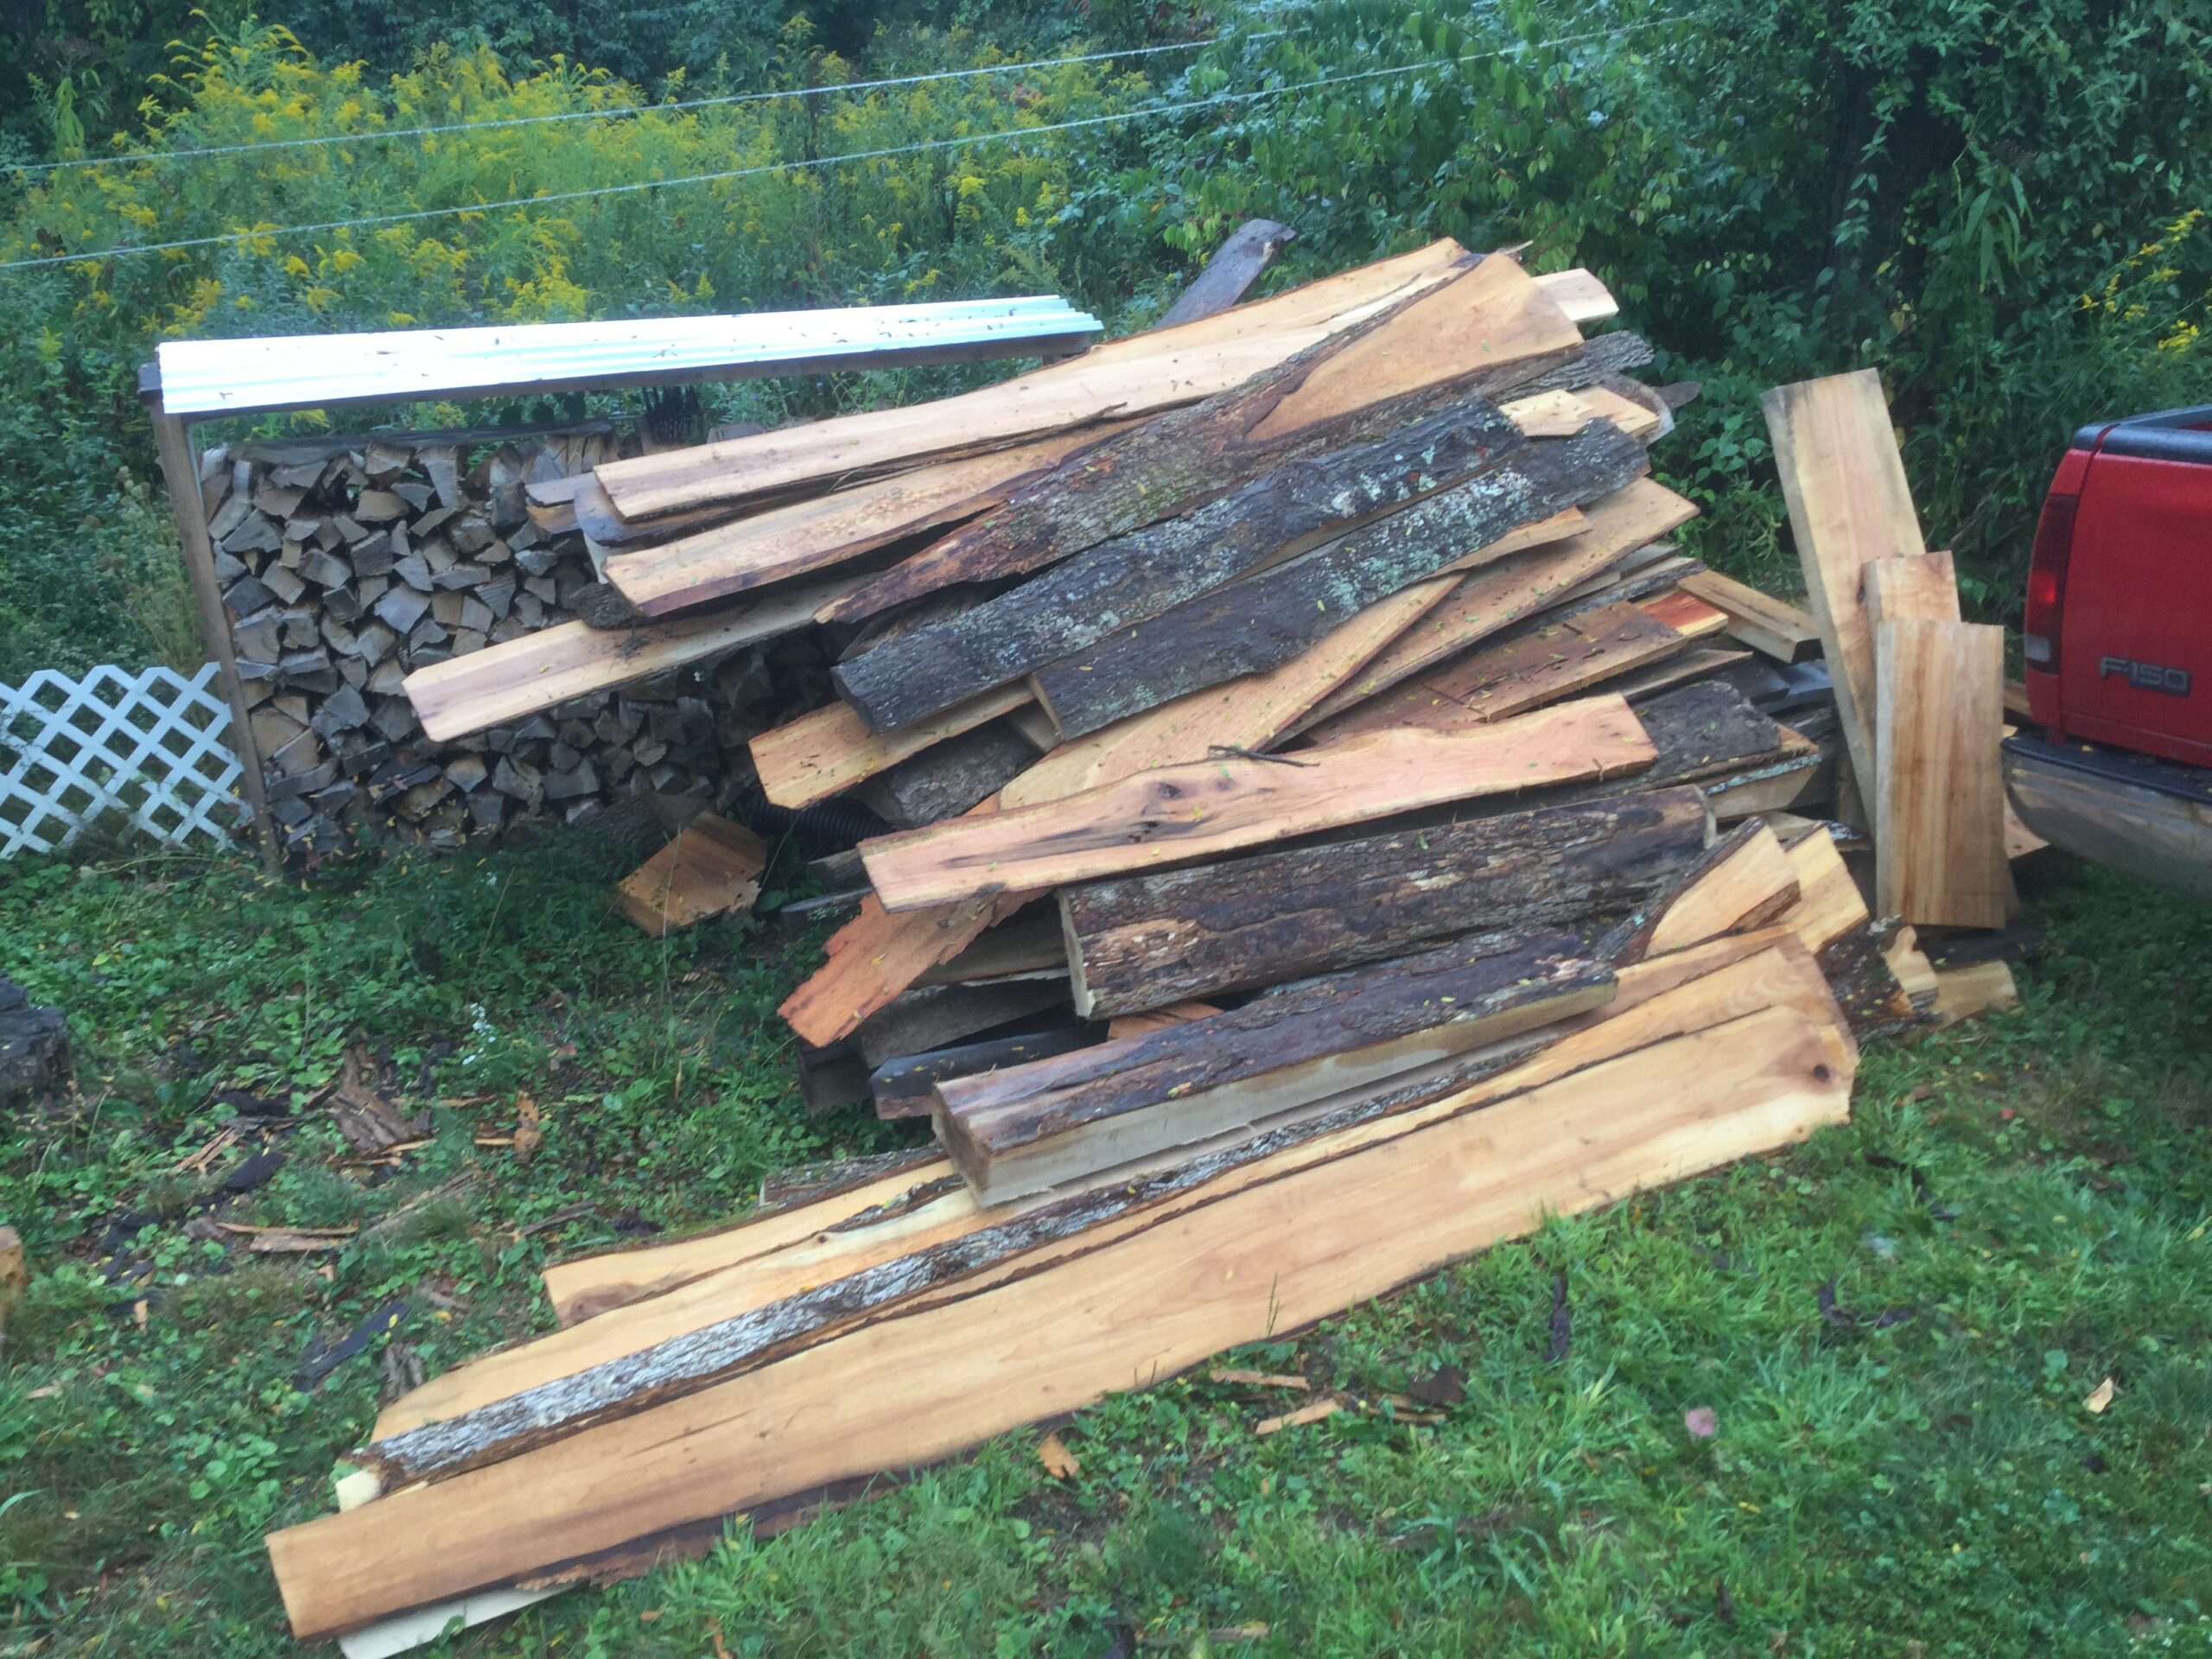
We started cutting up and stacking our neighbors’ wood-mill throwaways.
A new problem cropped up. How to stack unconventional sized firewood?
This is what we came up with.
Is there a better way to stack these pieces of wood?
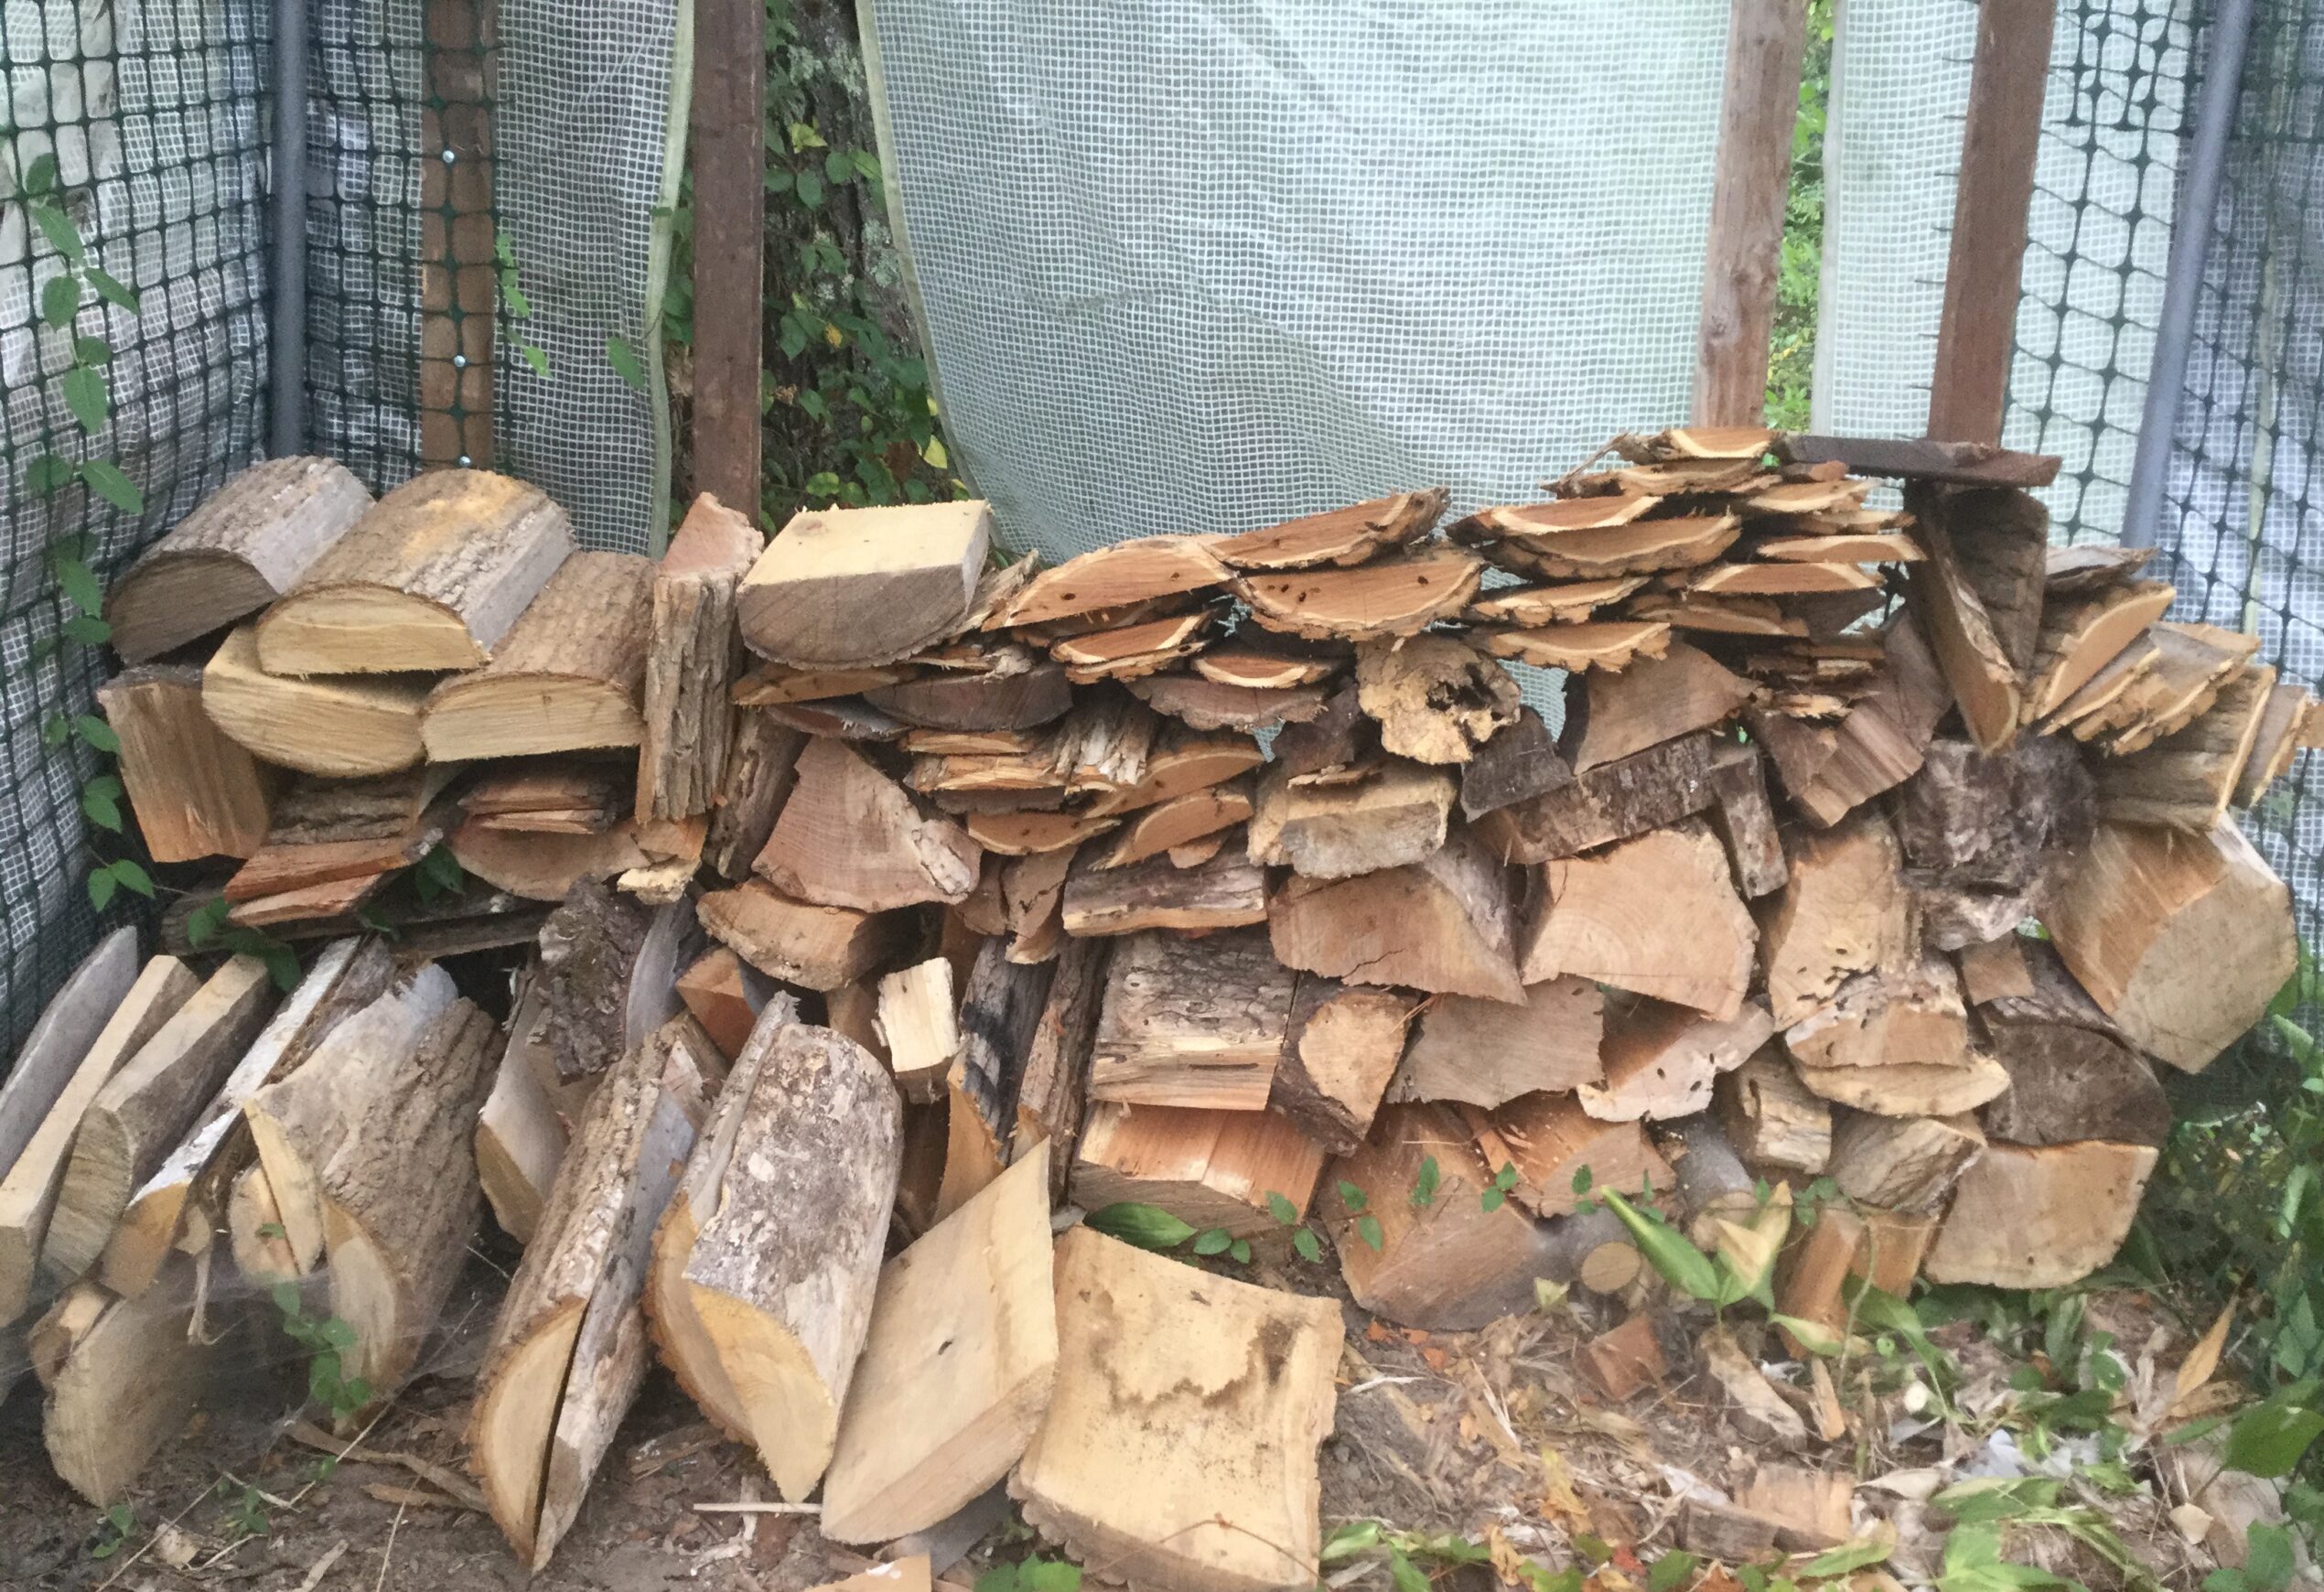
We started cutting up and stacking our neighbors’ wood-mill throwaways.
A new problem cropped up. How to stack unconventional sized firewood?
This is what we came up with.
Is there a better way to stack these pieces of wood?
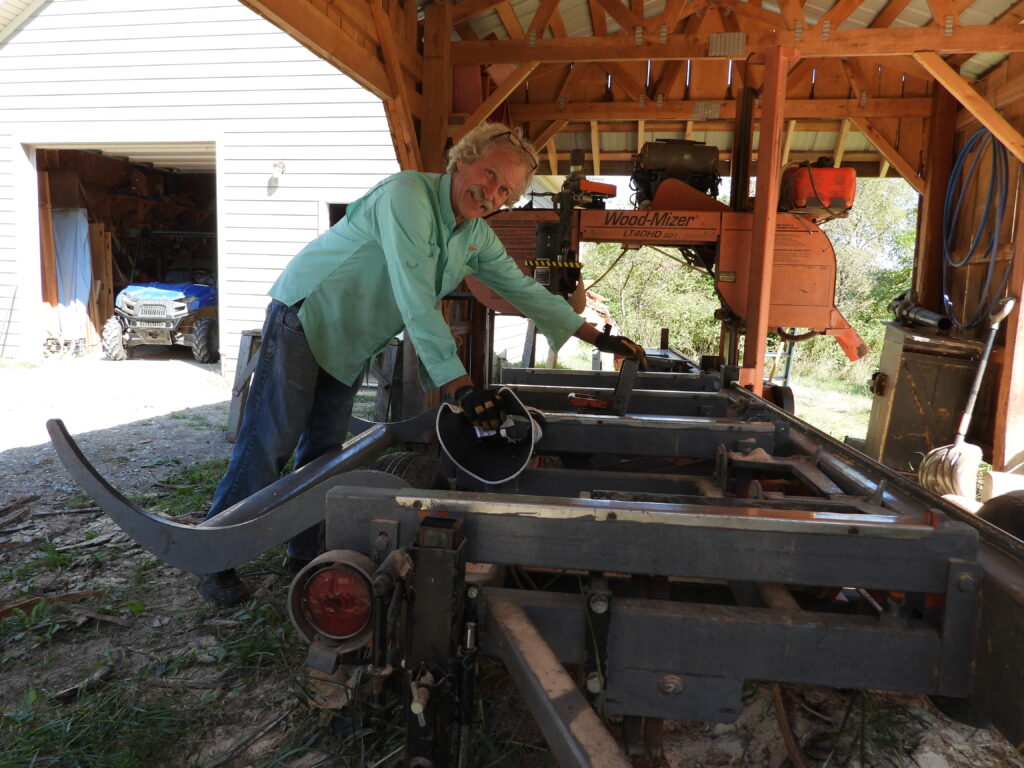
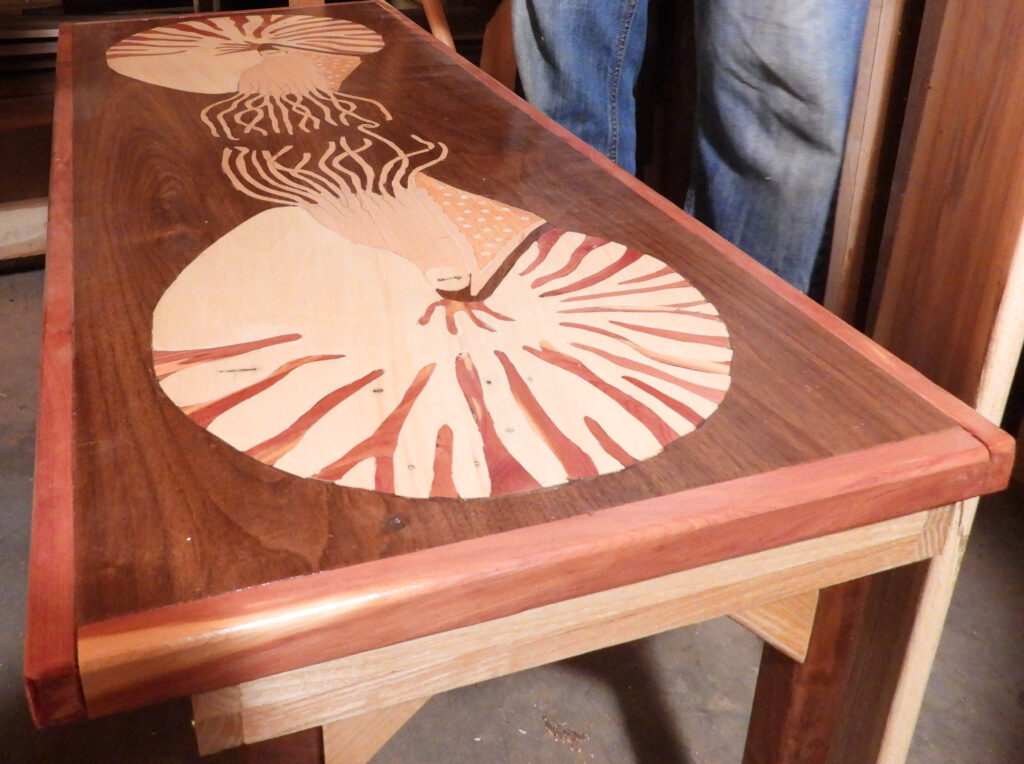
When Mark and I went to pick up more waste slabs of lumber for firewood, I talked our neighbor into letting me pick his brain about what it’s like to own a homestead-scale sawmill. I figured several of you might dream of setting up your own operation, so here are his top tips:
Richard admitted that he started out trying to pay back the cost of the sawmill selling beautiful wood products. However, he soon decided the sawmill was better as a hobby rather than a business.
The biggest benefit he finds to sawing his own lumber is being able to save live edges and be an artist in a way you can’t when working with industrial wood. It’s also a plus that the sawmill allowed him to build most of the required infrastructure. Speaking of which…
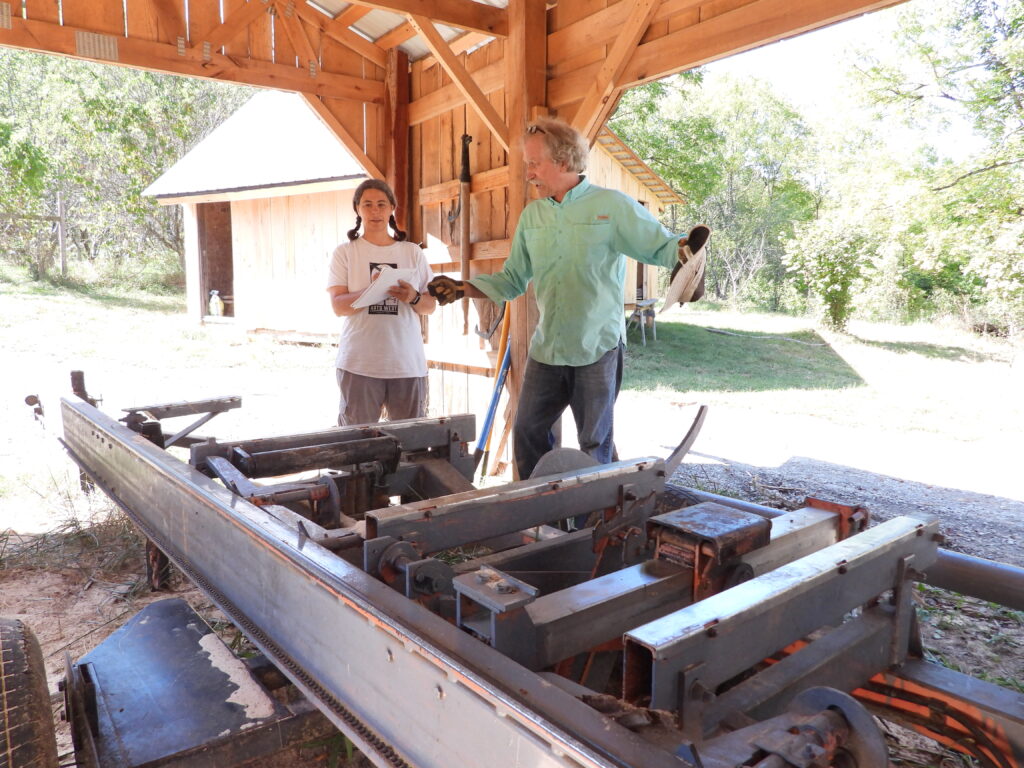
The sawmill itself, of course, requires a shed.
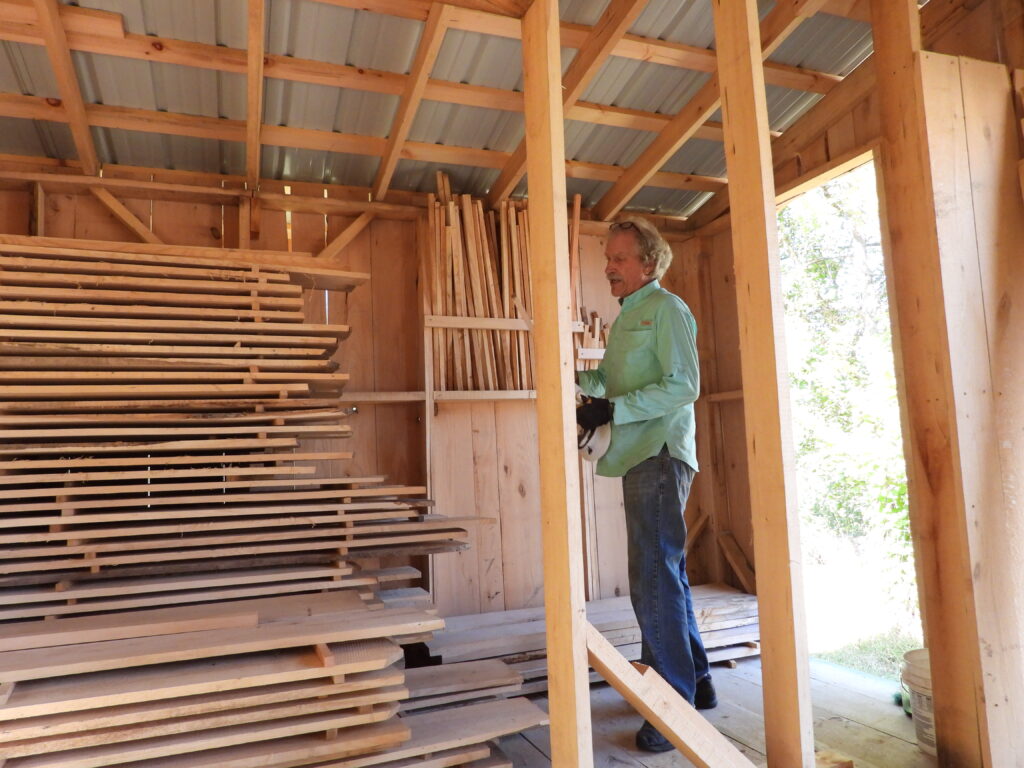
Then there are the boards, which need to be stacked in a drying building for a year per inch of thickness. (Be sure to plan the length of this shed around the length of the boards you intend to mill if you’re going for peak efficiency.)
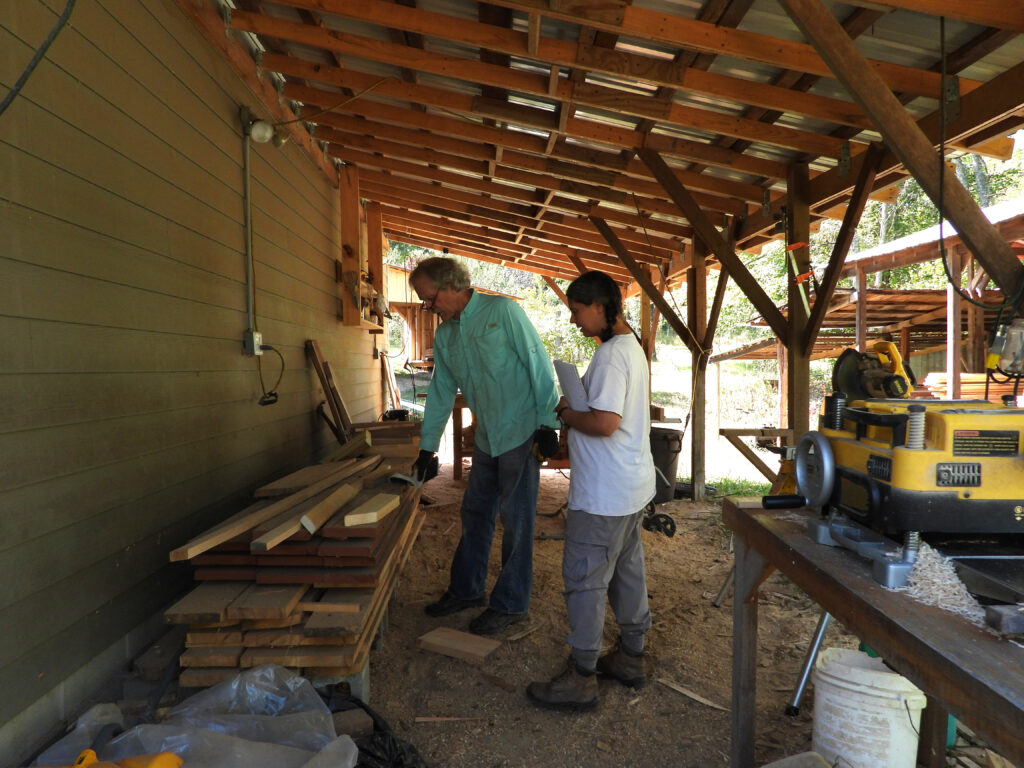
Next up, there’s the planing area, which Richard prefers to keep in the open air but still under roof to prevent dealing with massive amounts of sawdust inside.

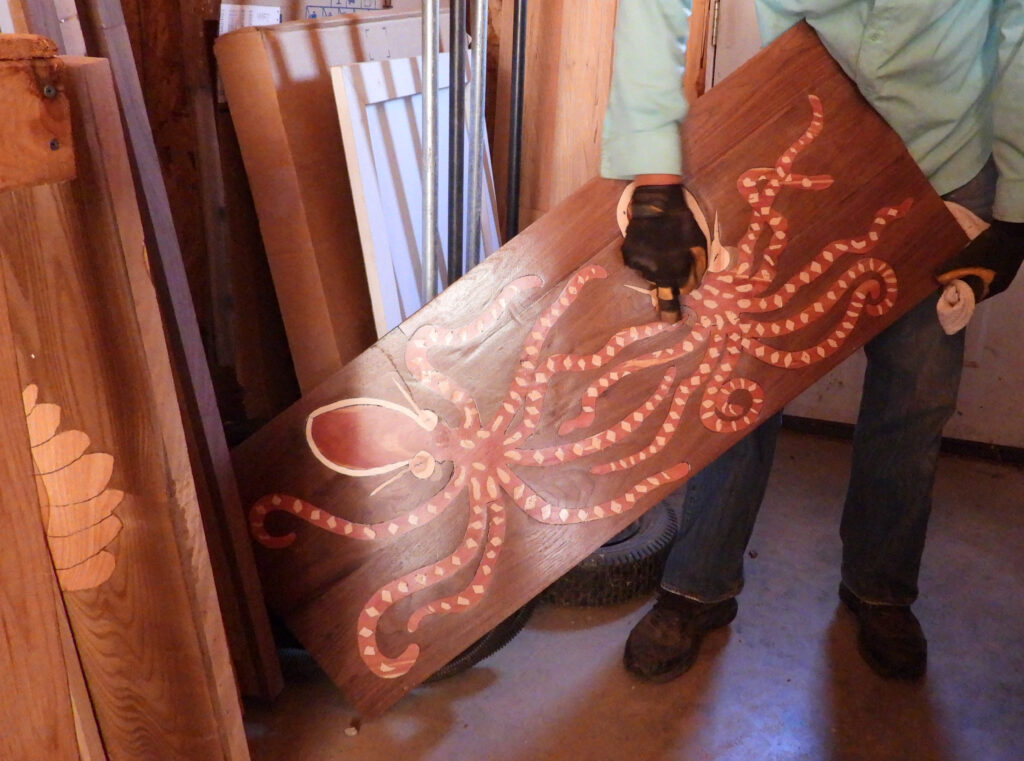
Finally, he has a workshop where he turns homemade boards into stunning works of art. He’s also been known to utilize the local makerspace when he doesn’t have all of the tools he needs at home.
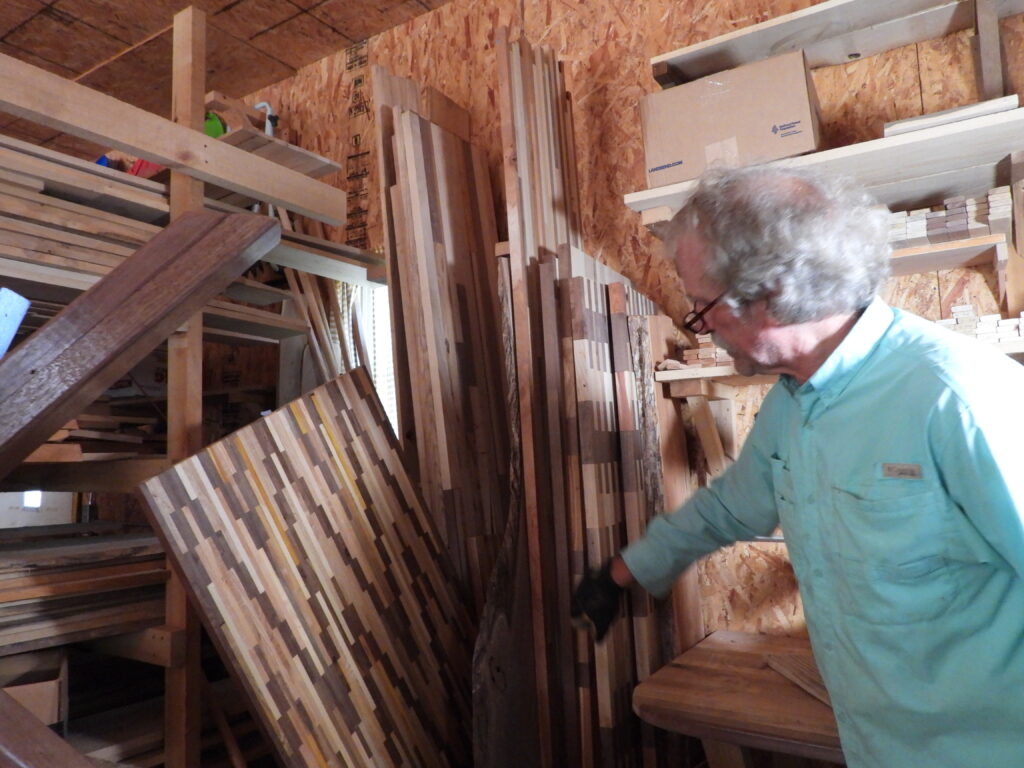
Richard told me that most new sawmill owners probably get started thinking of the beautiful things they can create. But it’s also essential to plan for the inevitable waste products.
In addition to the slabs he gives to us for firewood, Richard turns his massive pile of wood shavings into top-notch mulch in the garden. Next, he uses small pieces of wood to create cutting boards and butcher blocks, arranging different colors and patterns to create works of art.
In the end, there’s actually not as much waste as you’d think when you try to use every part of the log.
Finally, Richard mentioned that owning a sawmill can be an expensive, noisy, space-consuming hobby, so it’s essential to get the whole team on board. He won his wife over by using the wood to create beautiful interior furnishings, by donating finished products to be auctioned off for a cause they both believe in, and by creating lots of gifts that build connections with family and friends.
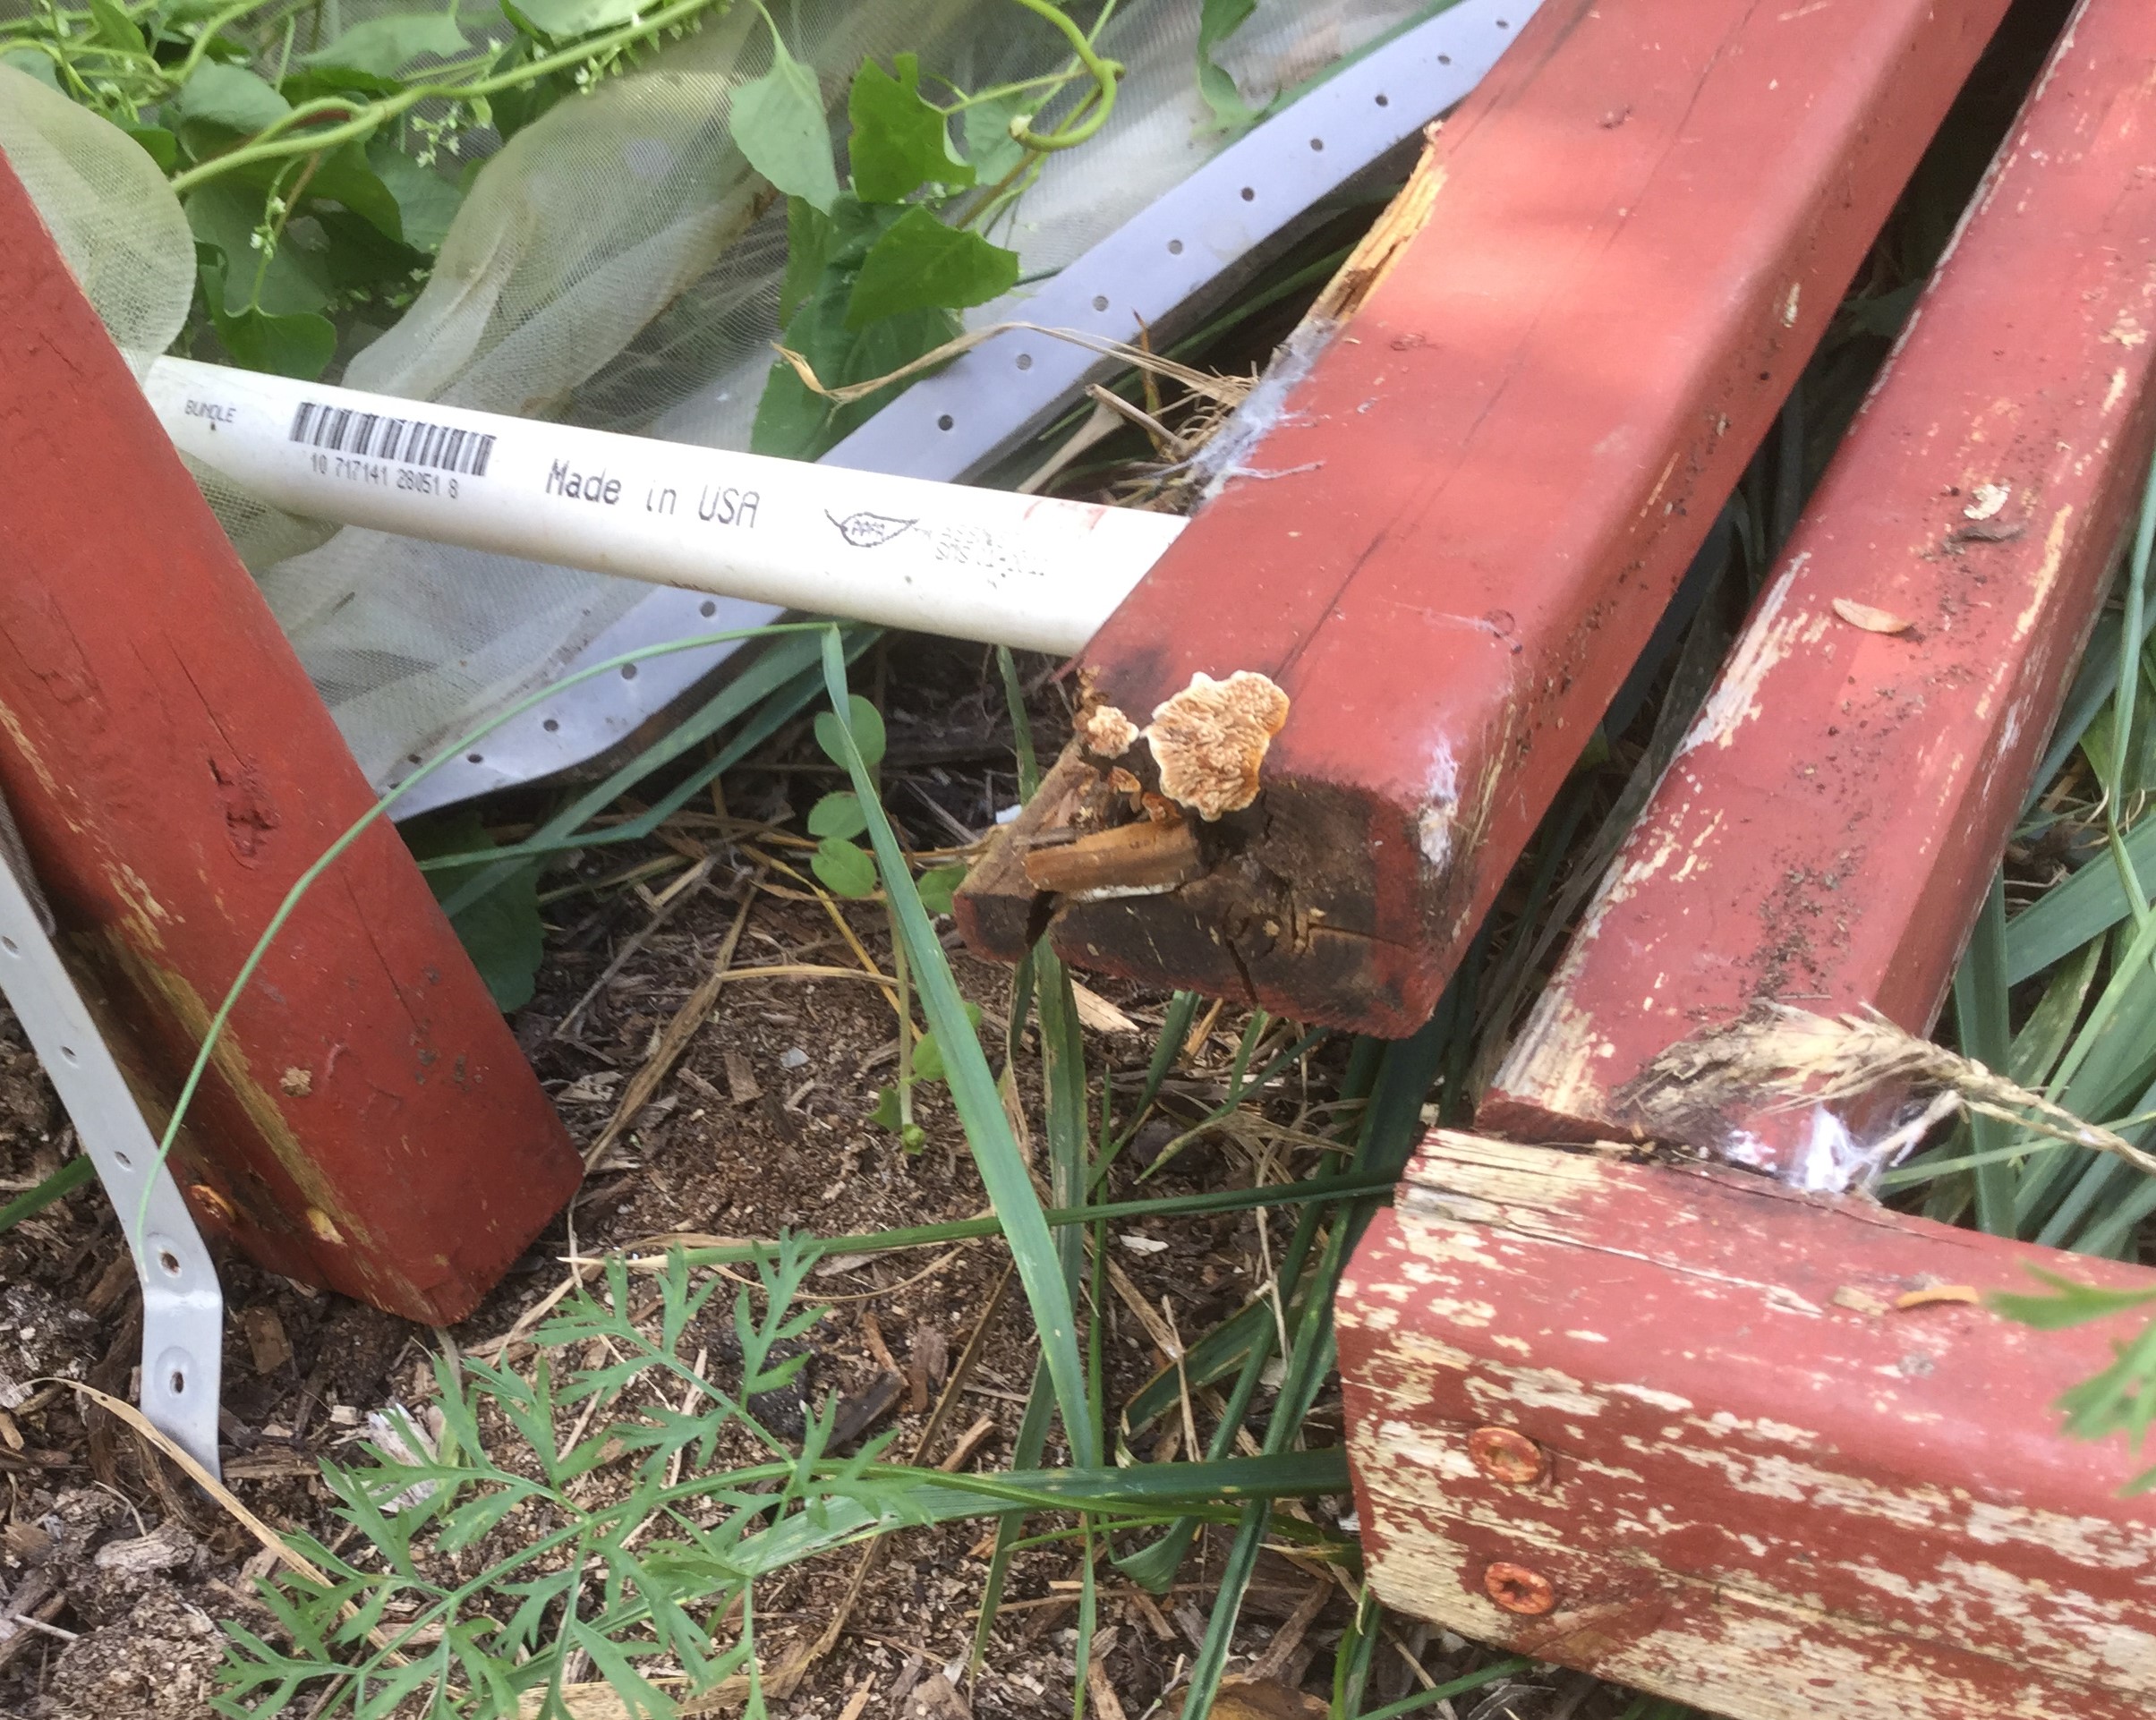
I chose 2×3 over 2×4 boards in an effort to make our caterpillar tunnels lighter.
We now know this makes them a little too heavy and prone to decay faster than expected.
I was able to fix the problem with some brackets but needed a whole new design.
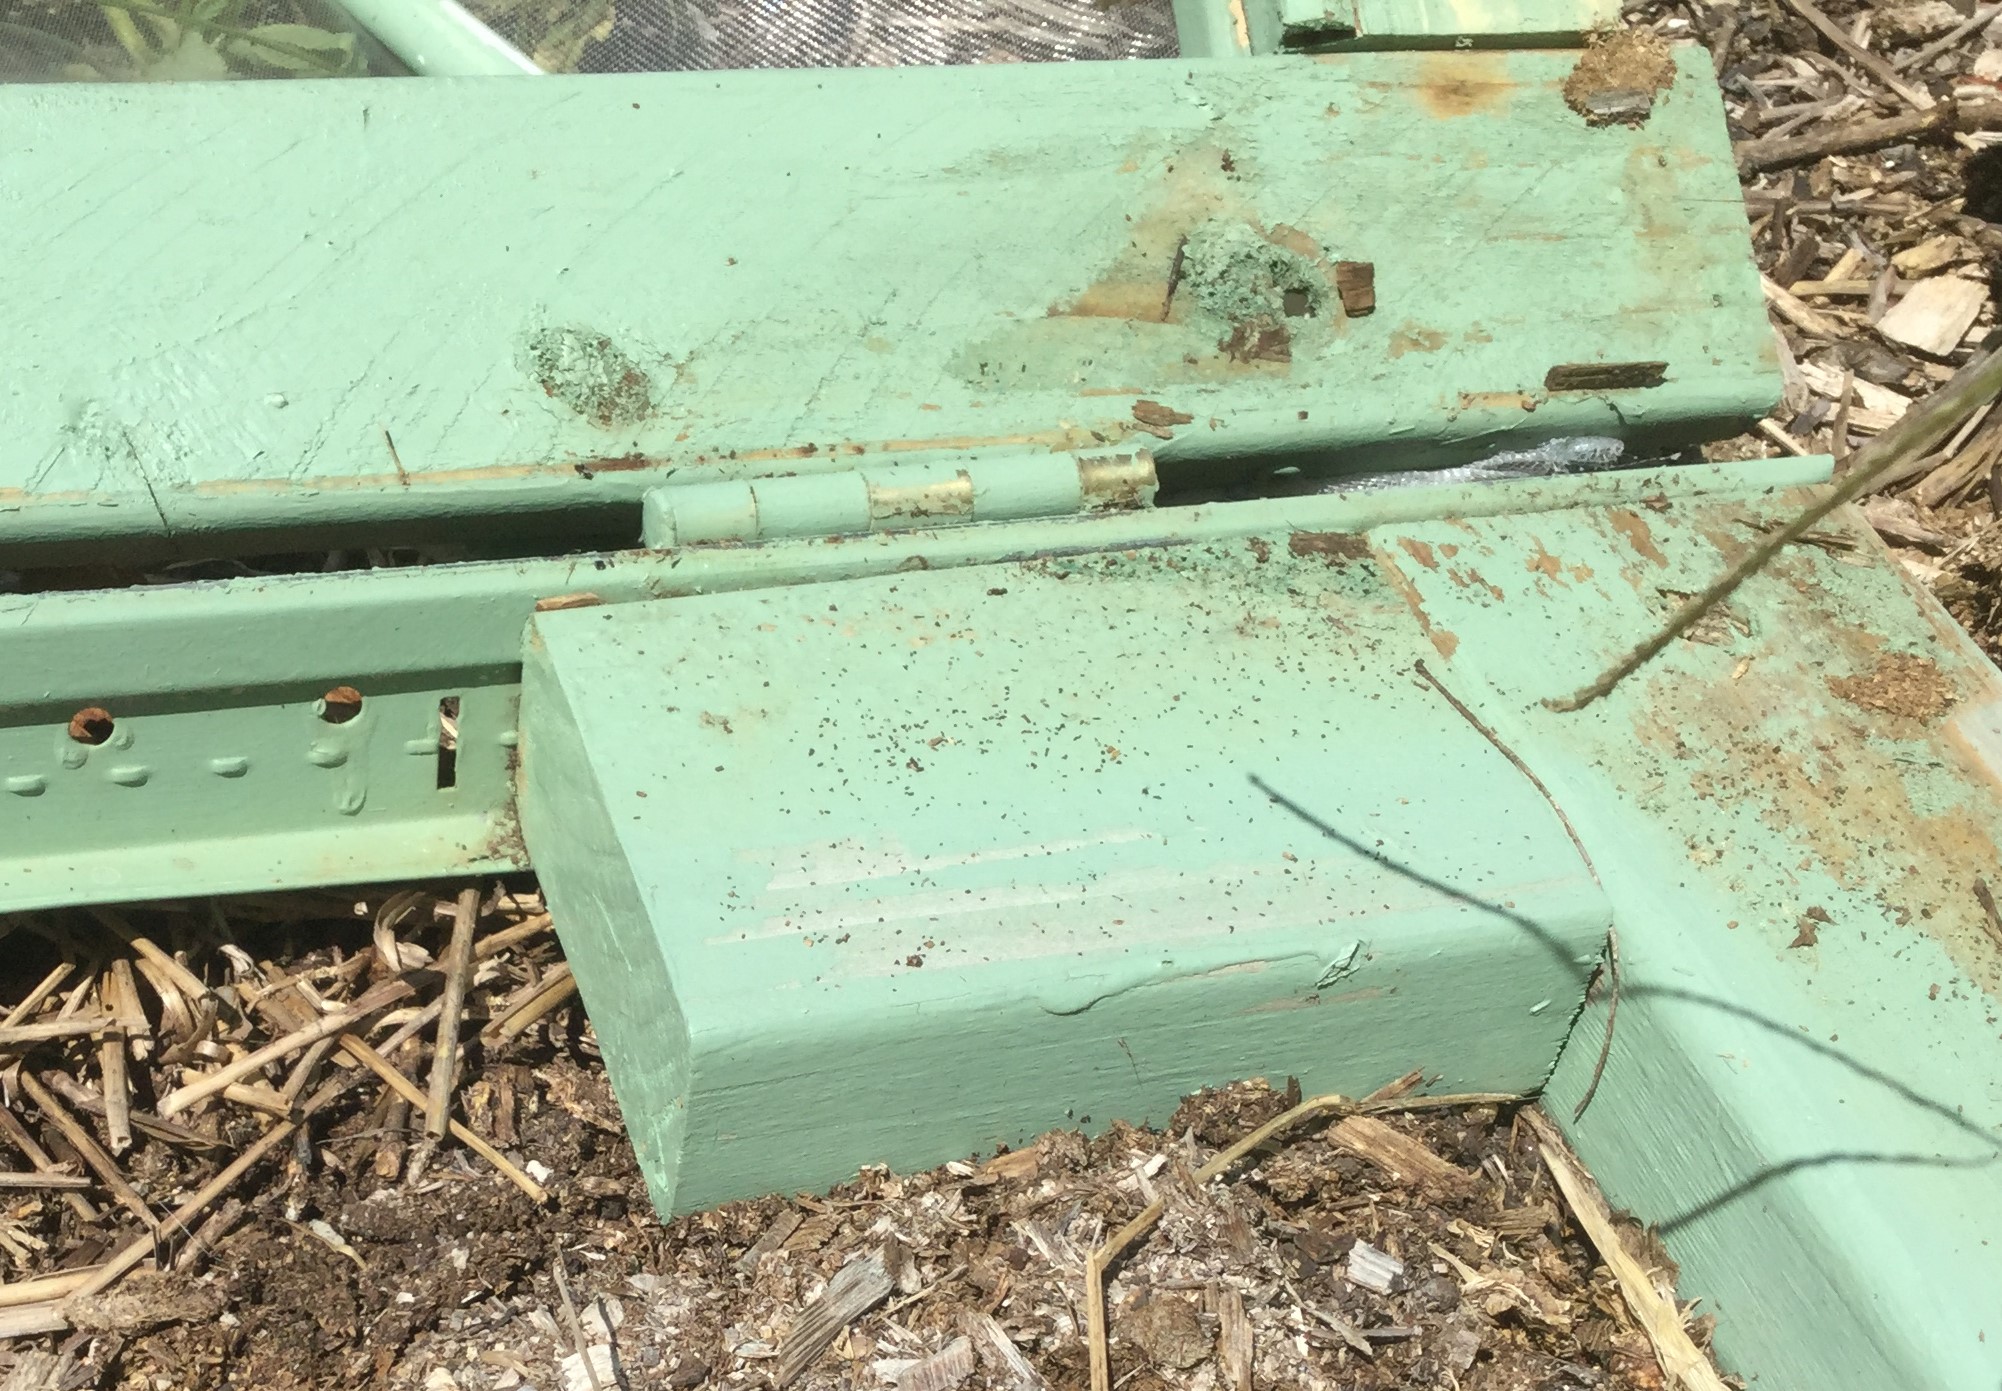
The new version takes advantage of the light and strong steel rails used to support ceiling tiles in big buildings.
I also decided that a smaller structure is easier to move and less prone to damage.
Stay tuned for a more detailed post on the smaller and better caterpillar tunnel after we’ve finished driving it around the block a few times this year.
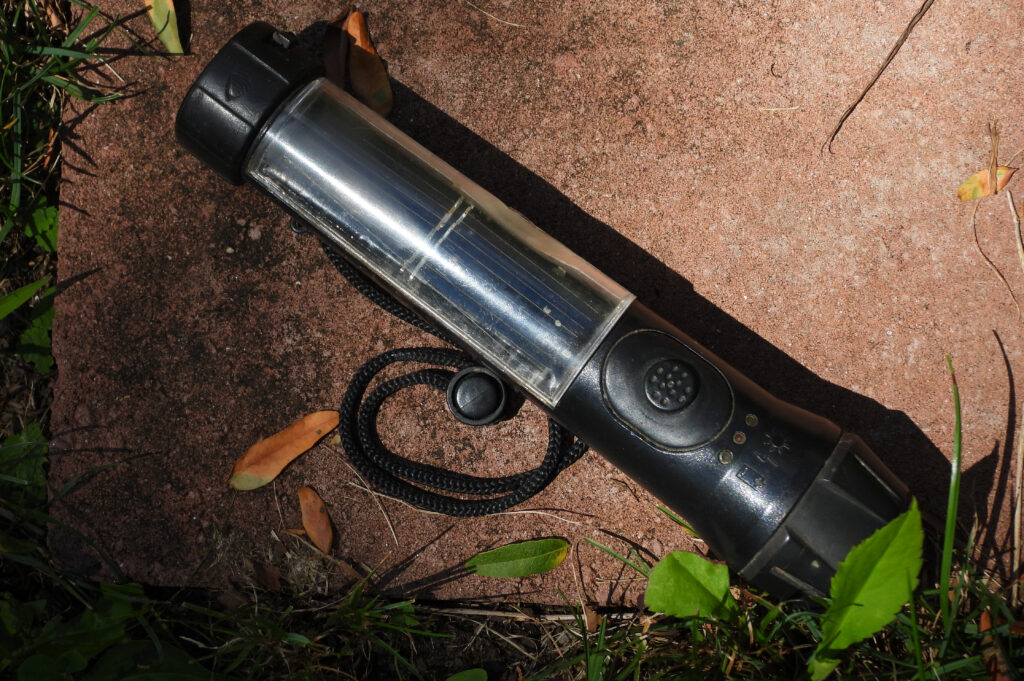
In 2012, Mark and I invested in two solar flashlights for camping and power outages. They lasted an amazingly long time, but eventually the batteries stopped holding a charge. Rather than crack open the plastic to try to replace the batteries, I decided to see how much a decade has improved the technology.
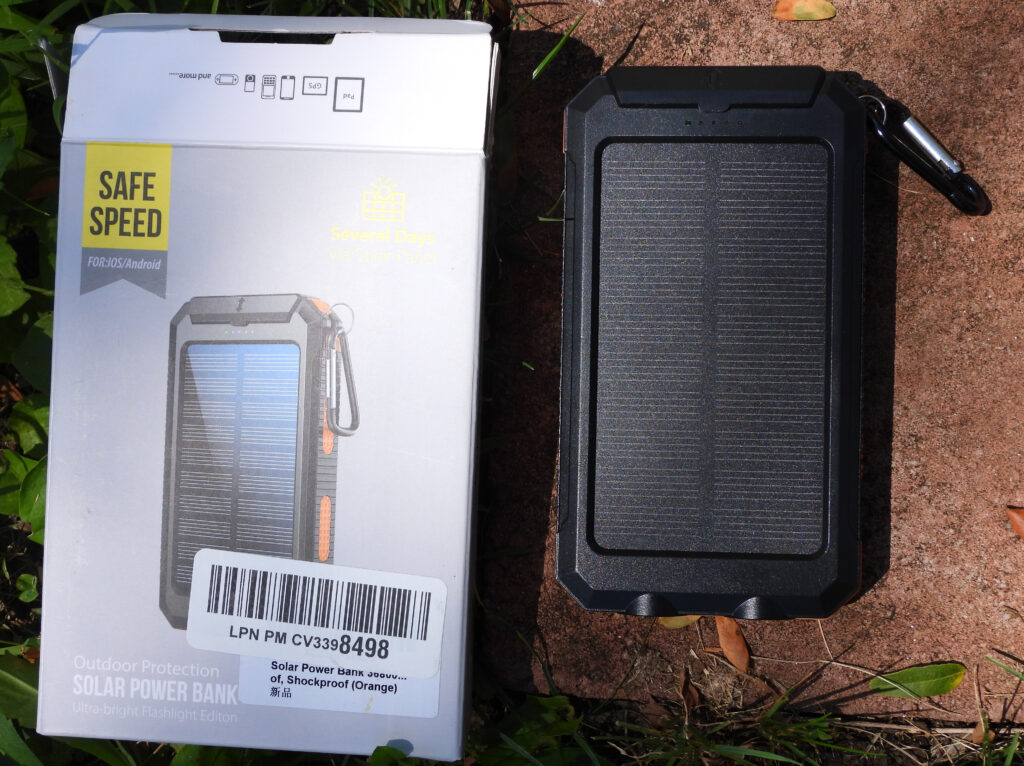
After poking around on Amazon for a while, I settled on the TOMETC Solar Power Bank. It had a lot of good reviews, a large battery capacity, and a large solar panel…all for under twenty bucks. Sounds like a winner, right?
Wrong! I’m guessing something about the frosting they put over the solar panel to waterproof it blocks light. Whatever the reason, two full days in the sun resulted in absolutely no change in the charge level of the battery. When I dug deeper into the reviews, it turned out I wasn’t the only one who had this problem, so it wasn’t a defective unit.
Meanwhile, the flashlight is way too bright for what I usually use it for (reading in my tent). An overpowered light drains the battery faster than it should. I estimate I got about eight hours of use out of a full charge. To cut a long story short, I sent this one back.
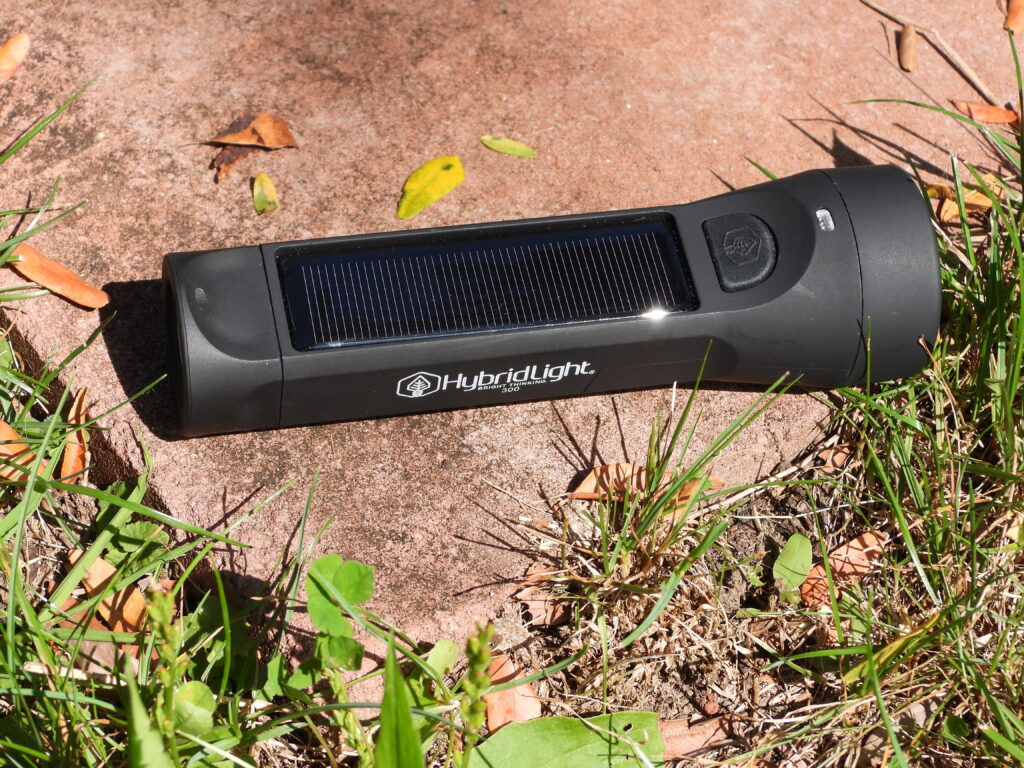
Next up, I decided to return to the model that served us so well for eleven years. Unfortunately, the original flashlight had been discontinued, but HybridLight has a replacement available. Their offering doesn’t look as flashy as some of the alternatives and costs $10 more than the competition. But they wisely included the option of a low-light setting so I won’t drain the battery bank too quickly while reading and their longevity track record speaks for itself.
How did the actual flashlight do in the field? I wasn’t as thrilled as I’d hoped to be. On low, I estimate I’ll get about twelve hours of use out of a full charge, far less than the fifty hours they promise but still better than the competition. Meanwhile, a day in the sun did little to top the battery up.
I’m starting to suspect that my goal — being able to set a flashlight in the sun for the day then read for a couple of hours at night using that solar energy — is a pipe dream. But perhaps I just haven’t found the right solar flashlight yet. Have you tried a different model with better results?
(For the record, I decided to keep the HybridLight flashlight. It works well charged from the wall and will presumably help us through power outages if left in the sun to trickle charge when grid electricity is available.)
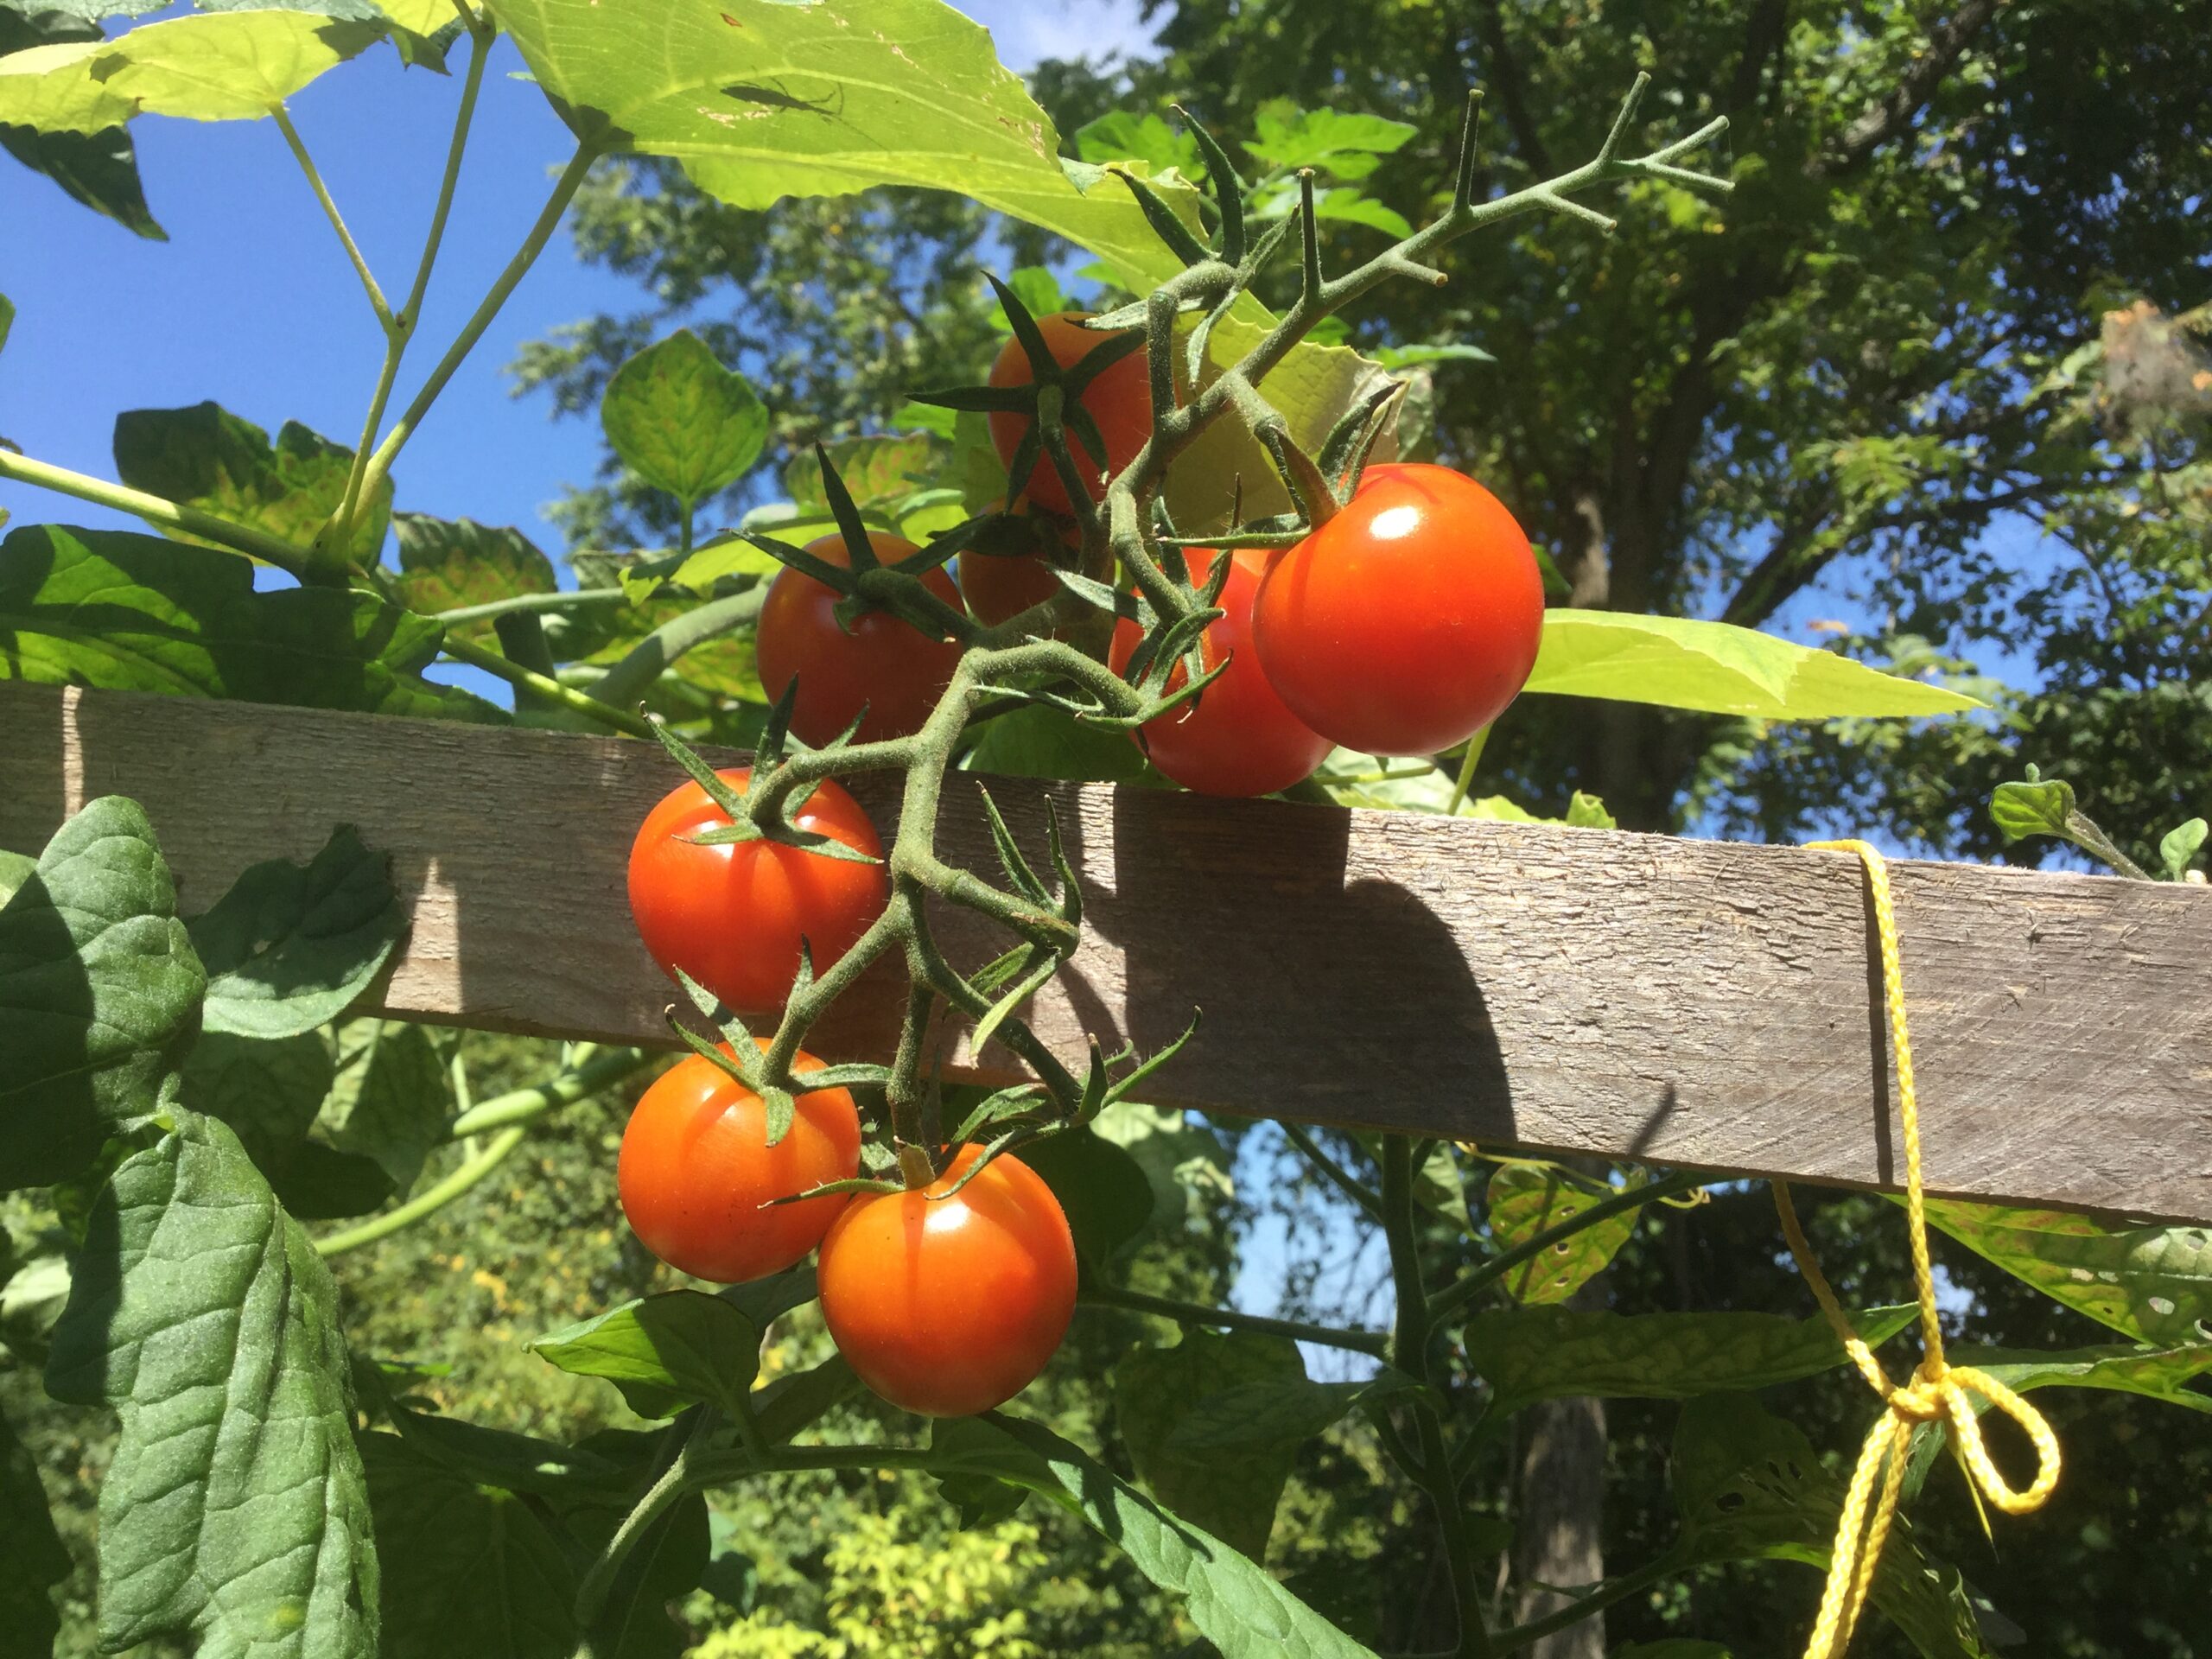
We got a late start on our deck grown tomatoes.
A bit of a mix up on which variety this is but I really like the sweet taste and easy harvest.
This is the second year our deck tomatoes seem to be healthier than the ones we planted in the garden.
I like to split them down the middle to add a sweet dash of color to our salads.
Dear Walden Garden gods,
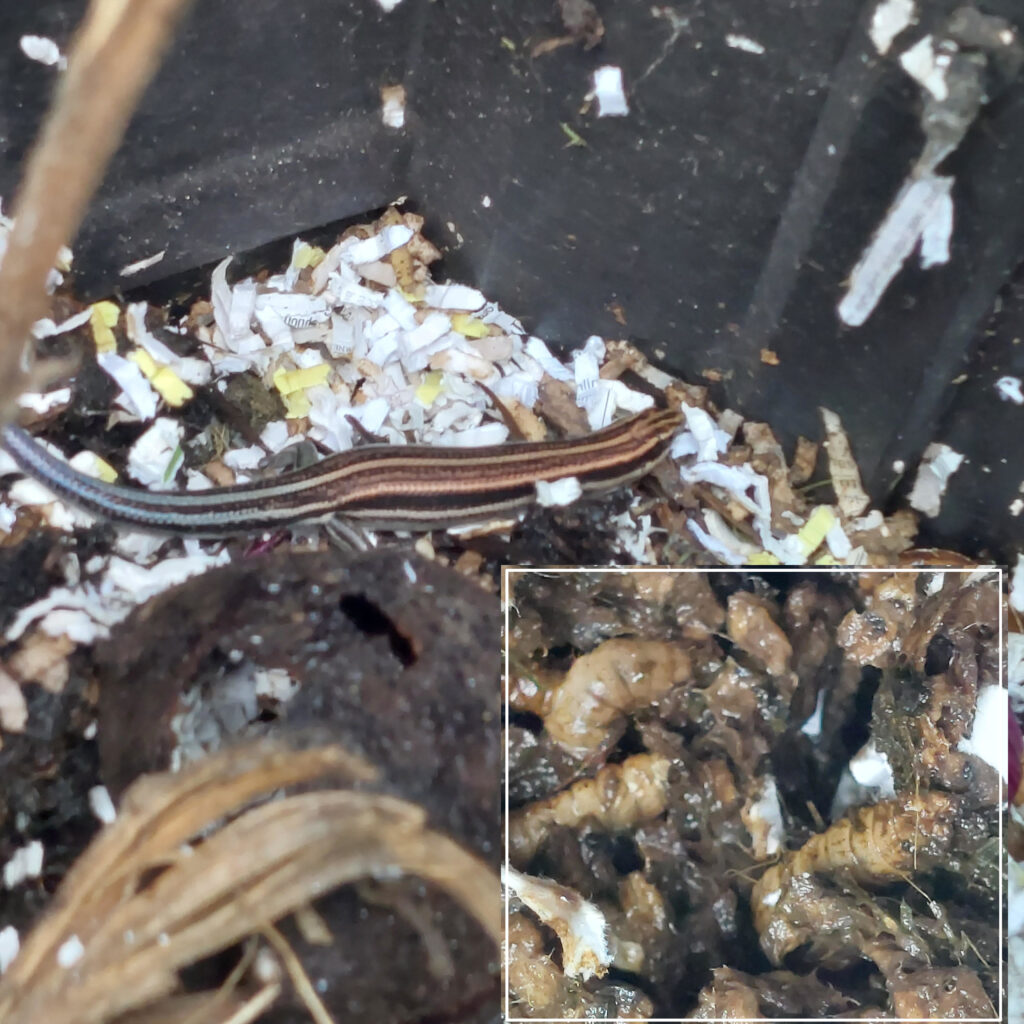
My compost bin has been overrun with maggots and fat lizards🤢
I am sure that this is linked to my gluttonous watermelon consumption this summer. I am so ashamed!
Should I promise to eat no more watermelon, bag up the vermin, and start anew?
— Your anonymous petty gardener
Dear Lucky Gardener,
You should feel proud! Your compost bin has attracted beneficial black soldier flies (the larval form of which looks like the maggots of house flies but the adults of which won’t bother your food or your garden). In fact, black soldier flies are so sought-after that lots of folks pay big bucks for specialized bins and even order black soldier fly eggs to get a colony started.
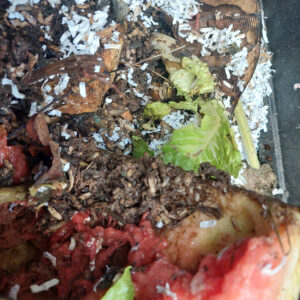 My favorite thing about black soldier flies is the way they turn kitchen scraps into worm-casting-quality black gold at lightning speed. Mark loves the way his pets greet him with their roiling excitement whenever he makes a compost deposit. Chicken keepers love black soldier flies for the high quality protein they offer as a feed addition. And your skinks are clearly in the chickens’ camp!
If you really, really want the black soldier flies not to come back next year, you can add more carbon to your bin in the form of sawdust, autumn leaves, or shredded paper. Keeping scraps covered with less-yummy alternatives at all times will indeed prevent black soldier flies from colonizing in the future.
Alternatively, if you’re sold and want to double down on your black soldier fly production, Mark’s current favorite colony home is a modified wheelie bin. We love BSFs so much that we have three bins and are thinking about renaming Mark’s pets BFFs!
P.S. I’m really not a garden god, but that’s so nice of you to say…

Are you swimming in summer squash like we are? While you can leave the excess on unsuspecting, non-gardeners’ porches, I’ve found the following one-pot recipe makes eating lots and lots of zucchini and other summer squashes so delicious the bounty ends up in your own belly instead.
Ingredients:

Cut the tomatoes in half and squeeze each one to release starter juices. Spiralize the squash and add it to a skillet along with the tomatoes. Cut through the mass of “noodles” a few times to shorten them. Add the salt, pepper, and oregano and cook on high heat, stirring occasionally, until the tomatoes have turned into a sauce and the squash noodles are al dente. Stir in the pre-cooked protein then garnish with parmesan and chow down!
How about you? Do you have favorite summer squash recipes that let you use up everything your garden produces?
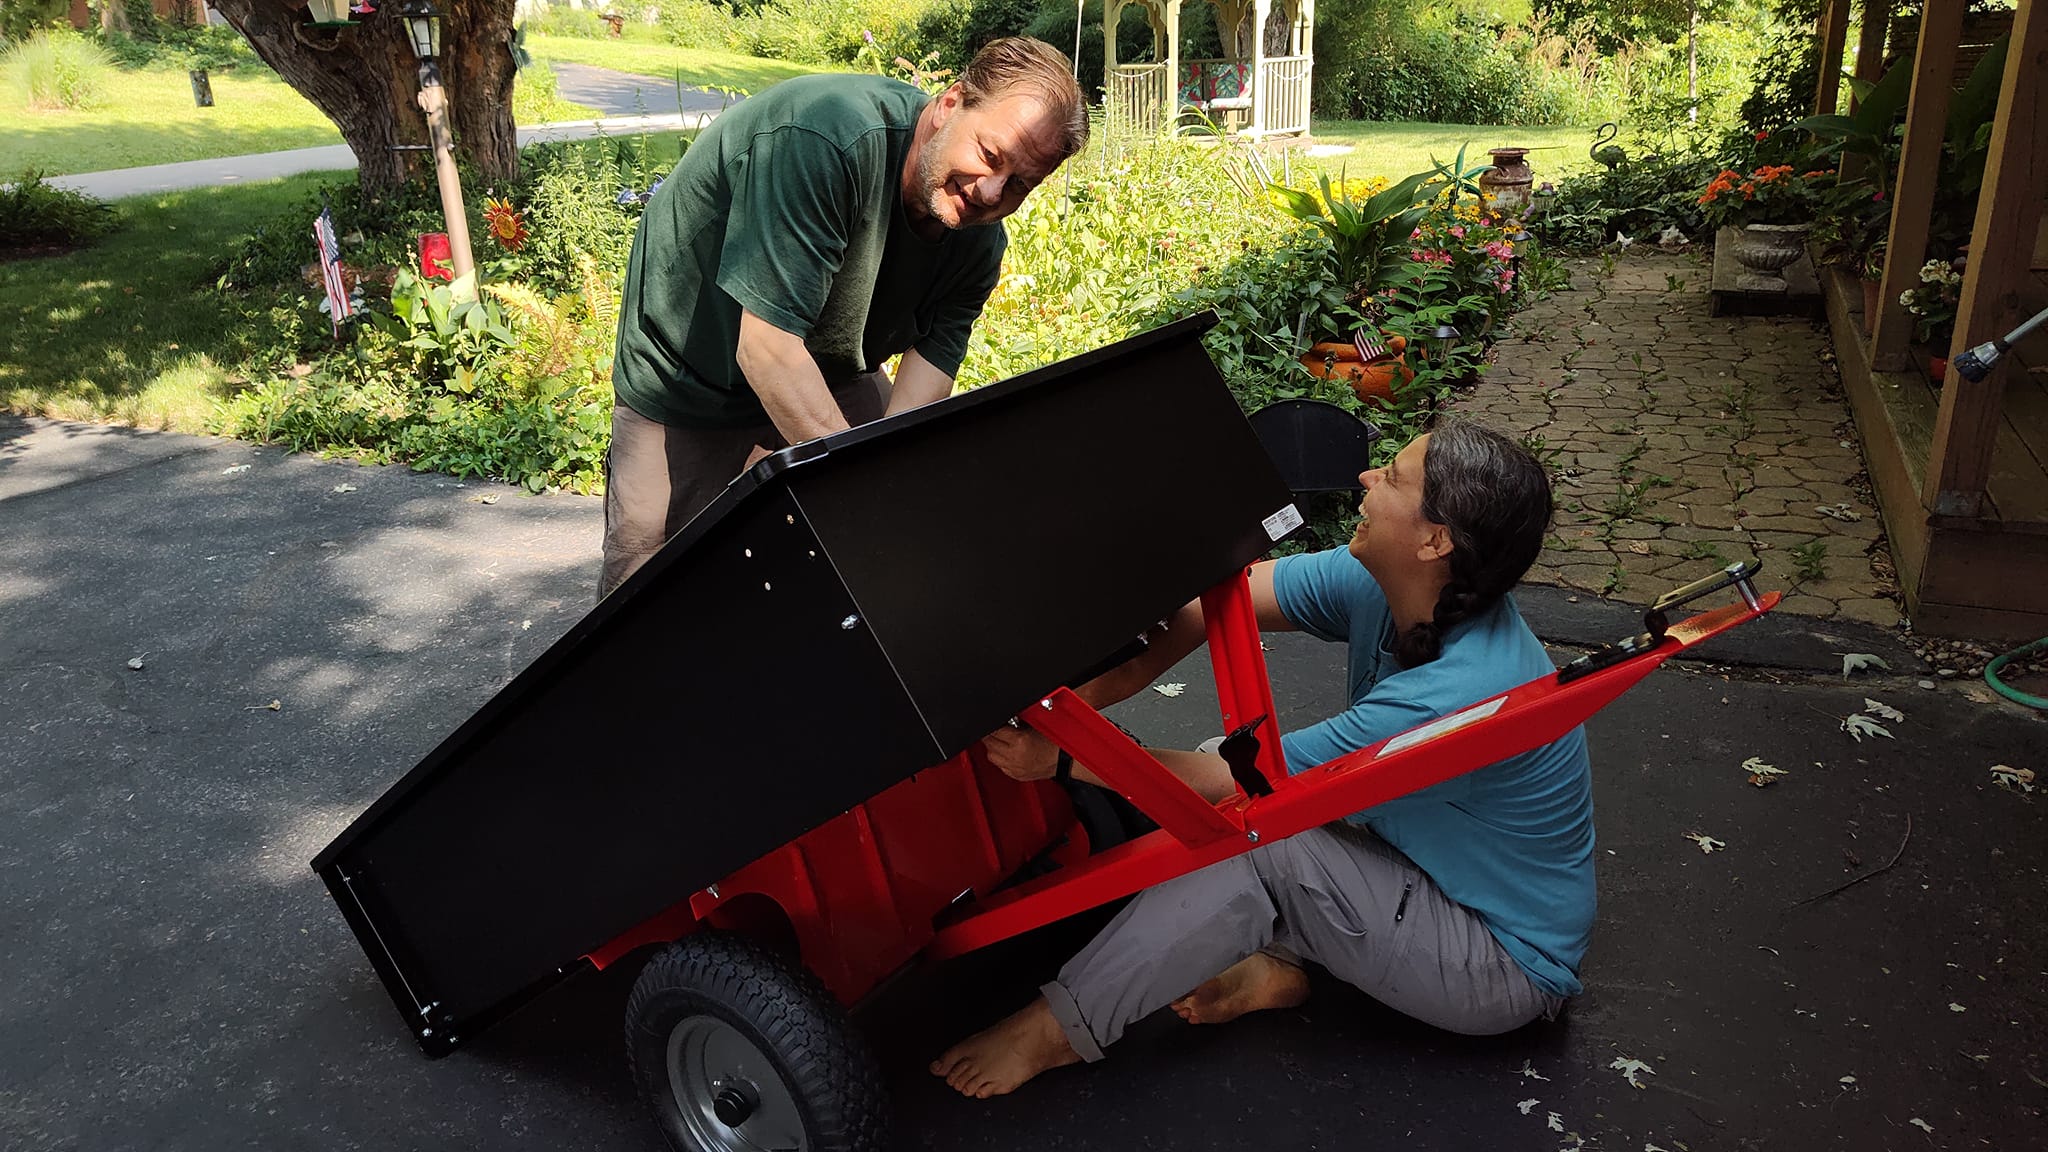
Anna and I assembled a Craftsman steel dump cart while visiting my Mom recently.
The book says it takes 45 minutes to put together but we needed nearly 2 hours.
It’s a solid cart that can handle 750 pounds. Lowes sells it for 350 but Menards has a Yardworks version that is a little over 200.
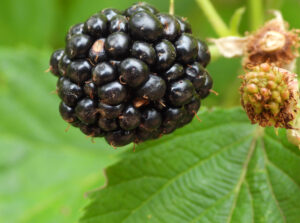
Our berry enclosure has been unsuccessful at keeping out chipmunks but successful at keeping out birds. So we moved our strawberries (aka chipmunk magnets) to a different setup and are using the space left behind for blackberries, raspberries, and gooseberries.
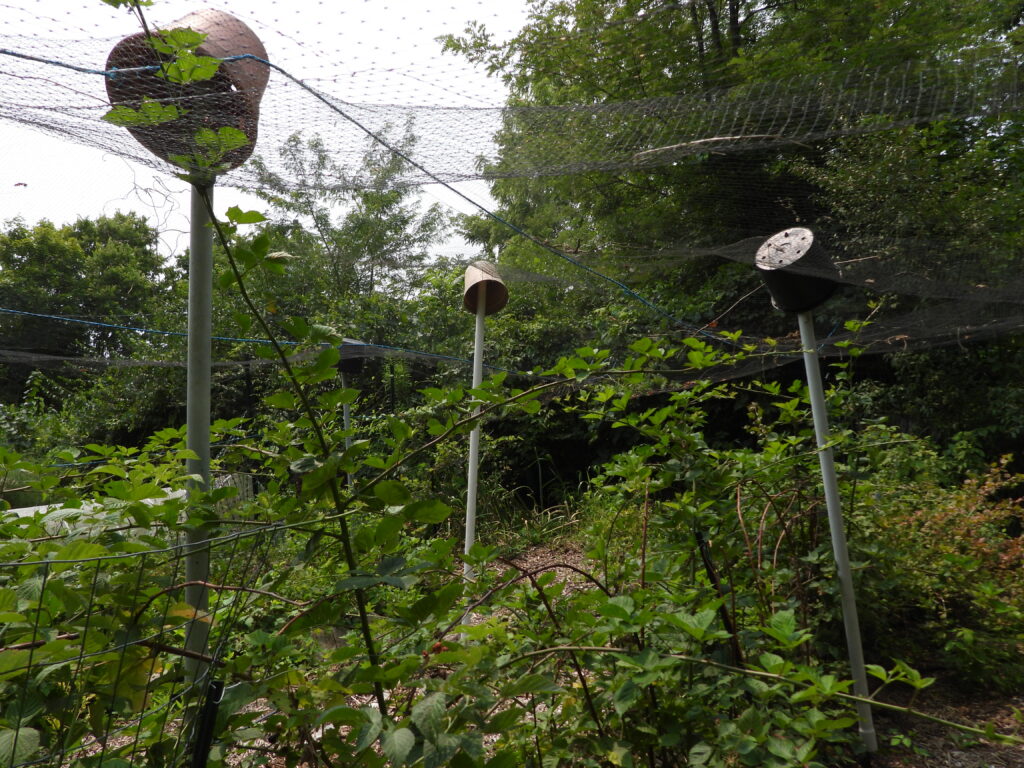
This year, we’ve had great harvests from all of our berries, which means I visit the berry enclosure a lot. And that also means bird netting rubbing against my head every time I take a step turned into a drag. Time to solve that problem once and for all!
My first step was to look back through old Walden Effect posts, where I found this great solution in another gardener’s berry area. Now, how to recreate it to mesh with our existing setup?
We had a lot of 10-foot PVC pipes lying around, purchased when we thought we’d need to extend our garden fence to 10 feet to keep out deer. That turned out to be unnecessary, so I decided to repurpose the pipes into berry-netting supports.
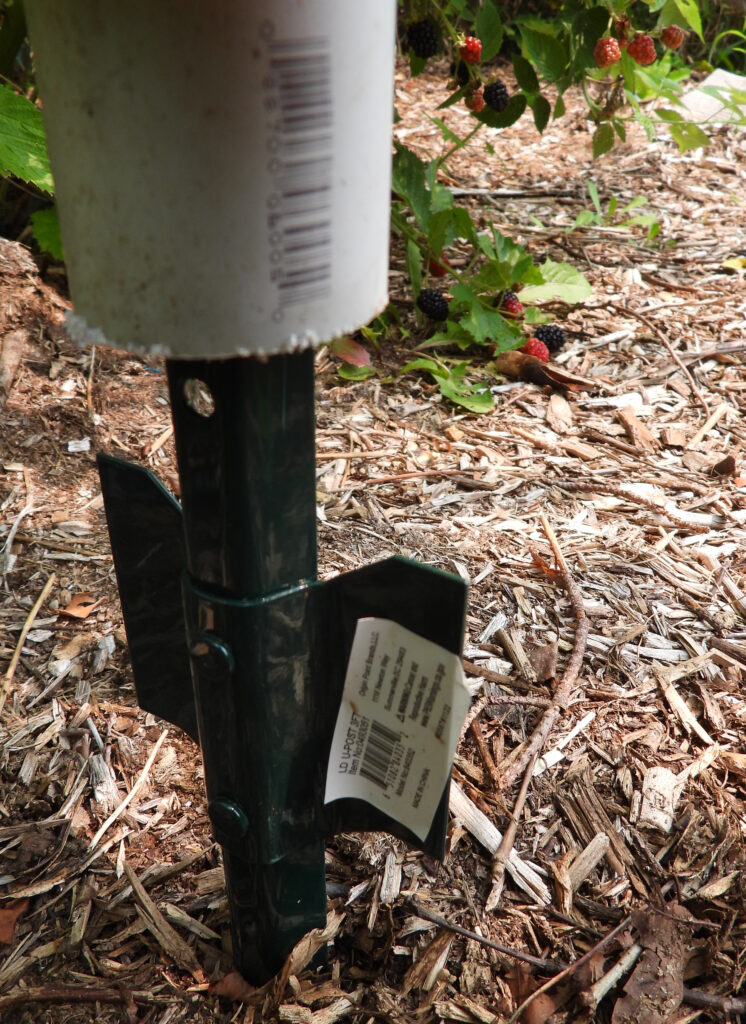
Next, we need to find a U-post that would slide easily inside the pipes. The cheapest, shortest ones were a fit!
I ended up cutting a couple of feet off each PVC pipe before sliding it onto the post since there was only so much wiggle room in our existing system. If you’re starting from scratch, you can probably use the full height.
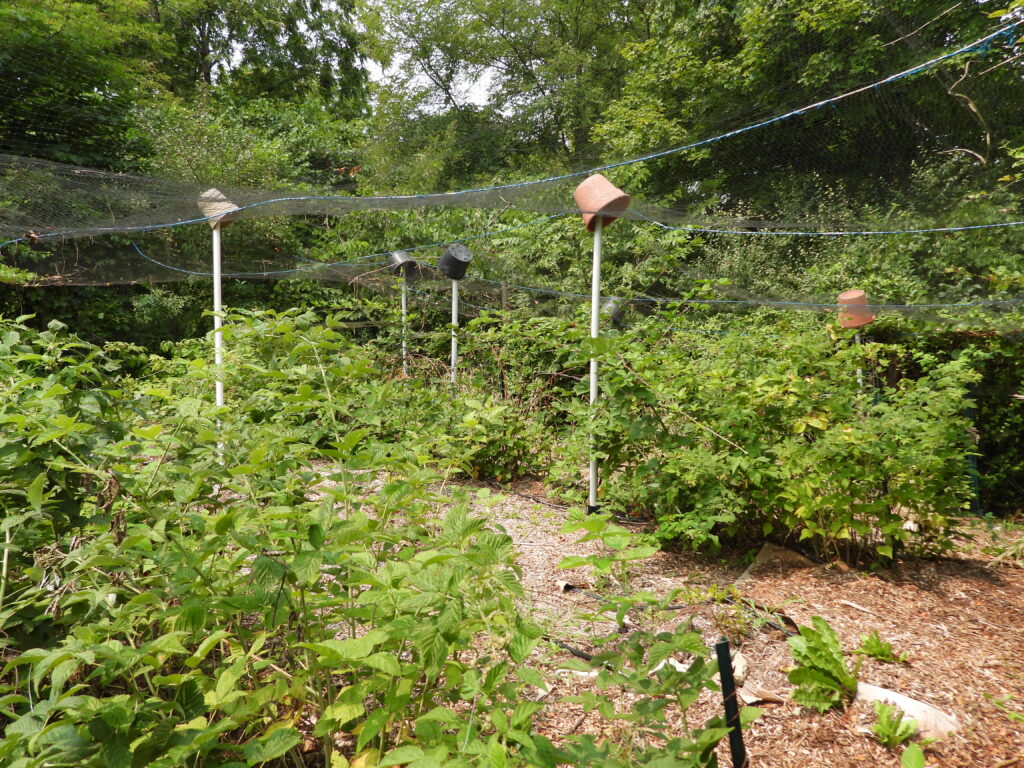
Last step was to plop old plastic flower pots on top of each pipe to spread out that pressure point and prevent pipes from poking through netting if leaves fall before we take our setup down. If you repeat this, be smarter than I was — don’t stare up at the flower pot as you raise the pole into place or you’ll end up with an almost black eye!
We’re thrilled with the result, although the enclosure still has one big flaw. Honeysuckle has taken over the fence edges and each season it expands to twine into our berry netting. We’re still working out solutions on that front. In the meantime, eating lots of berries is a great reward for not-so-hard work.

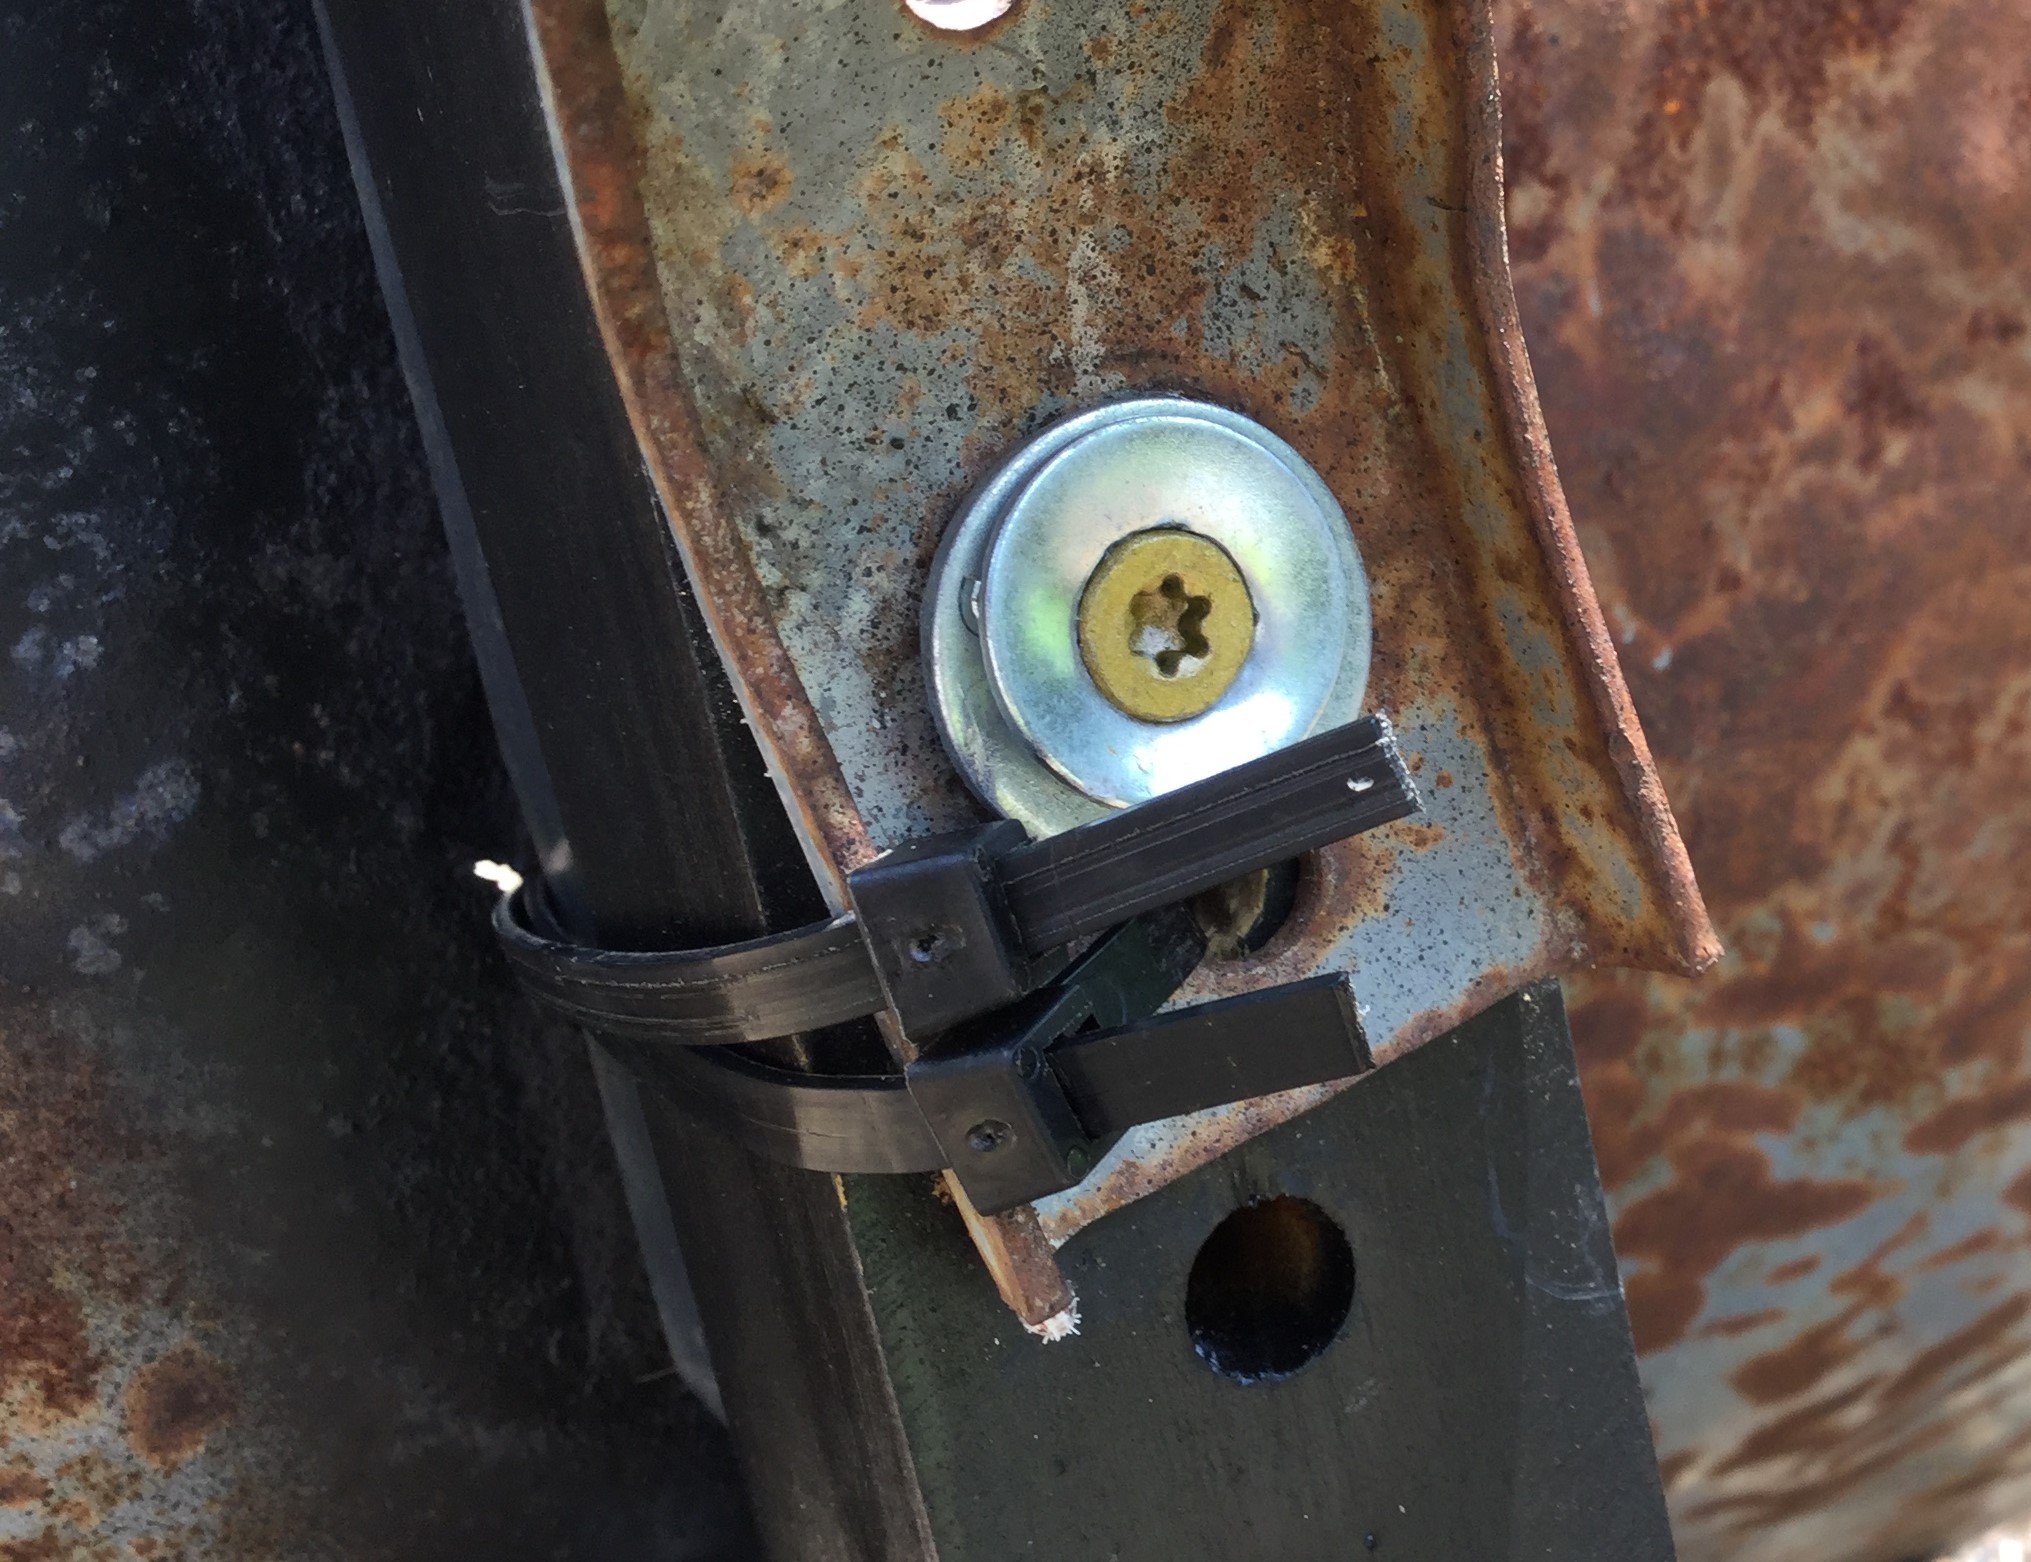

Some of the problems with restoring a wheelbarrow is the damage around bolt holes which prevents the round headed bolts from biting in so you can tighten them.
An exterior screw with a washer isn’t exactly flat but it seemed better than a traditional nut and fastened in nicely with the wood of the handles.
Zip ties helped me hold it all together without needing a second hand while I tightened everything down.